- Learn how to find device name in Windows and how to change computer name.
- Each Windows computer has its own computer name. It’s mandatory.
- One use for the device name is to identify that PC in the local network.
During the setup process for Windows 10 and the install setup for Windows 11, you’re asked to set a device name at one point. If you fail to do so Windows will assign one to you, something not very appealing such as DEVICE-5J98RKI.
If you have more computers in the same networks, all with random device names like the one above it would be really hard to tell them apart (the same goes for other devices, like printers, which can also be renamed). If that’s the case here’s how to check the computer name of a Windows machine with just a few clicks and how to change that so something more manageable.
The computer name of a Windows machine, also called device name, hostname, or NetBIOS name is a string that identifies that system in a network, among other things.
For compatibility reasons, a computer name can’t include spaces or some special characters (, ~ : ! @ # $ % ^ & ( ) ‘ { } _ ), and shouldn’t be longer than 15 characters. I can be, but it’s not recommended.
How to Find the Device name in Windows 10 in Settings. How to Change the Computer Name.
For both the Windows 10 and Windows 11 guides we’ll be using the Settings app.
1. Open the Start menu (Win key) and search for Settings.
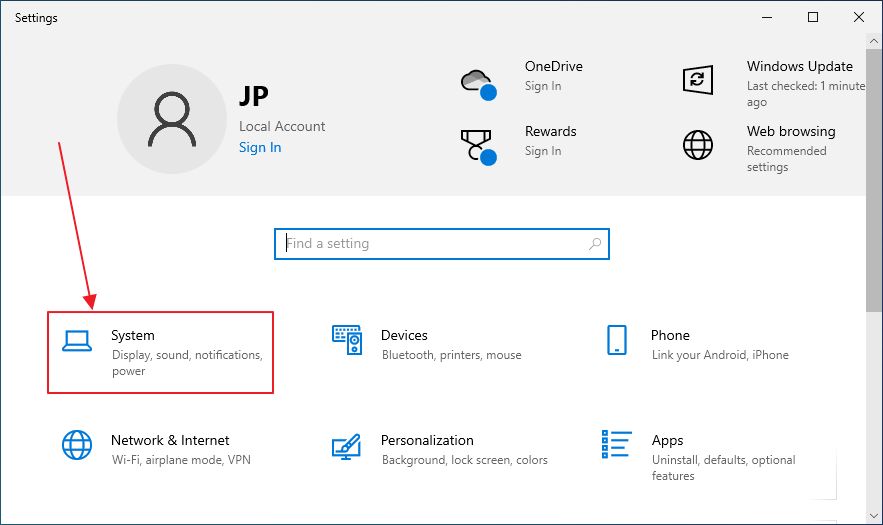
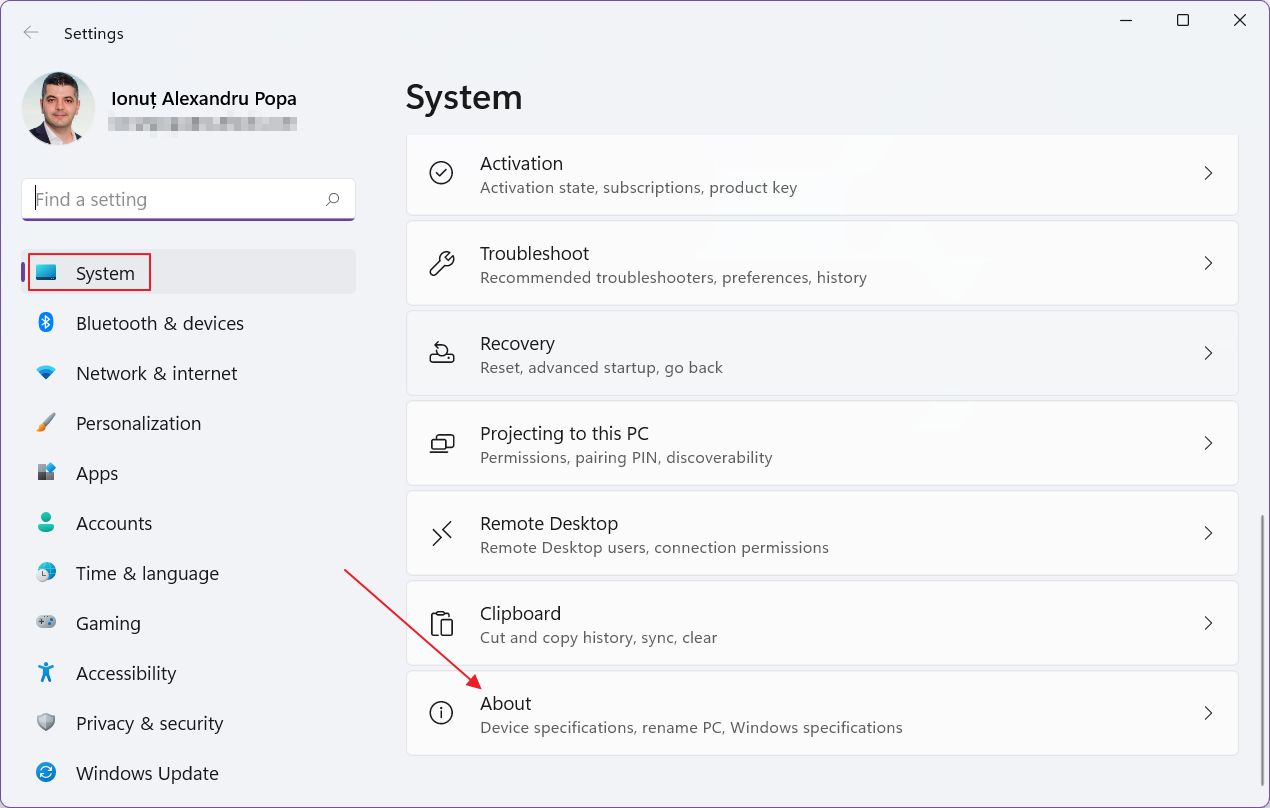
2. Access the System section.
3. On the left-side menu go to About.
4. On the right panel look for the Device name. In this example, the computer’s name is DESKTOP-63BGII6.
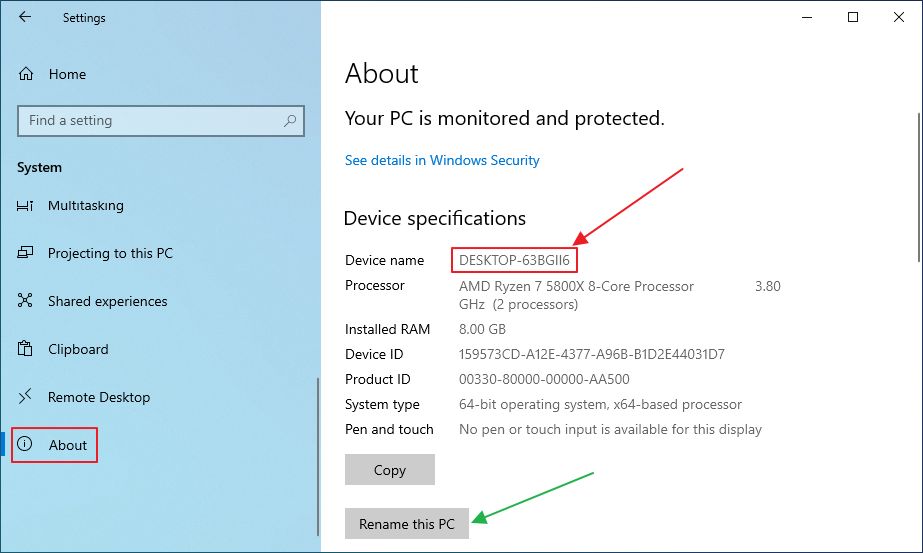
5. To change the computer name displayed in the local network for your PC you must click on the Rename this PC button (green arrow in the picture above).
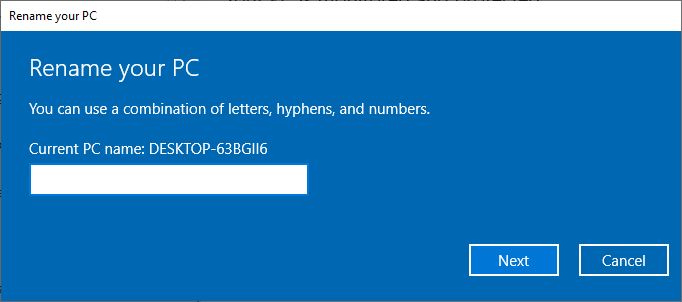
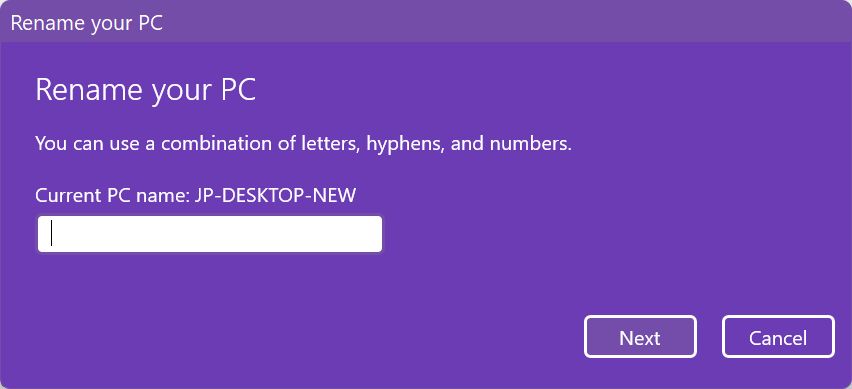
6. In the new popup, enter the new name and click on Next to validate it.
7. If everything is OK, you’ll be instructed to restart the computer for changes to take effect. Until you restart the old name will still be used.
That’s it.
How to Find Computer Name in Windows 11 in Settings. How to change PC name.
The new Windows 11 settings app is a way better version of the one used in Windows 10, but in case it’s not clear to you how to view the computer name here are the steps:
1. Open the Settings app (try Win + I for the quickest way).
2. Access the System section from the left-side menu.
3. Scroll the right panel until you reach About. Click to open.
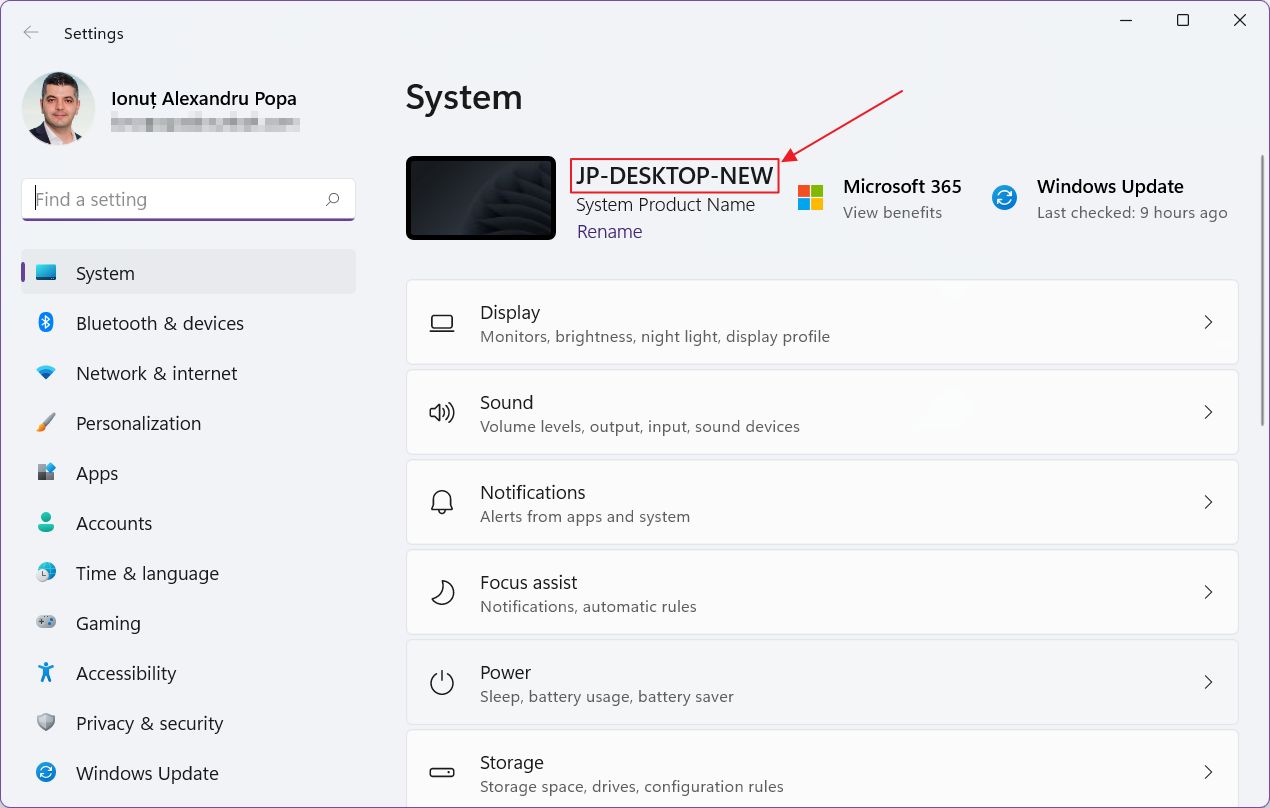
4. In the About screen look for Device name to get your PC identifier.
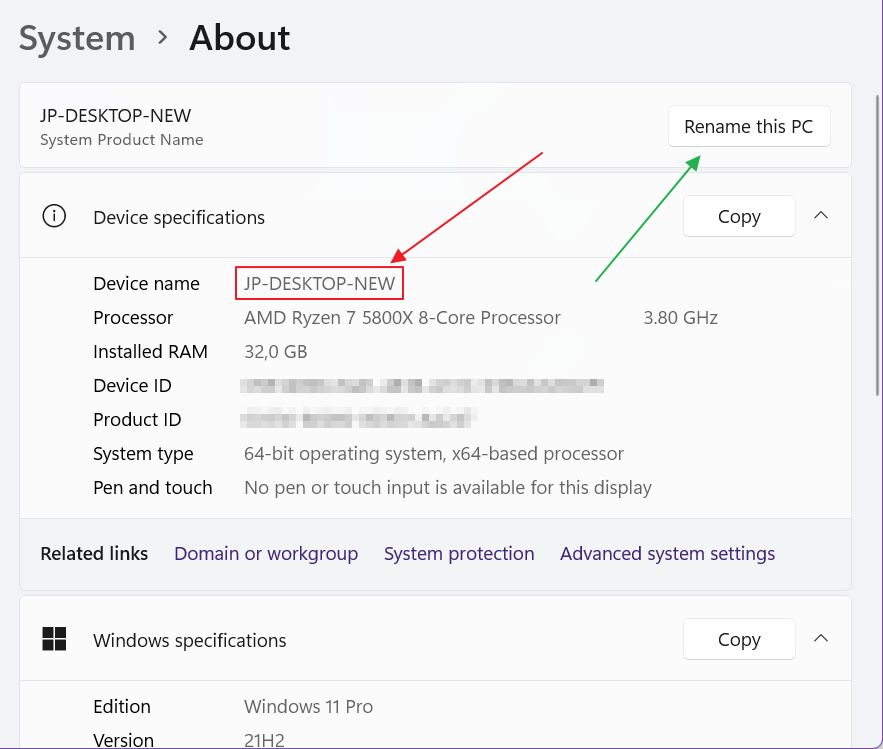
5. At the top of the page click on Rename this PC if you want to change the device name (green arrow in the image above).
6. A new popup will show up. Enter the desired new device name and click Next to validate. If you picked a valid hostname you’ll be required to restart now or later. It’s mandatory for changes to take effect.
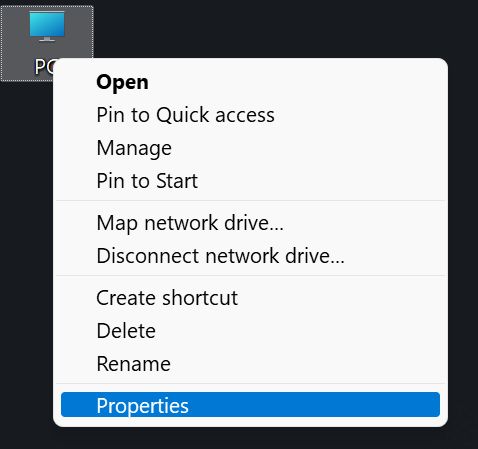
A quick shortcut to access the About PC section in both Windows 10 and Windows 11 is to right-click on the desktop PC icon and select Properties. This will open the settings app to the correct subsection.
Use a CMD Command to Find the Computer’s Name/Hostname
There’s also a geeky method to check the computer name by using a Command Prompt Command. It also works for PowerShell and Windows Terminal, in Windows 10 and Windows 11.
1. Open the run dialog window (Win + R).
2. Type cmd and press Enter.
3. In the Command Prompt window enter the following command:
hostname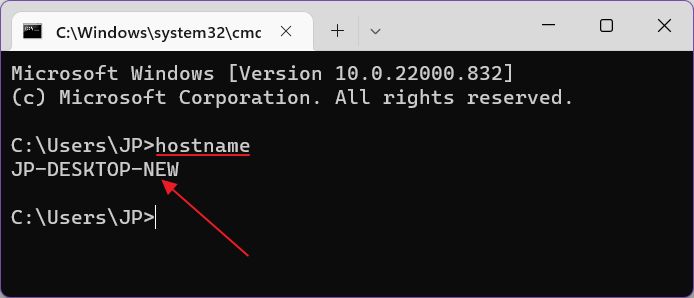
Immediately under this prompt, you’ll see listed the current computer name.
There you have it: a quick guide about the computer’s name in Windows. Are you using a cool one, or a boring one, like mine? Let me know in the comments.