- If you need to do a Windows 11 clean install here’s a quick and easy-to-follow step-by-step guide.
- It’s scary for beginners, but it’s very easy to install Windows 11 on a new computer.
- If you bought a new computer installing Windows 11 is the first thing to do after the first power-on cycle. Without an operating system, it won’t work.
- The guide contains all the Windows 11 installation screenshots you need to get to the Windows desktop all by yourself.
Using a computer is easy for most people. Assembling a PC and installing the operating system is not for everyone, but it’s also not rocket science. If you’re scared about doing this alone you shouldn’t be. Ask a friend to help, if you need confidence, but I’m sure anyone can install an OS with a bit of patience.
Read this article until the end, take notes if you have to, and I’m sure you’ll be able to successfully boot your brand-new computer into the Windows 11 desktop. I was almost going to say the “familiar” desktop interface, but with Windows 11 things have changed a little bit, so it might not be familiar ground for everyone.
CONTENTS
Requirements for Installing Windows 11
- A PC with at least one storage drive, preferably unformatted, but not required. Minimum Windows 11 hardware requirements are listed here. Note the TPM module requirement. Your computer might have one that’s not enabled in BIOS.
- A bootable USB disk 8 GB or larger.
- A working computer with an Internet connection so you can download Windows ISO disk image and create a bootable disk.
Recommended reads:
- How to download Windows 11
- How to create a Windows bootable USB install disk with Rufus
- How to enable TPM in order to be able install Windows 11
- Skip TPM check and upgrade from Windows 10 or Create a special ISO that bypasses all checks anyway.
If you already have an install medium (official Microsoft Windows 11 DVD install disk or USB key) you don’t need a working computer to create the installer disk.
Some laptops or prebuilt PCs ship with Windows preinstalled, or at least the install kit is already preloaded. The first time you boot these computers up you may be greeted with the Windows installer, which will guide you through the same process as described above.
Basically, the system integrators are making sure you don’t have to download the installer ISO image and create the bootable USB disk. The installer is copied from the factory onto a hidden partition.
This setup process may differ a bit since system integrators can add/change a few steps. Don’t worry though, it’s not too different.
Windows 11 Installation Guide: Clean Install Windows 11 Step by Step
I’ve tried to be as helpful as possible, illustrating each guide, so here are all the Windows 11 installation steps with pictures. You’ll see that the Windows 11 install process is quite easy.
1. Insert the installation DVD into the optical bay or the bootable USB disk into your computer.
Note: if using a desktop case try to insert the USB drive into one of the rear ports. Front-panel USB connectors are more convenient to use but can cause issues during the install process.
2. Press the F8 key multiple times while the computer starts to call the Boot Manager menu.
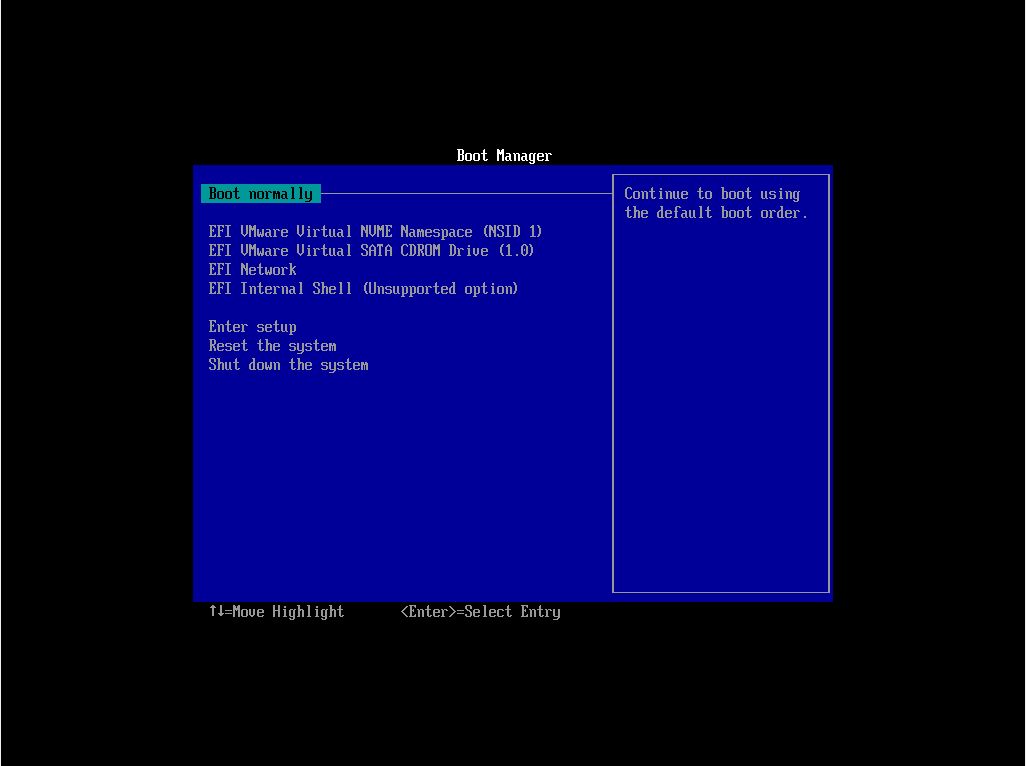
3. Use the arrow keys to select the drive unit that contains the Windows 11 installer. Some drives may show up twice. If so I recommend you chose the version that’s named EFI or UEFI. This is the best way to install Windows 11 and it’s a hassle to switch to UEFI after installing the OS in legacy BIOS mode.
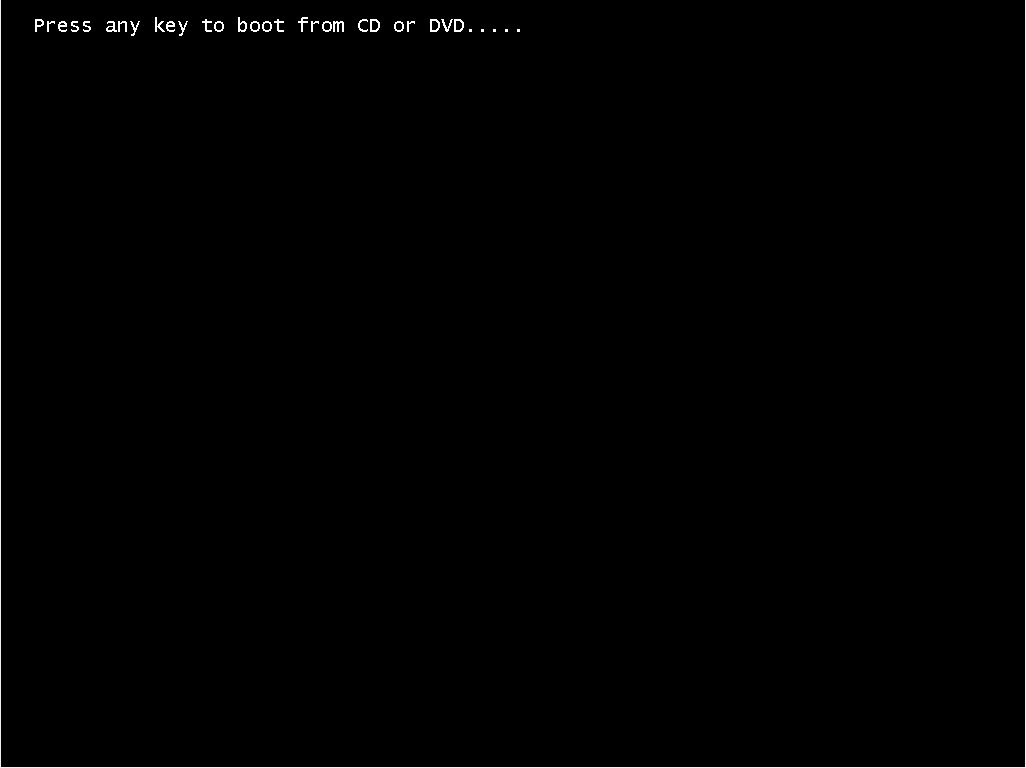
4. Next, a message to Press any key to boot from the CD or DVD… appears. Doing so will start the actual Windows 11 installation process and the new Windows 11 flat logo will show up.

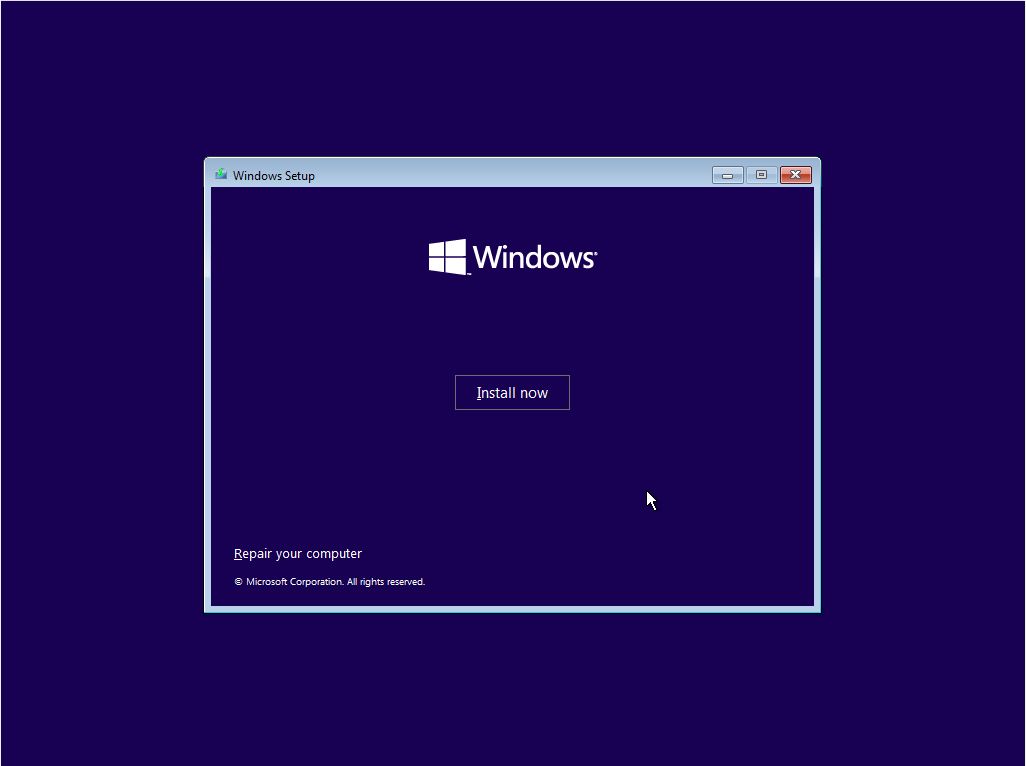
5. First step is to choose to Install now. On this screen, you’ll also see an option to Repair your computer. You’ll ignore it for this guide.
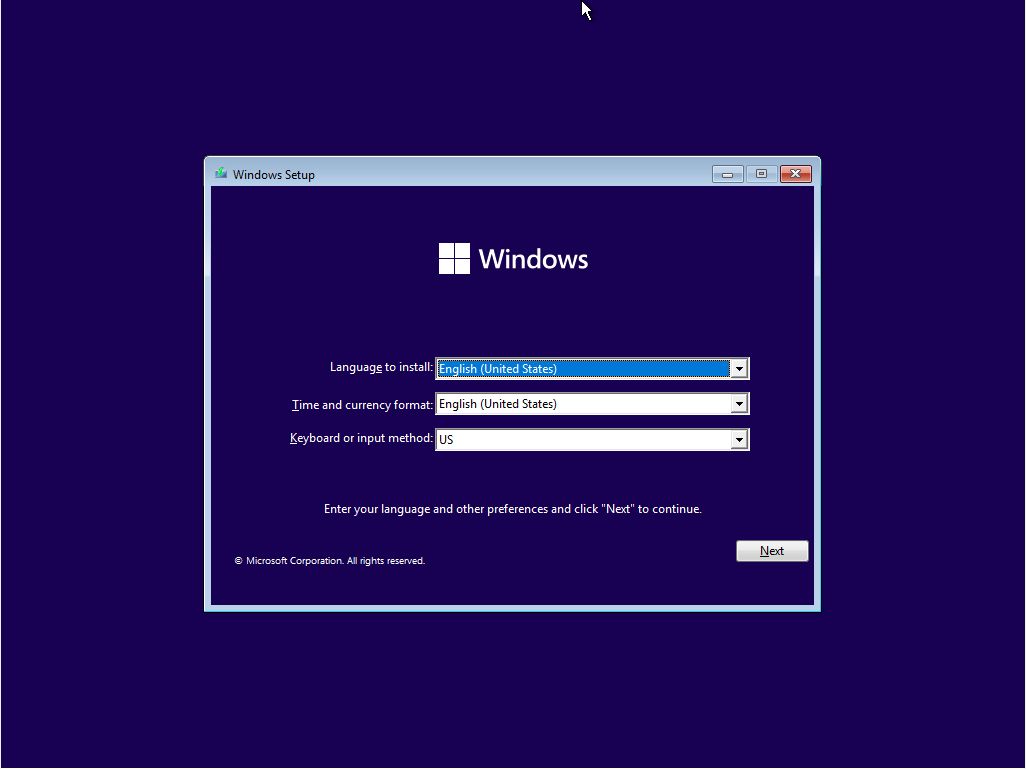
6. The installer will ask now to choose the language of the interface, the time and currency format, and the keyboard layout. These can be mixed and matched to your preference, and don’t need to reflect reality. Changing them at a later date is possible without reinstalling Windows 11.
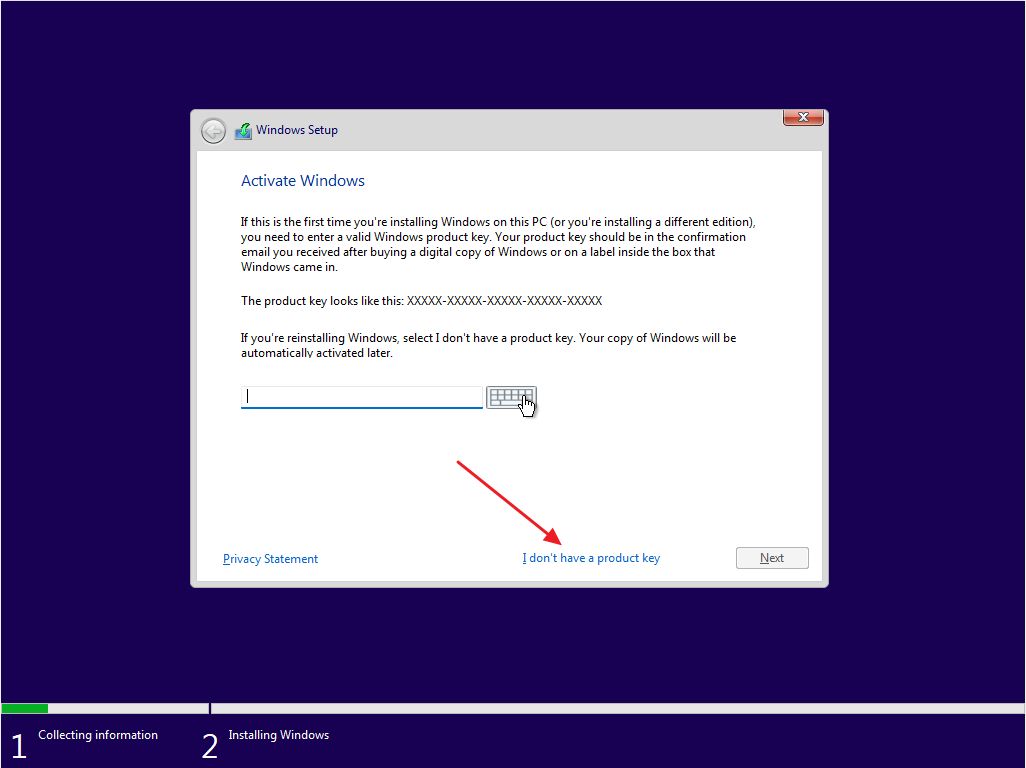
7. At the next step you’ll be asked to enter the Windows 11 product key. This step can be skipped for now, but you’ll have to eventually activate Windows 11 to get all the features. Be careful and enter the correct code provided with your license. The serial key is made up of 25 characters (5 groups of 5 letters and numbers each).
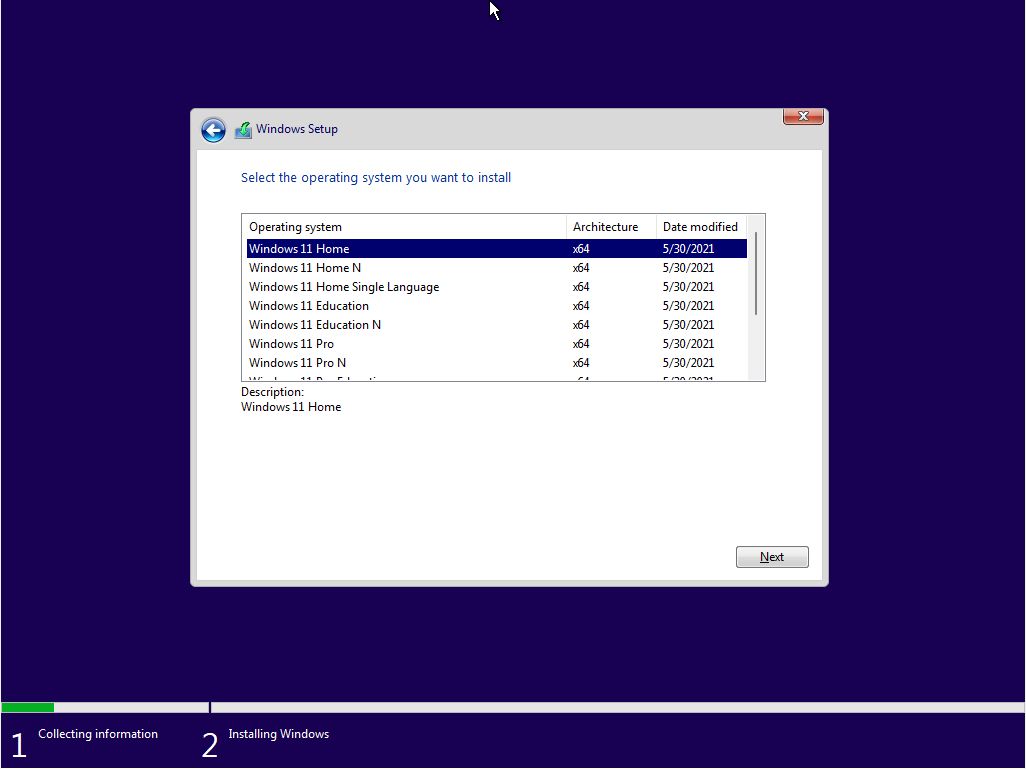
8. Now it’s time to select the Windows edition you want to install. Your selection must match the product key entered earlier or else Windows won’t activate.
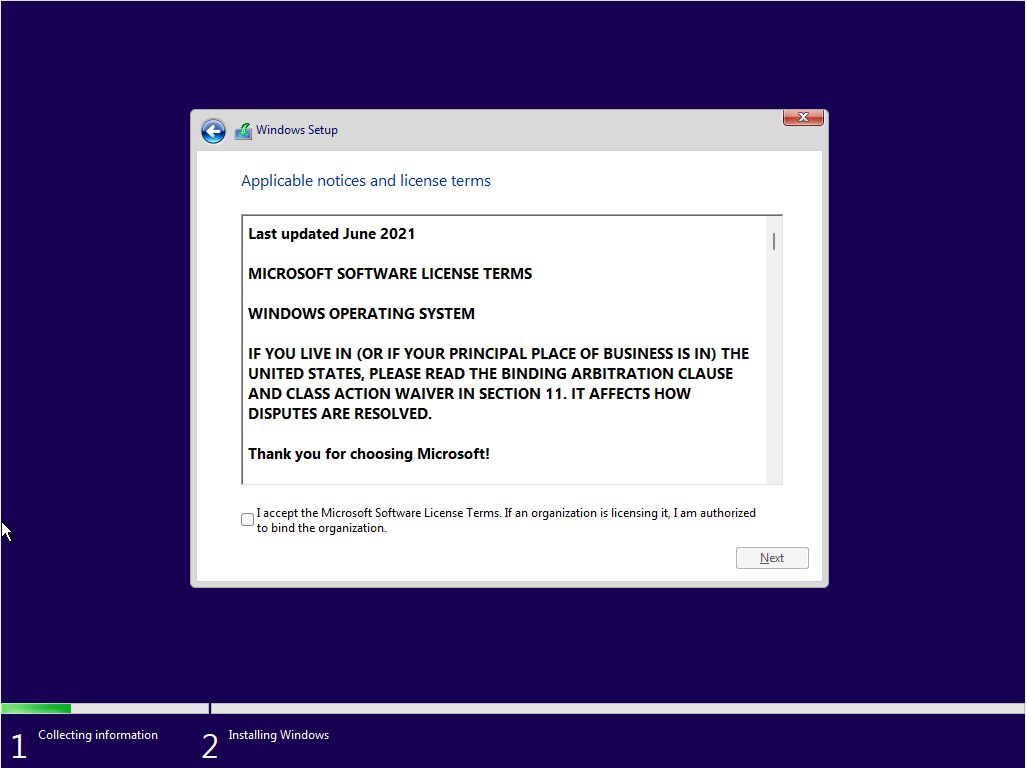
9. To proceed you next need to agree to the licensing terms (EULA).
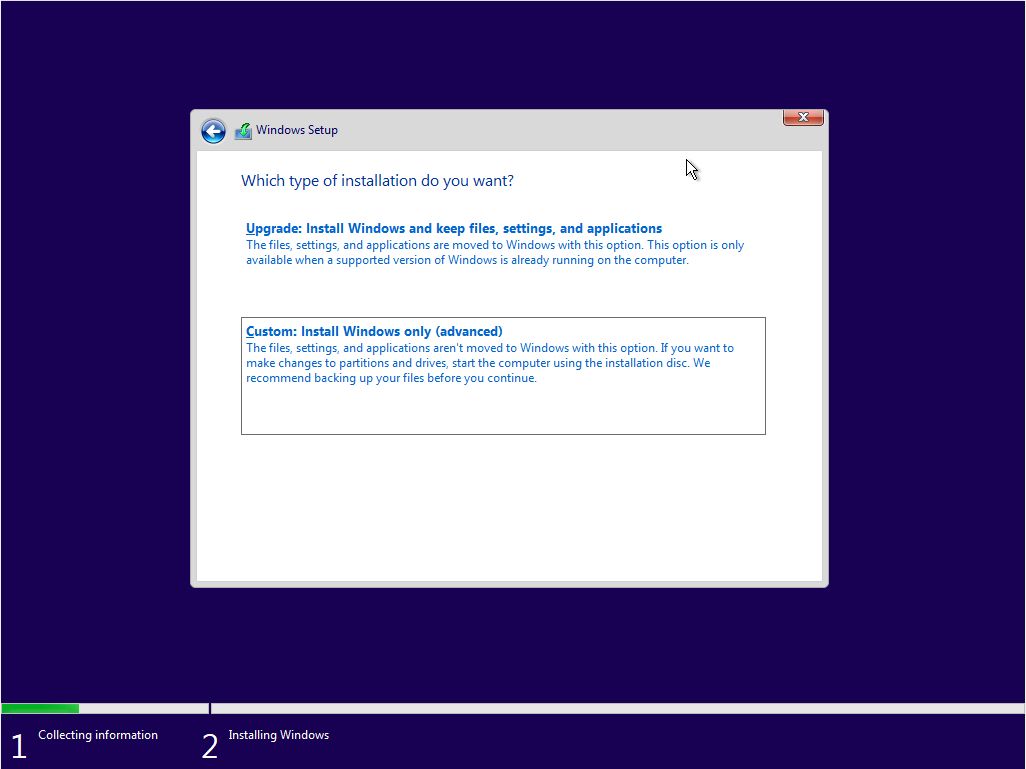
10. Next select the installation type. There are two options: Upgrade an existing installation of Windows (version 7, 8, or 10) or Custom.
Upgrade doesn’t work anyway from this installer. You need to boot into Windows, plug the installer kit CD or USB disk, then start Setup.exe from File Manager. I don’t know why Microsoft still shows the Upgrade option here.
If you don’t have a previous Windows version installed just select the latter option.
11. At this step you’ll see all available disks detected in your computer. Let the installer know the disk where Windows 11 files will be copied. You can choose to partition the existing disk into smaller virtual disks (recommended for bigger disks). If you only have one unformatted disk just select it and hit Next. The installer will create all the needed partitions for you.
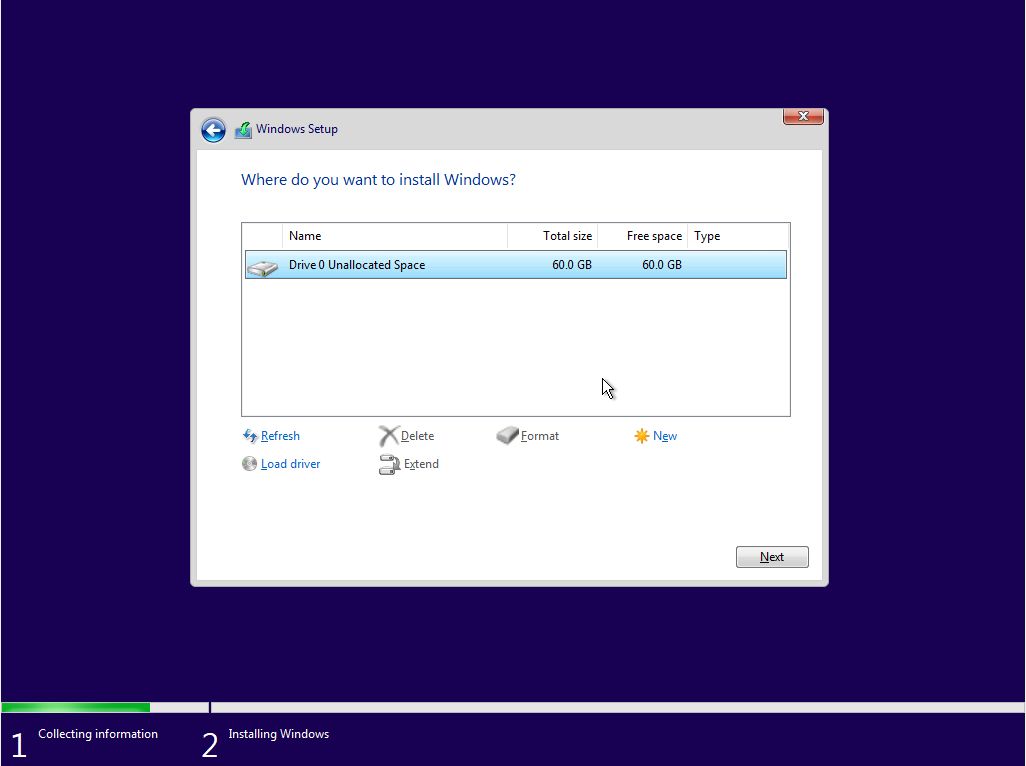
Expect an advanced setup guide for this install step so check back to BinaryFork. I’ll make sure to link the guide back here. I think it is a must-know if you’re reinstalling Windows, installing it on a multi-disk computer, and especially if you want to dual-boot other operating systems next to Windows 11.
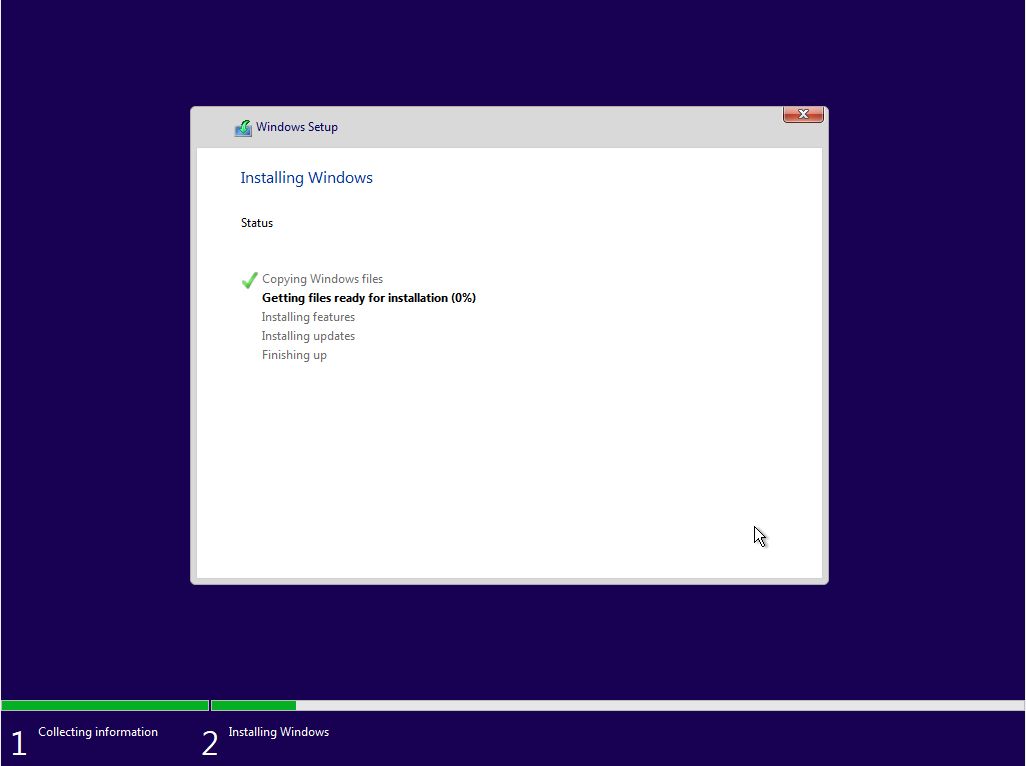
12. The installer will now start to copy the required files from the install medium to their final destination. A reboot will definitely happen at this point.
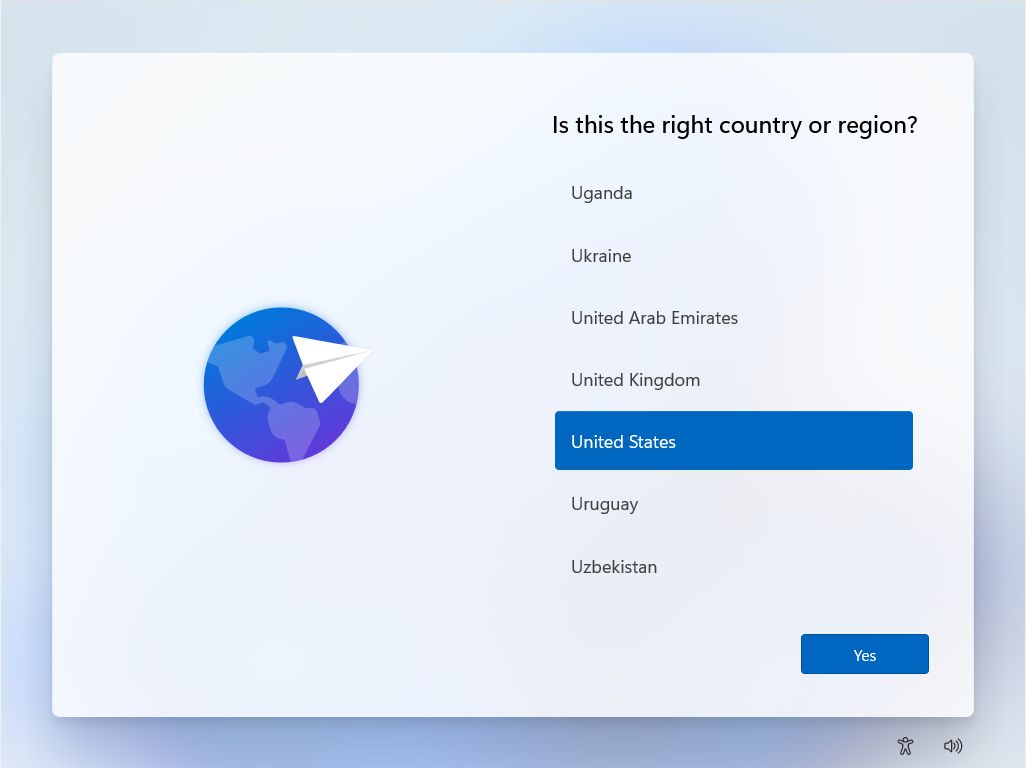
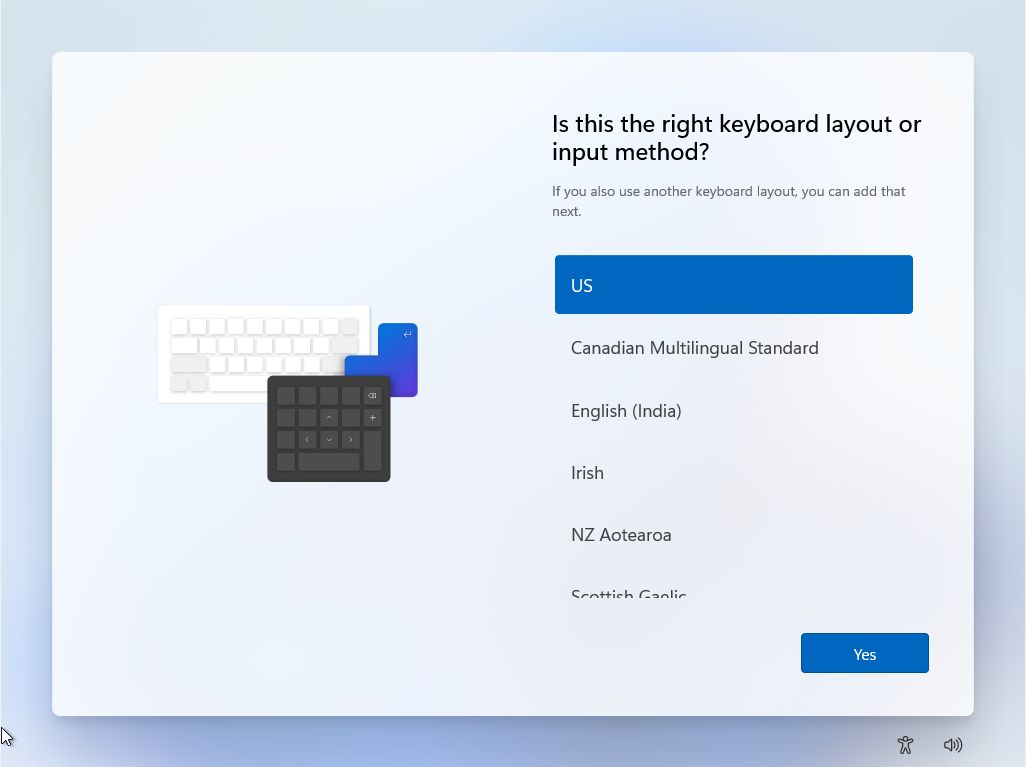
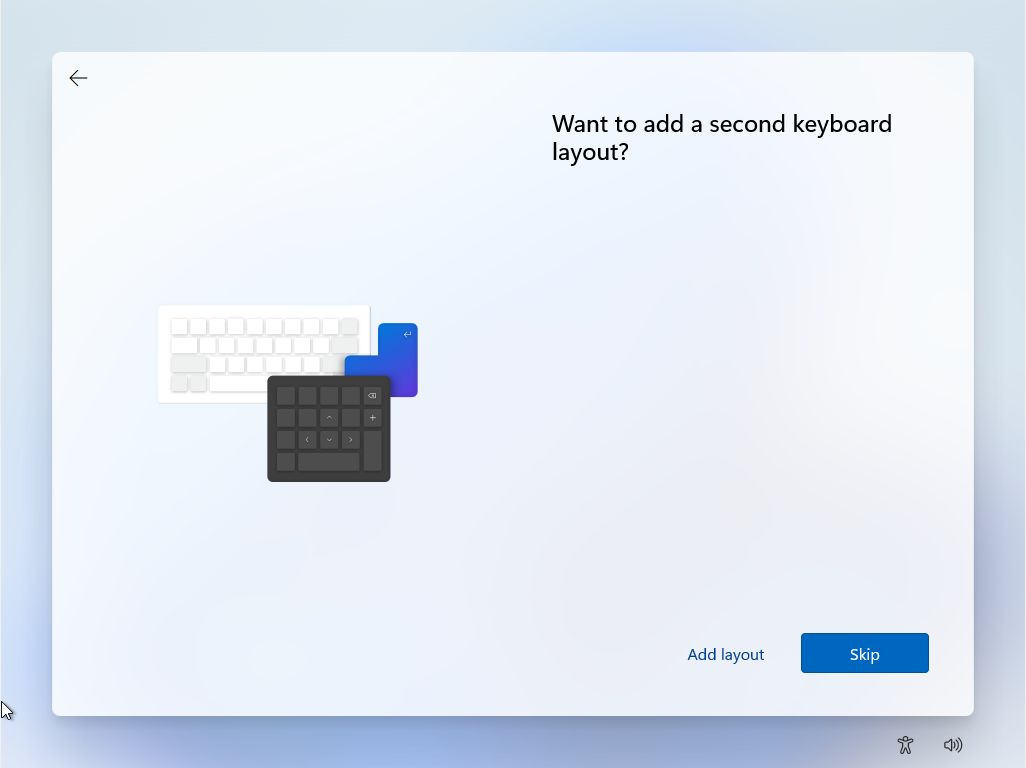
13. If this is a deja-vu, don’t worry, because you’re asked again to select the geographical region and keyboard layout. They can differ from the original choice and will override the settings from step 6. You can optionally add more keyboard layouts (hint: use WIN + Shift to switch between them while using Windows).
14. All previous screens are almost identical to the Windows 10 installer. Now we’re getting the first newly designed screen: name your PC. I suggest you enter a computer name that’s recognizable and easy to remember.

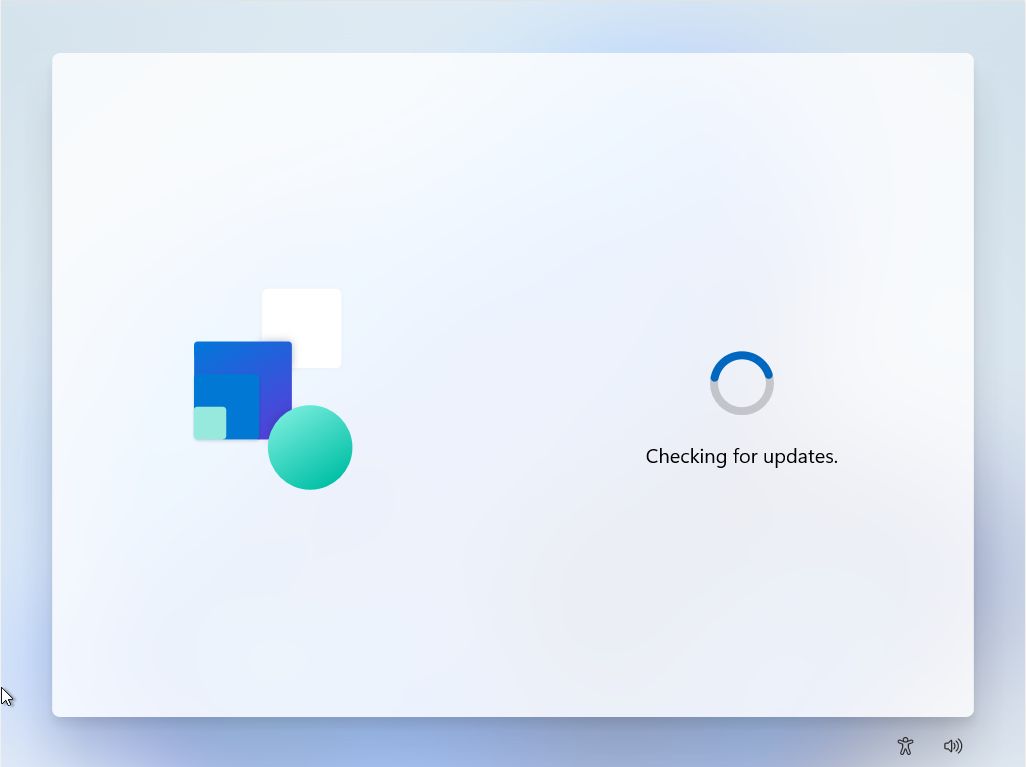
15. The installer will now check for any updates and download them before proceeding. Let it do its thing.
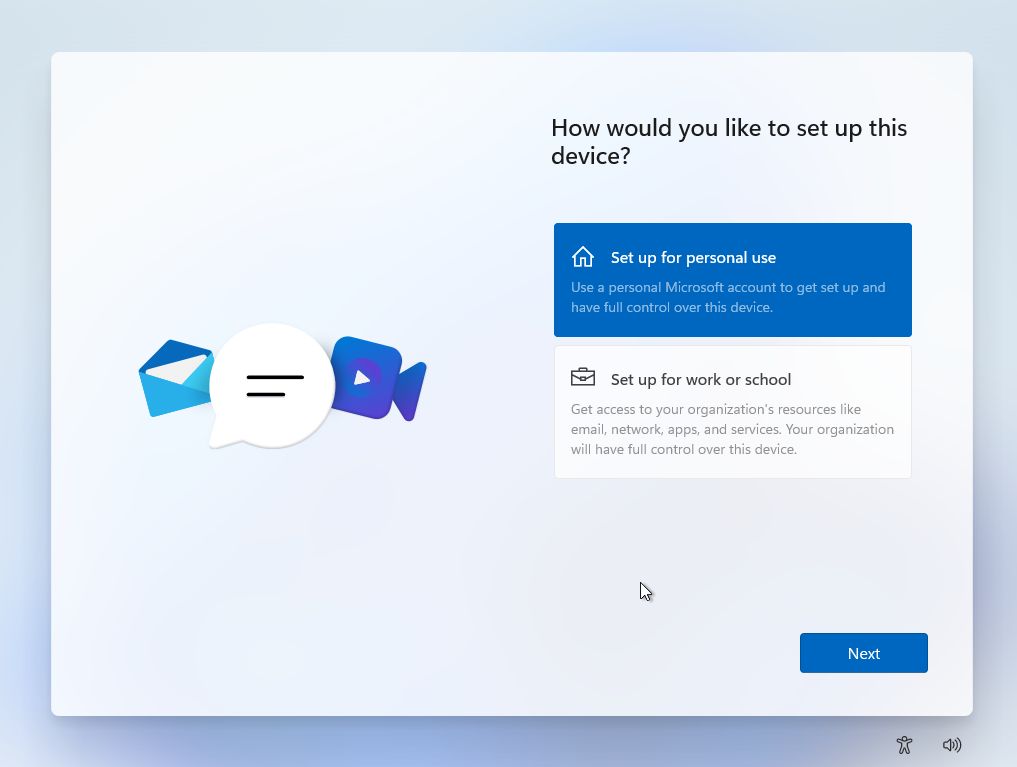
16. At this next step you’ll select the predefined device usage scenario: for Personal use or Organization, in which case your system administrator will enforce some settings for you after you login into your company network. We’ll be using the Personal option for this guide.
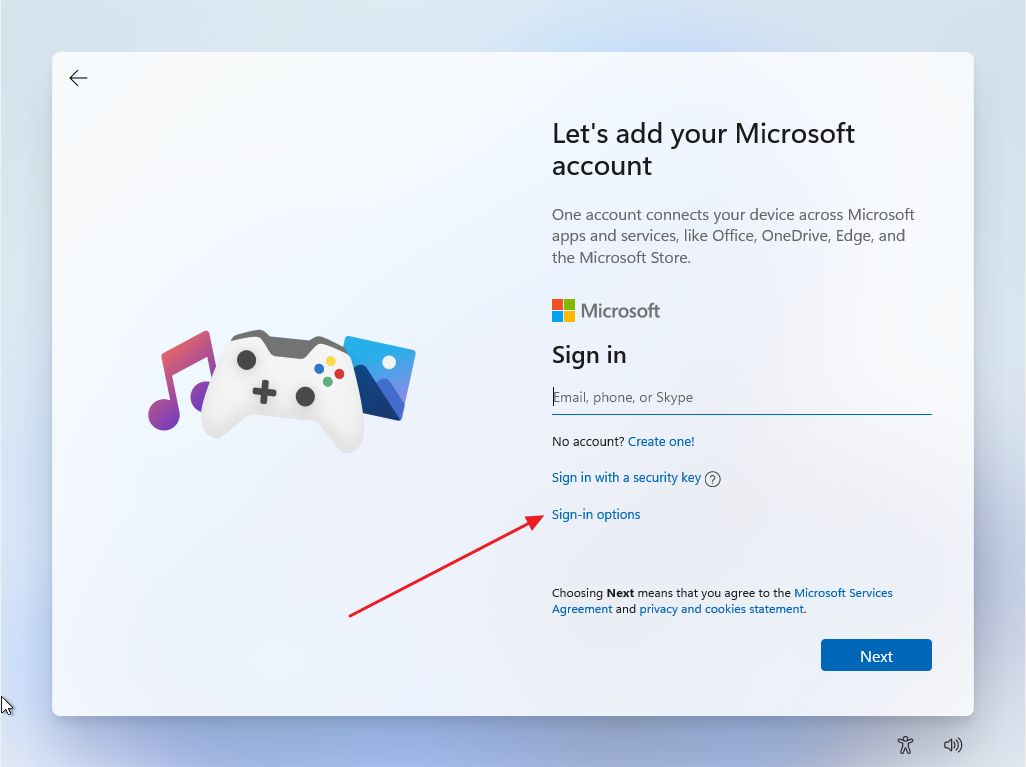
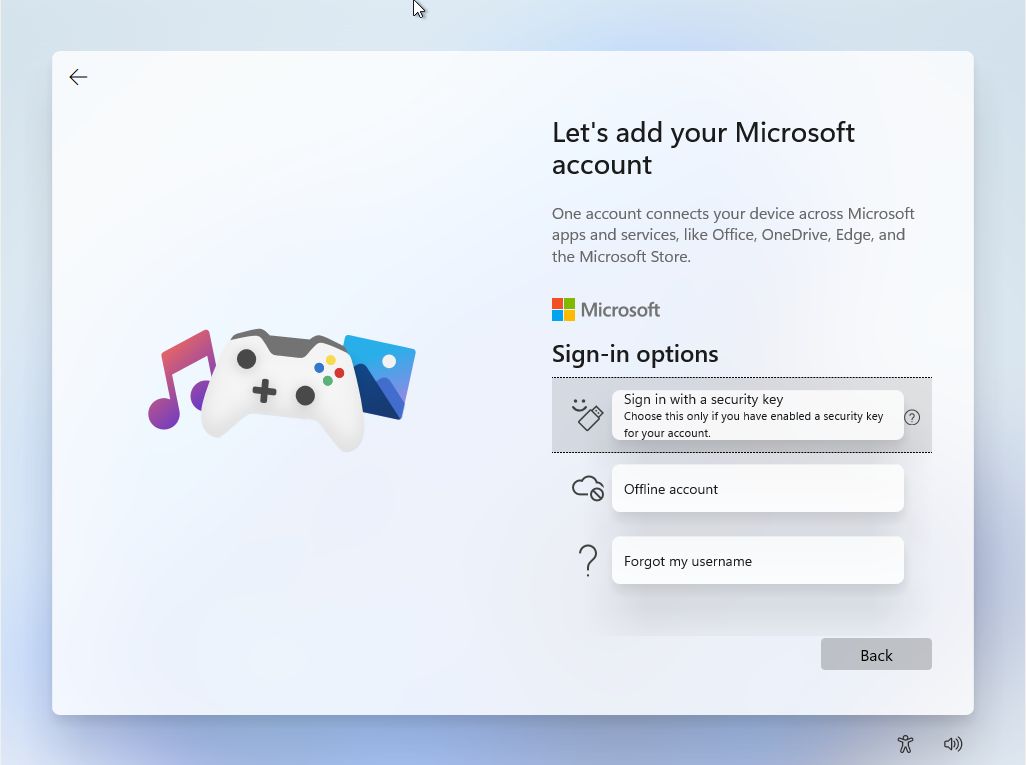
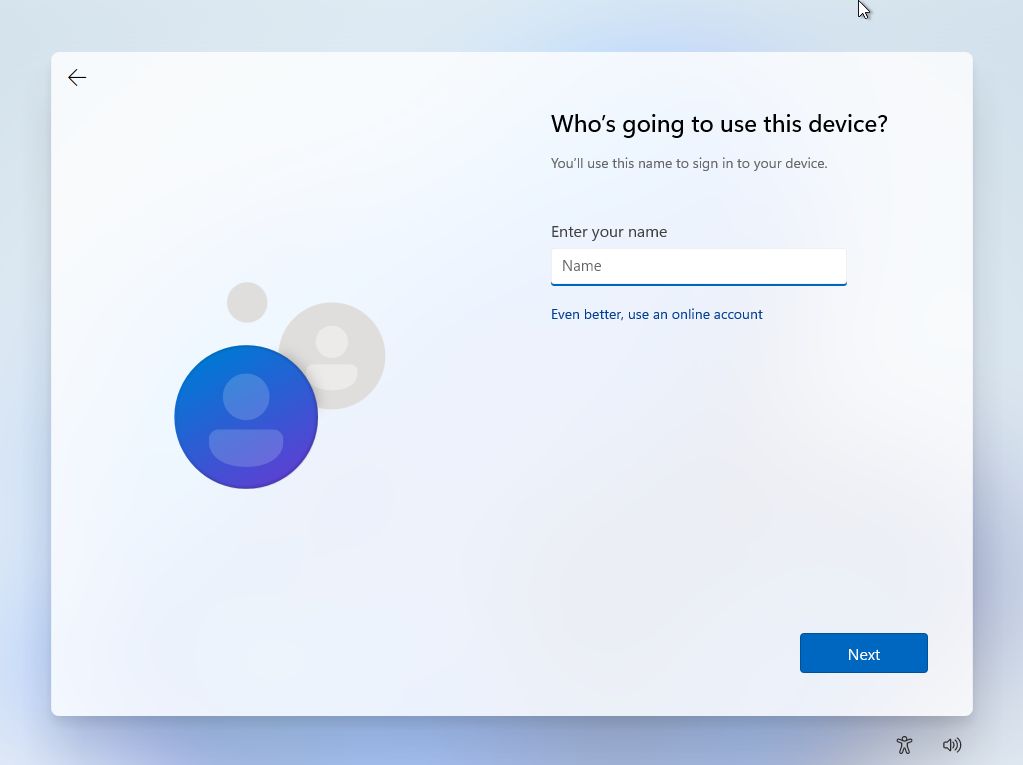
17. Now it’s time to create the administrator account for this PC. Microsoft still tries to make you sign in with your outlook.com account, but I suggest you stick to an offline account for privacy reasons. We also have an article detailing the differences between the two account types.
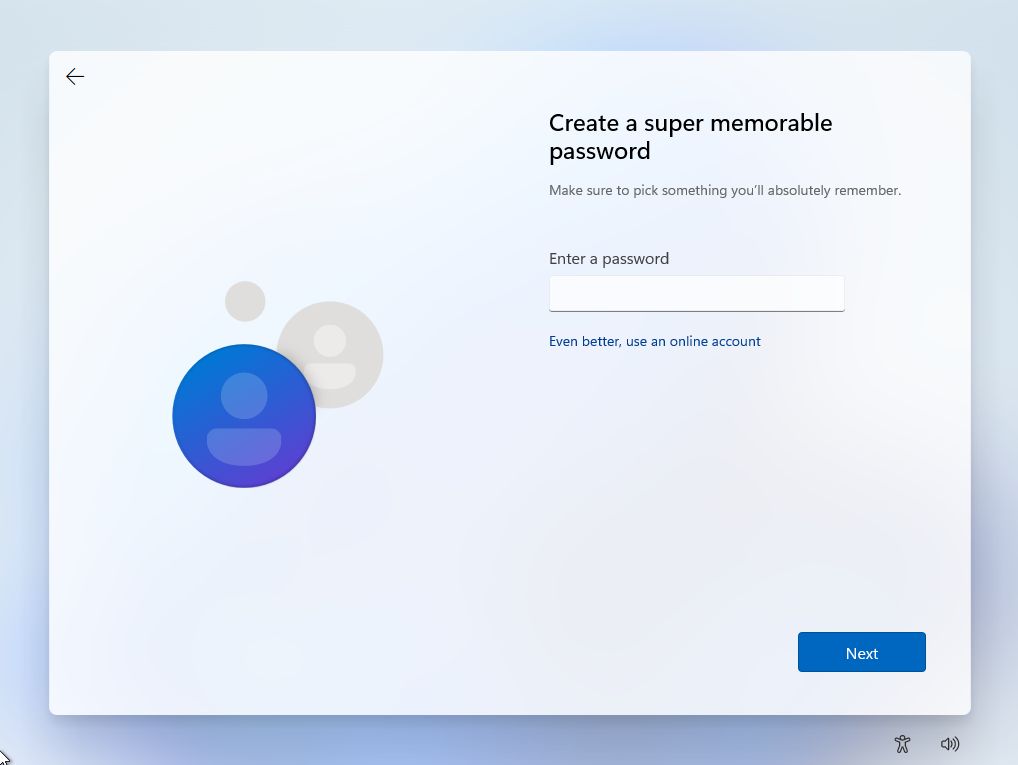
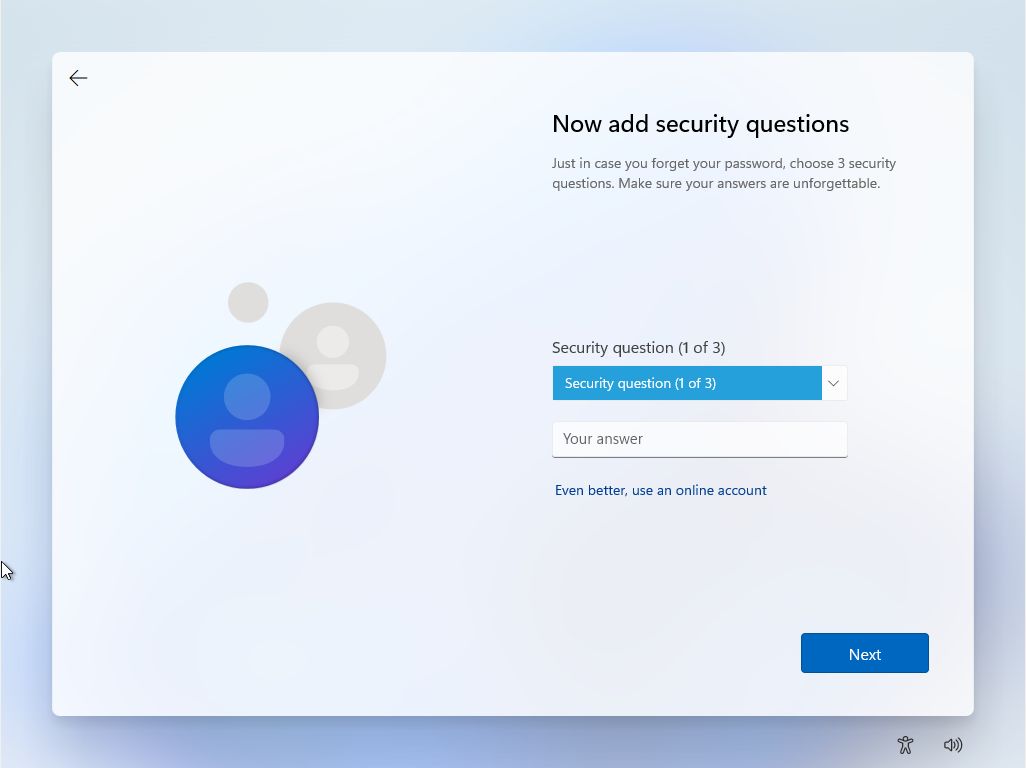
18. To ensure you can recover your files if you don’t remember your password you’ll need to provide answers to one of the 3 security questions set up at this step.
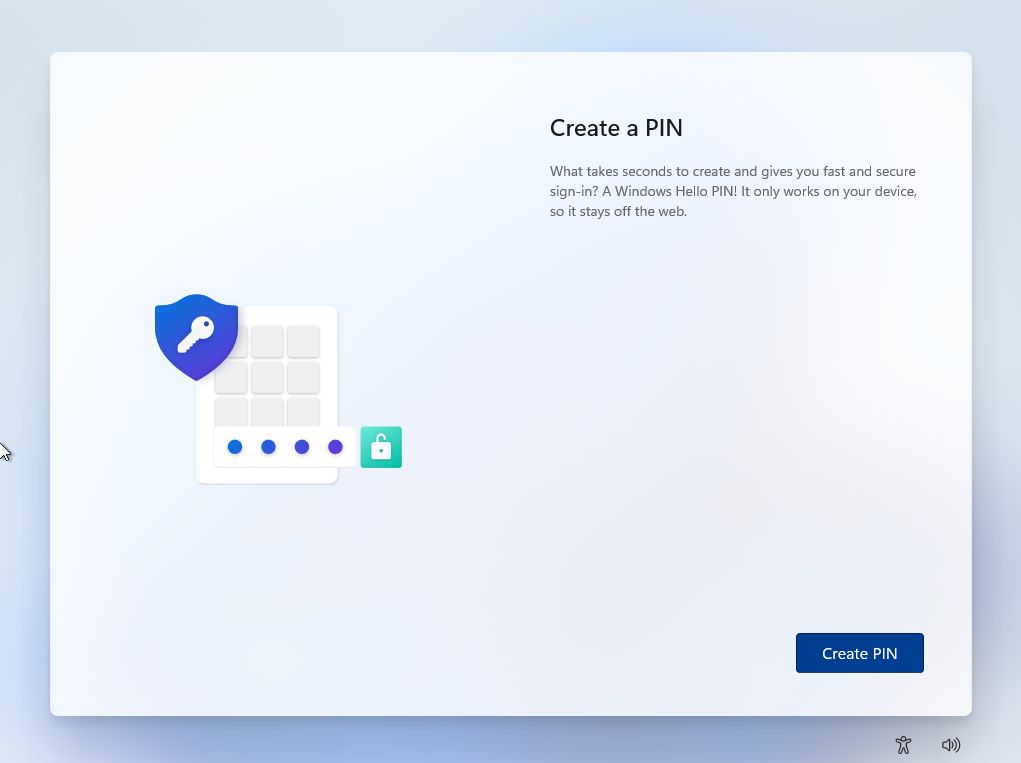
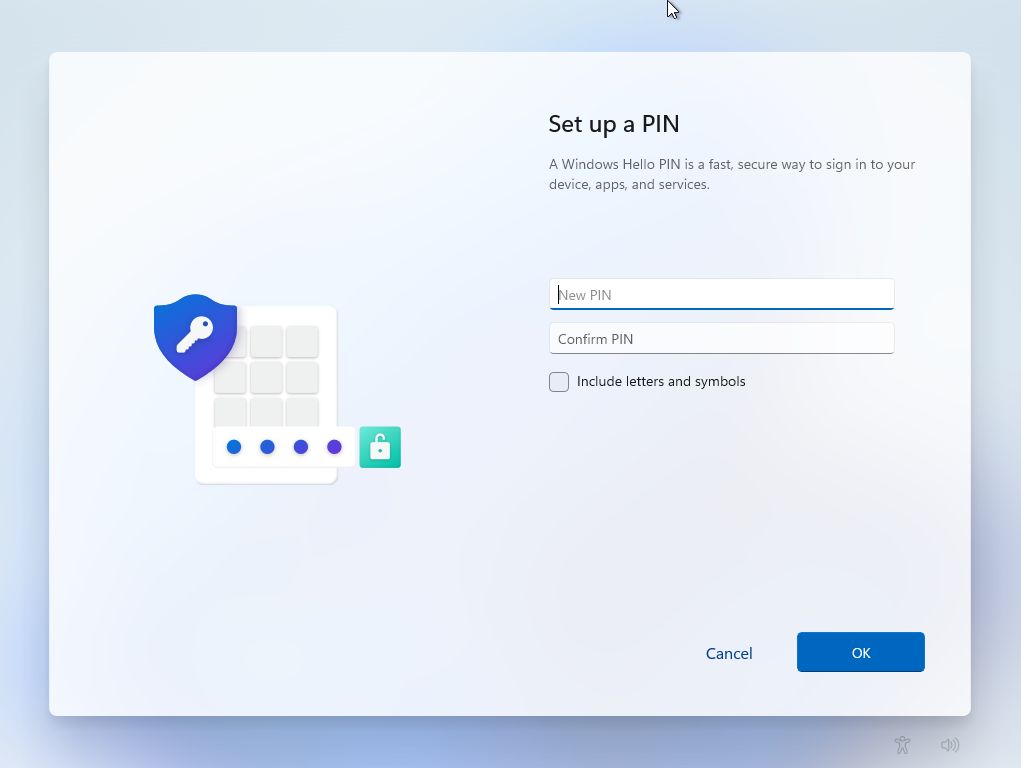
18a. If you sign in with a Microsoft account, you will be asked to Create a PIN to log in quicker to your computer, instead of using the complex Microsoft password.
You can complete a more secure PIN if you wish, but by default, you’re only required to add numbers, not letters and symbols.
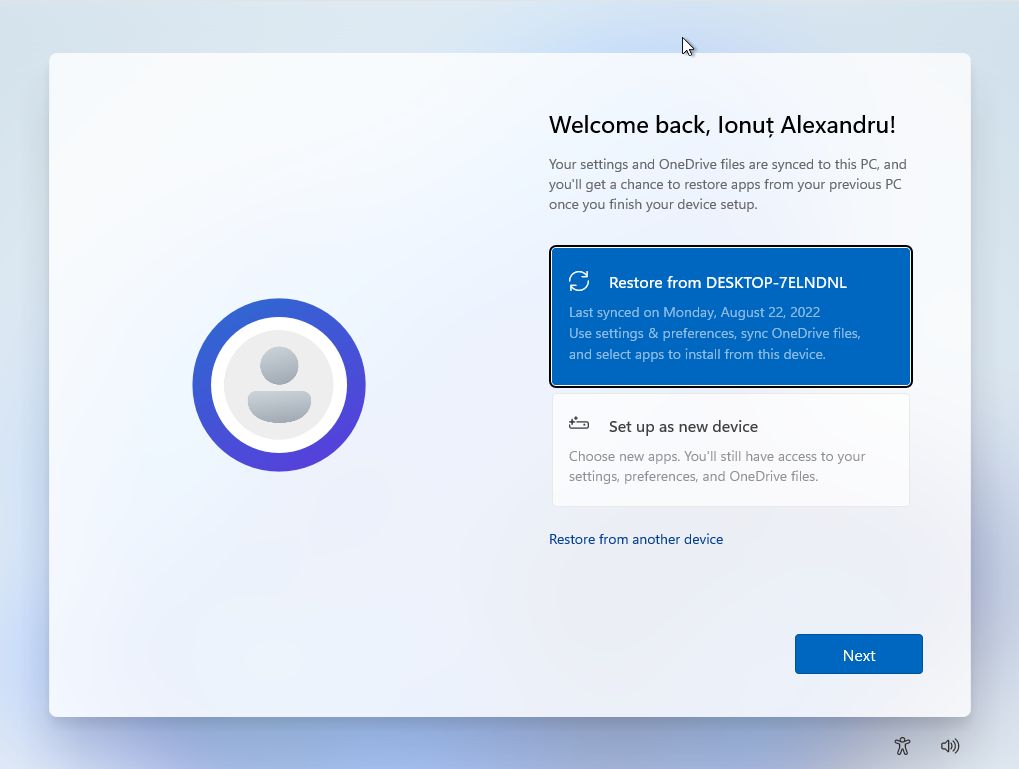
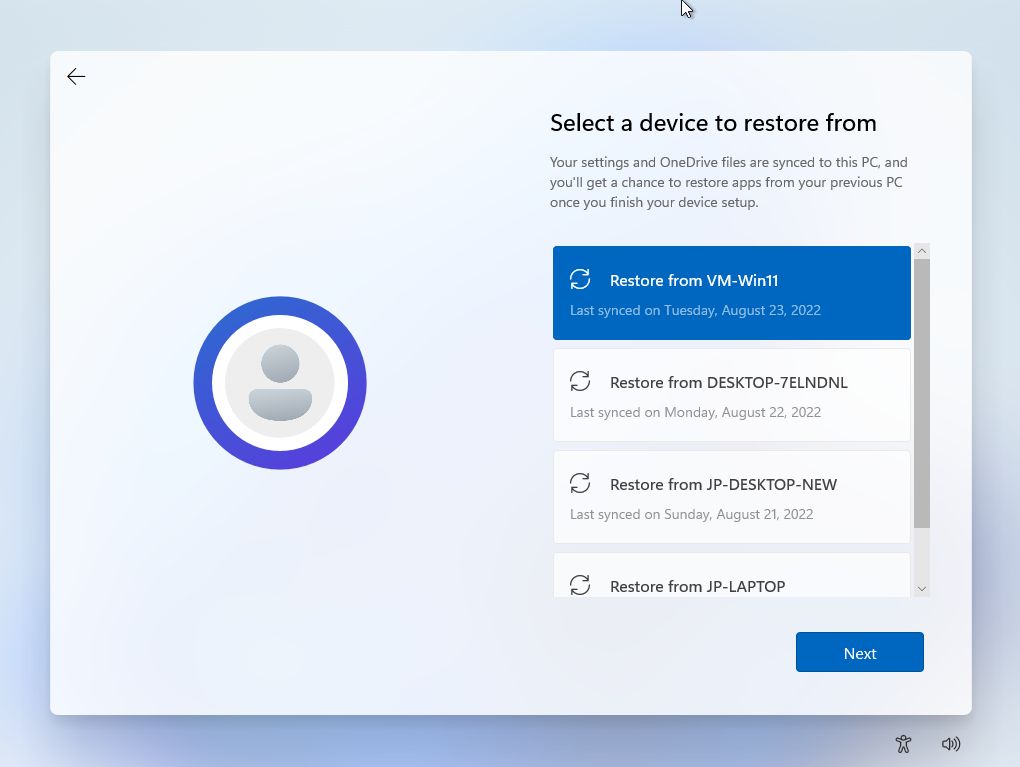
19. If this is not your first Windows device and you had set up settings sync in the past you can choose to restore settings from another machine (it can also be the same machine if you’re reinstalling Windows).
By default, Microsoft shows the last device that was synced, but you can click on the Restore from another device link and you will see a list of all devices associated with your Microsoft account.
For this guide, we’ll just select Set up as new device.
20. Privacy settings are next. By habit, I disable everything that’s possible without hampering the use of Windows. Expect some telemetry data to still be sent to Microsoft, but I’m working on an article about how to disable pretty much everything that affects privacy in Windows 11.
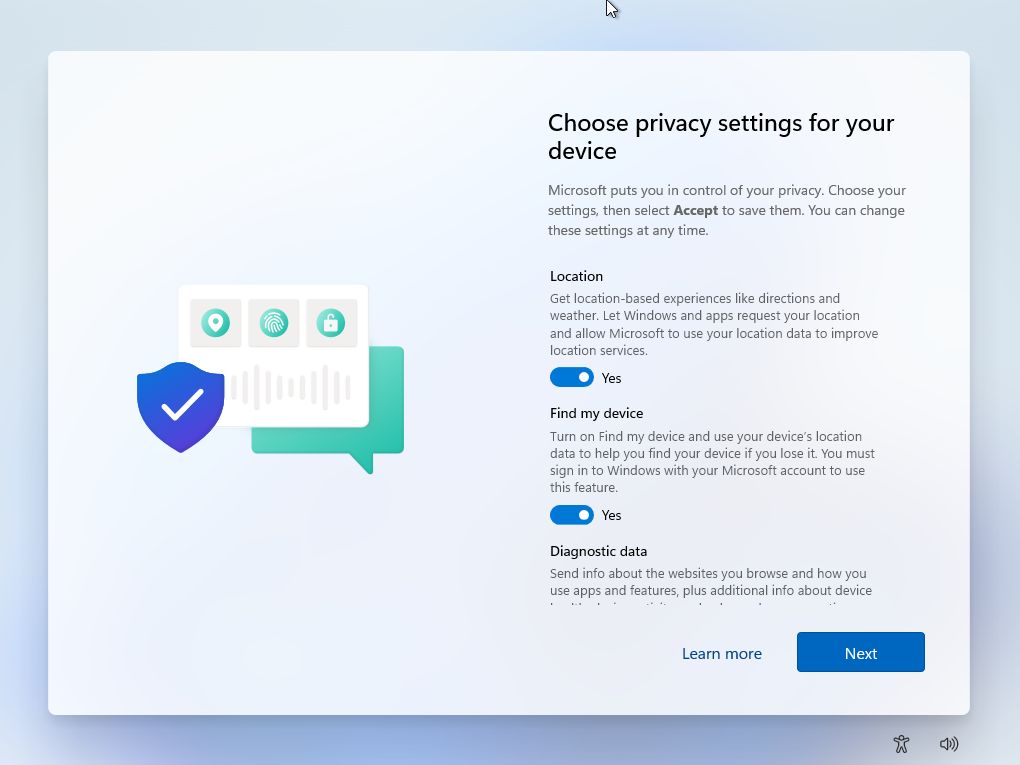
Notice there’s no more Cortana at this step. That’s a win!
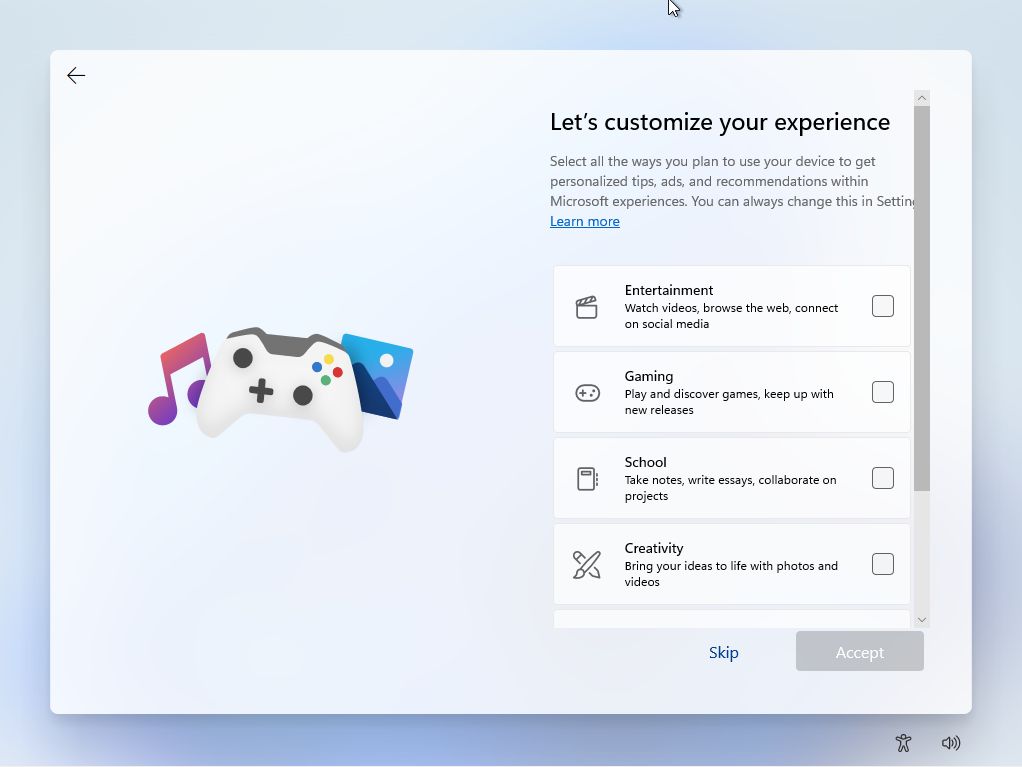
21. This is a new step, which will ask you to select the basic types of activities you’ll be doing with your new machine. Options include Entertainment, Gaming, School, Creativity, Business, and Family.
Based on your selection Windows will personalize tips, ads, and recommendations. You can just press Skip, as all these options can be changed later in the Settings app in the Personalization > Device Usage section.
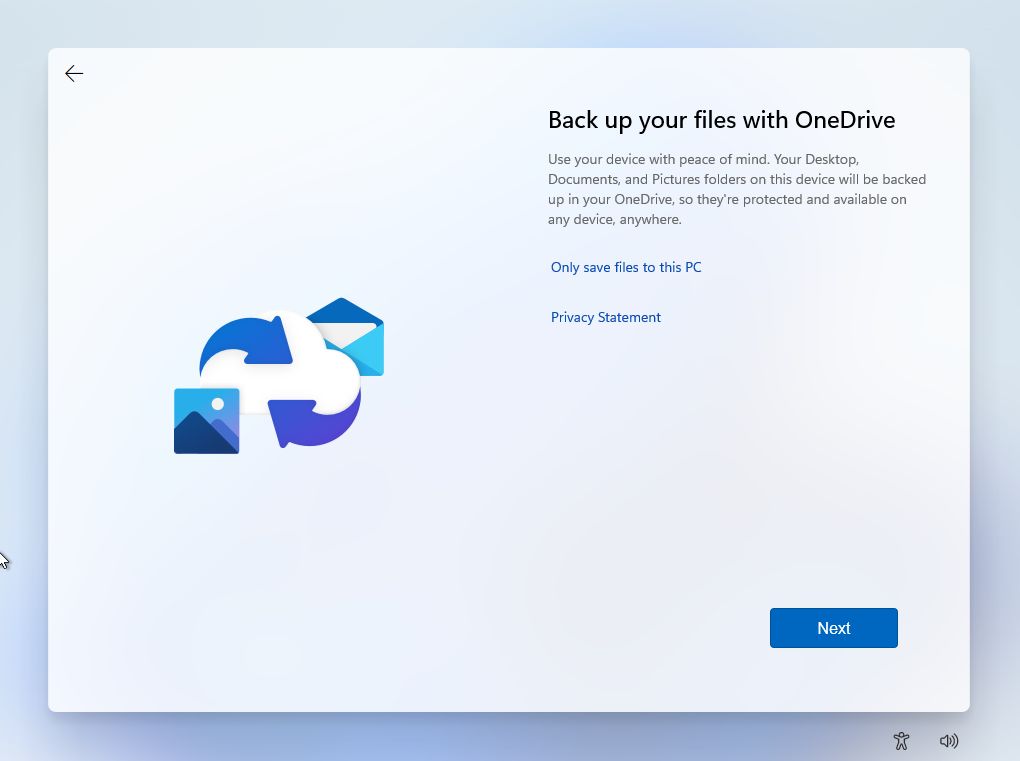
22. You’ll now be asked to set up an automatic backup with OneDrive. It’s part of the Windows settings sync. You can just click on the Only save files to this PC link and continue.
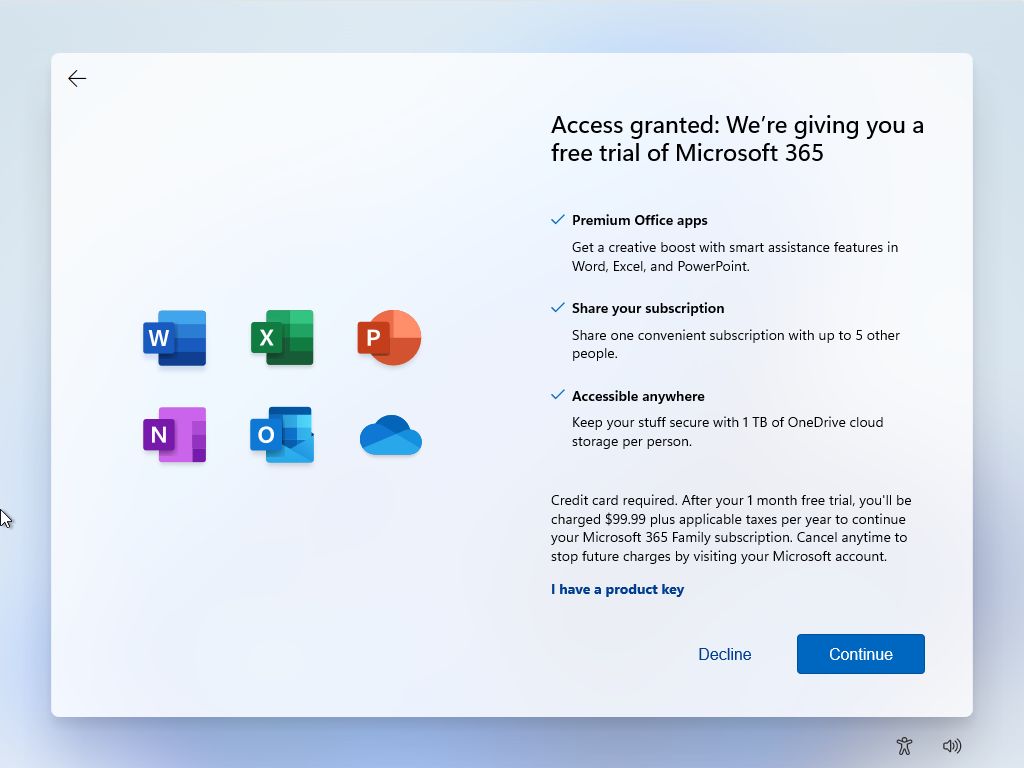
23. Now you can set up your Microsoft 365 Family plan 1 monthly trial for Office + 1TB OneDrive cloud space. If you don’t need it click Decline. If you already have an active subscription you can click on the I have a product key to link this device.
24. Another promo, this time for Xbox Game Pass. It’s a pretty good deal if you’re a serious gamer. You can press Skip for now to proceed further.

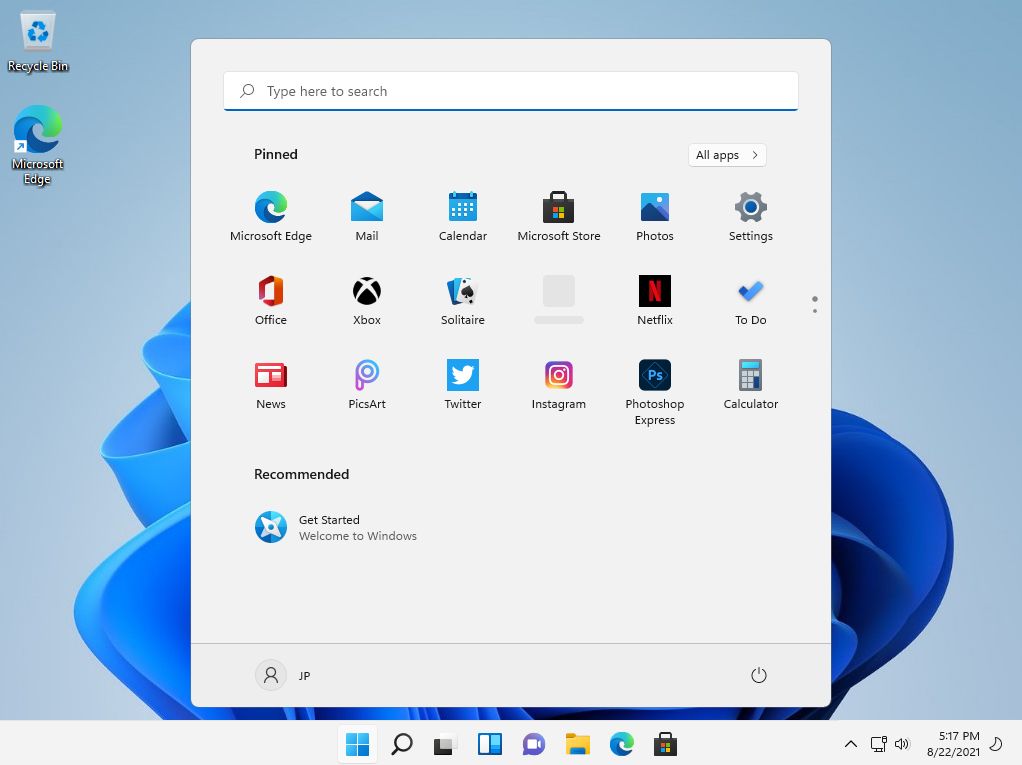
25. After a few moments and a couple of different screens you’ll be greeted with the new Windows 11 desktop for the first time. Don’t worry, the start menu is supposed to be centered!

That’s all, the end of the Windows 11 installation step by step guide. By now you successfully performed a Windows 11 clean install on your new computer all by yourself.
Did you encounter any problems when installing Windows 11? Let me know in the comments and I’ll try to help you.
Also read: Learn how to install Ubuntu Linux if you want to try something completely different. If you’re still a Windows 10 fan, we have a separate guide for installing this OS.
Install Windows 11 – PDF Guide Download
If you want a version of this guide that you can follow at your own pace, I’ve added below a PDF version of this Windows 11 installation steps. You can download, print, and share this file with a friend who needs it to get Windows 11 installed on their PC.
Frequently asked questions:
From booting your PC to the Windows desktop it can take anywhere between 10 to 15 minutes to install Windows 11 on fairly modern hardware.