- Learn how to use your own icons to spice up the look of Windows.
- Windows has always offered the option to customize the shortcut and desktop icons with your own.
- You can use your own ICO files for any file, folder, a program shortcut, and also for system shortcuts such as My PC, Recycle Bin, Control Panel, User Folder, and Network.
Windows was always very customizable. You can change pretty much any aspect of the Windows interface: mouse cursor, icons, fonts, colors, change wallpapers, add a slideshow, Start menu, and so on.
A lot of customization options are baked right into Windows, but there are also tons of other third-party utilities that will help you take things one step further, such as the Start11 which will take care of the Start menu and taskbar.
You can make your Windows look like a previous version of Windows with a bit of effort, or make it look like Mac OS or Linux if you prefer. Does it make sense? If you want to put your own touch then definitely. People go to great lengths to make things look personal, so there’s nothing wrong with that.
I now prefer to use standard functionality as much as possible, because I know that tweaking important aspects of Windows by using third-party apps can cause serious problems in the long run. It’s a problem of when not if.
Thankfully, Windows still offers tons of options for changing its looks. Today we’re going to take a look at how you can customize the icons in Windows, for both shortcuts and system icons.
CONTENTS
What Kind of Icon Images and File Formats I Can Use in Windows?
The most common file format used for icon images is ICO. It’s an image file format similar to JPG, or PNG, but it comes with transparency built in, and it’s not animated.
Pretty much any image viewer can preview ICO files. The optimal ICO size recommended by Microsoft is 256 x 256 pixels. You can use smaller images, though.
In Windows, icons are stored also in some EXE (executable) or DLL files. Usually, each program comes with its own icon, baked into the launcher file. If you download your icons from the Internet they’ll most likely come in ICO format.
How to Change Shortcut Icons in Windows
The following guide works for both Windows 10 and Windows 11. The procedure is the same.
Note: not every icon you see in File explorer can be changed. This guide works for shortcuts and system icons only!
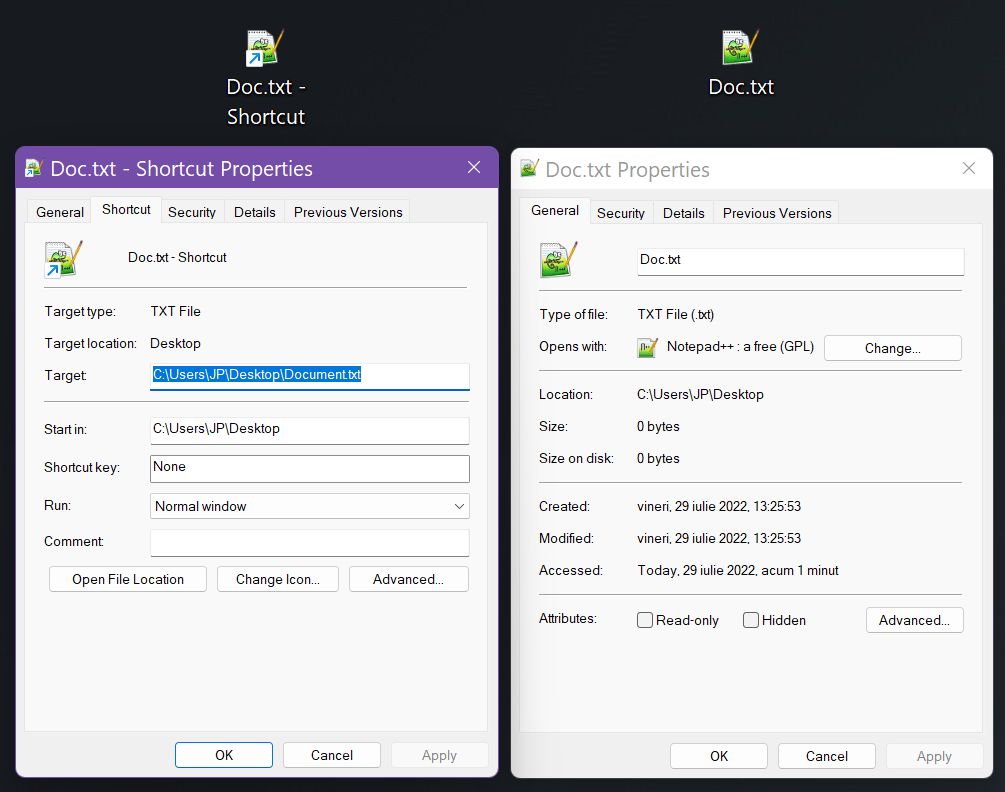
1. Pick a shortcut you want to change the icon for.
2. Right-click and select Properties.
3. In the new window select the Shortcut tab.
4. Click on the Change Icon… button.
5. A new popup will open. It defaults to showing all icons stored inside the SHELL32.DLL file. Click on the Browse… button to pick your own icon.
6. A File Explorer window will let you navigate to the folder where you’ve stored your custom icons. Click on the desired file and confirm with Open.
7. The previous popup will update, showing the new icon. Click OK to confirm again.
8. The shortcut properties window will update with the new icon. Click OK to close it and apply changes.
9. The shortcut will update immediately to show the new icon. Better, right?
- You can reuse the same icon as many times as you wish.
- You can copy or move the shortcut anywhere and the icon will not change.
- You can even change the location of the original icon file and the shortcut icon will not change.
How to Change Desktop Icons in Windows for System Shortcuts (PC, Recycle Bin, Control Panel, Network)
There are a few system icons in Windows that you might want to change the look for. Maybe you want your PC icon to have a less geeky look or want a different meaning for the Recycle Bin icons, both of them.
Microsoft calls these desktop icons, not system icons, which would make more sense to me. Let’s see how we can customize them.
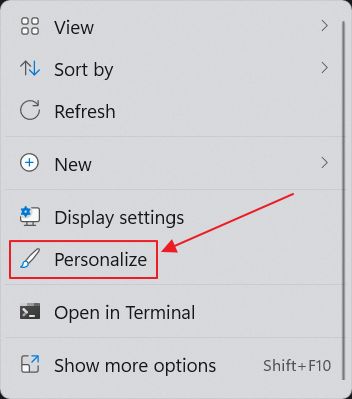
1. Right-click anywhere on the desktop, in an empty area, and select Personalize.
2. This will open the Settings app to the Personalization panel. Click on Themes.
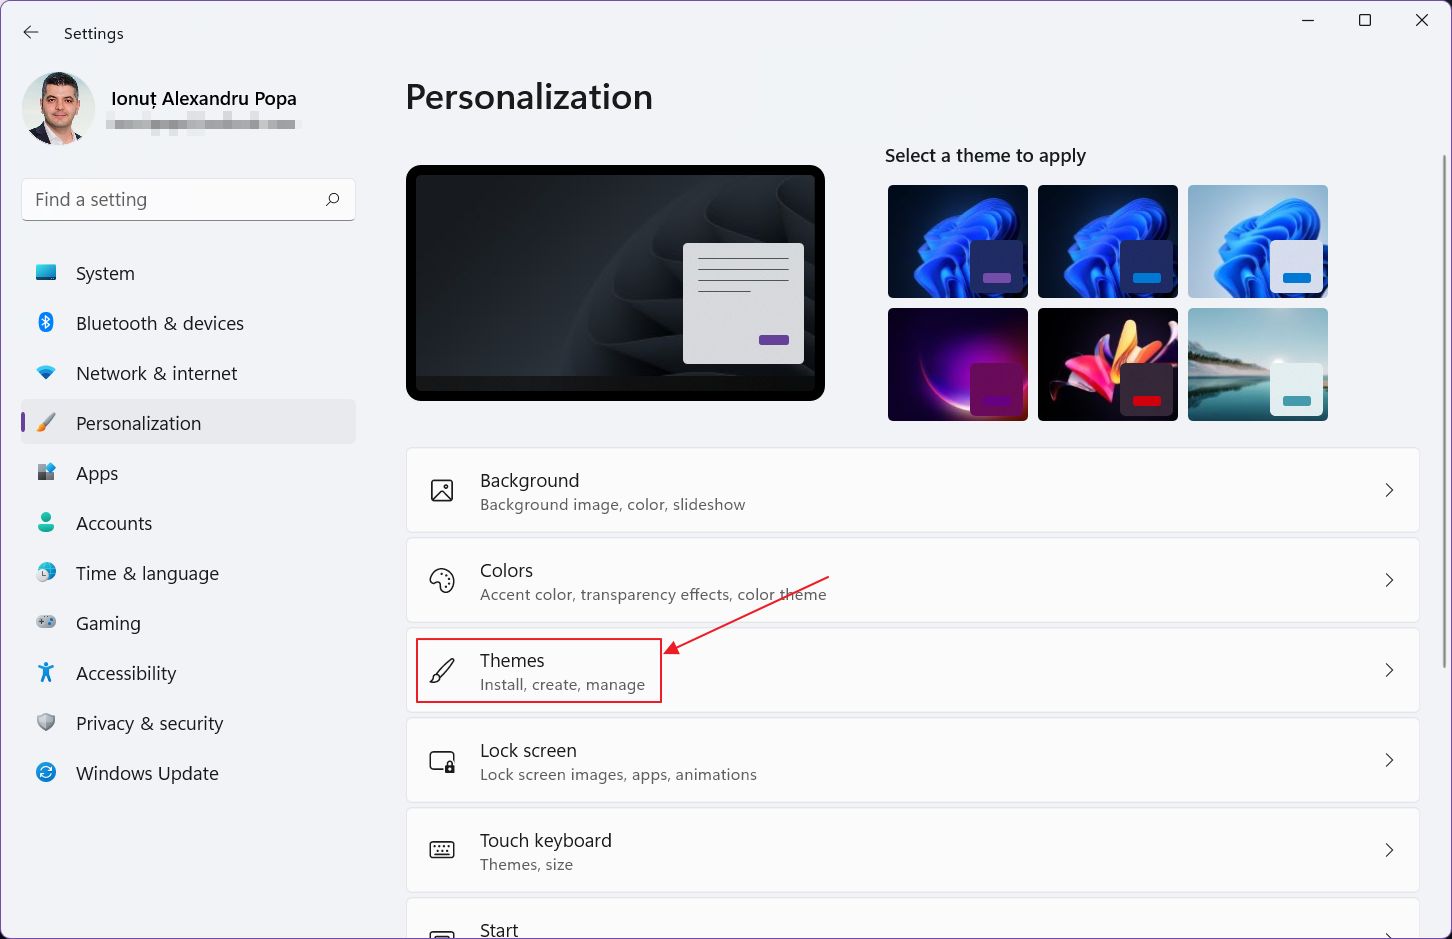
3. Scroll the right panel until you see Desktop icon settings. Click to open a new dialog.
4. In this popup you can (1) turn ON and OFF the system icons you want on your desktop. What we’re going to do is (2) select an icon the (3) click on Change Icon… button.
5. This will open the already familiar icon picker window, but this time you’ll see the icons baked into the imageres.dll file. Click on the Browse… button.
6. Pick a new icon and hit Open. The Desktop Icon Settings window will update to reflect the temporary changes.
7. Click OK to confirm changes. The PC icon will update everywhere it’s shown in Windows.
There you have it. Now you know how to change icons of shortcuts in Windows. Are you using the standard icons, or you’re deep into Windows customization? I’m curious to see what your icons look like so leave a link in the comments with your setup. For more guides check this section.