- Passwords are annoying, hard to remember, and totally unsafe, or at least that’s what everyone tells us.
- Passkeys are the future of security and Google has just added support for them.
- Learn what passkeys are, and how to enable and add passkeys to your Google account.
- Also find out how to log in using another device and how you can still enter your “beloved” Google account password, if you really want to.

I was lucky and never had problems with my accounts being taken over by hackers. I’m using strong passwords and different passwords for all the services I’m using.
It all sounds super safe, especially compared to those who use “password” or their birth dates as passwords because I forgot to tell you I use a password manager. That’s bad because the safety of my online life now lies in the hands of my master password used to access my password manager.
Passkeys are here to help us and one day may even replace passwords completely. Surely this is what Microsoft wants. Now that Google has enabled passkey use for their accounts I suspect we’re heading fast in the direction of passwordless accounts.
Let’s see what passkeys are and how to use them on your Google account.
CONTENTS
- What are Passkeys? Are Passkeys More Secure Than Passwords?
- How to Enable Passkey Login on Your Google Account?
- How to Add a Passkey to Your Google Account on the Current Device
- How to Add a Passkey to Your Google Account on Another Device
- How to Delete Passkeys From Your Google Account?
- How to Login to Your Google Account on a Passkey Registered Device
- How to Login to Your Google Account Using a Passkey Stored on Another Device
- How to Login to Your Google Account with a Password If Passkeys are Enabled
What are Passkeys? Are Passkeys More Secure Than Passwords?
Passkeys are not an authentication method, per se, but a way to let someone know (Google, Microsoft, and so on) you have access and can unlock your personal device. A passkey can be a short pin code or your biometric authentication data (face or fingerprint) or a hardware security key that you plug into your device.
When you use a passkey you basically unlock your private secret cryptographic key, create a digital signature, and sent it encrypted to the third-party service you want to access. That service uses your publicly known cryptographic key to decrypt your signature, letting you access the service if it finds a match.
So, what your passkey does is only protect your private key used for encrypting and decrypting secure messages.
Passkeys only reside on your local device. They’re exactly what Windows Hello uses. As a matter of fact, for the next guides, we will be using Windows Hello to create passkeys for your Google account.
Yes, you heard that right: Google and Microsoft are working together because everyone knows how important security has become nowadays. Most major tech companies and platforms support passkeys today, but not all.
Passkeys are currently believed to be so secure that you can use them with Google without the need for 2FA (Two Factor Authentication). That says something about them.
How to Enable Passkey Login on Your Google Account?
1. Open your browser and access g.co/passkeys.
2. You may need to sign in first, with your Google account password and confirm with 2FA.
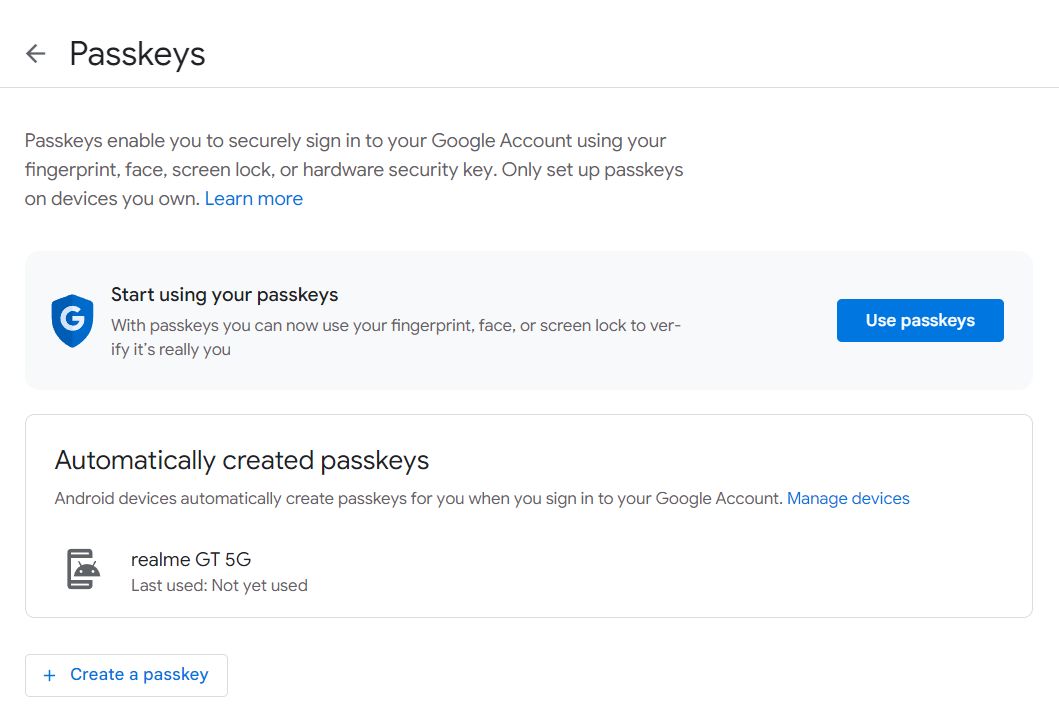
3. If you’ve ever logged in on your Android smartphone with your Google Account most likely it will appear in your Google Passkeys account in the Automatically created passkeys section.
Passkeys are not enabled by default, so click on the Use passkeys button.
4. You will get a confirmation that your Google account is now passkey enabled.
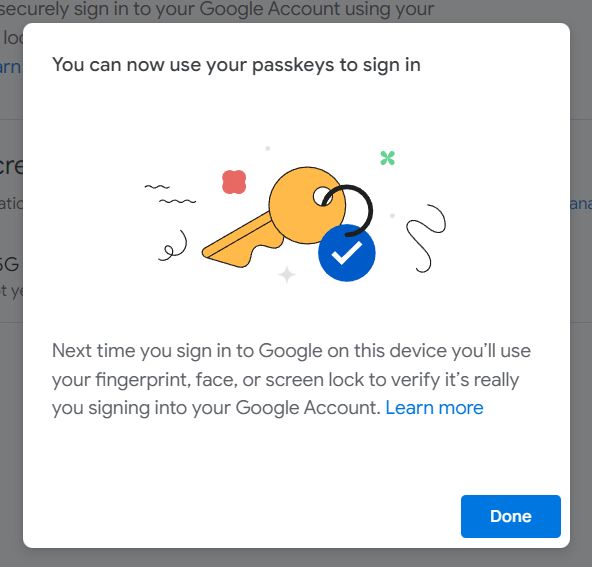
That’s it for now. But it’s not enough, right? Let’s move on:
How to Add a Passkey to Your Google Account on the Current Device
1. Head back to the Google account passkey section or type g.co/passkeys in your browser address bar.
2. Click on the + Create a passkey button at the bottom of the page.
3. You now have two options: use the current device or use another device. Let’s try the first option, so click on the Continue button.

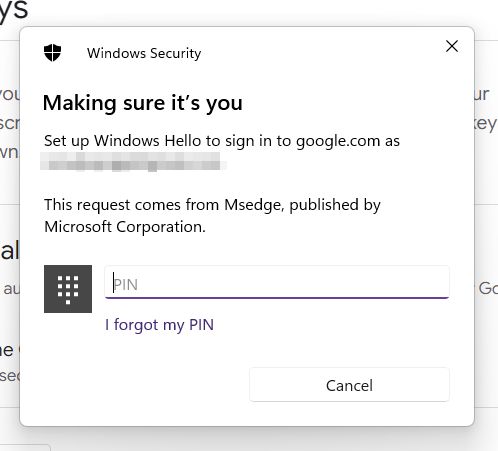
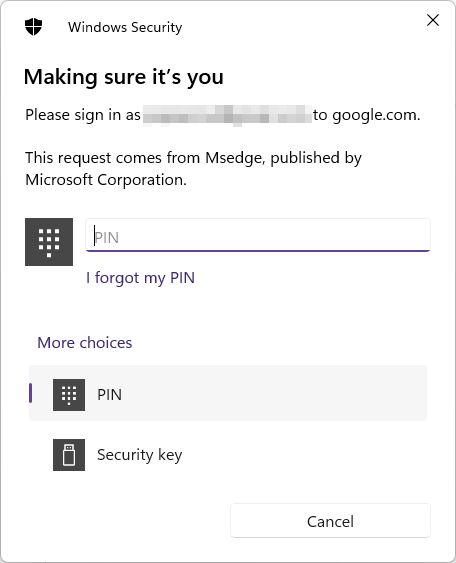
4. Windows Hello dialog will now kick in. I only have the PIN option, but depending on what other Hello authentication methods you set up you could use your face or fingerprint to log in, of course.
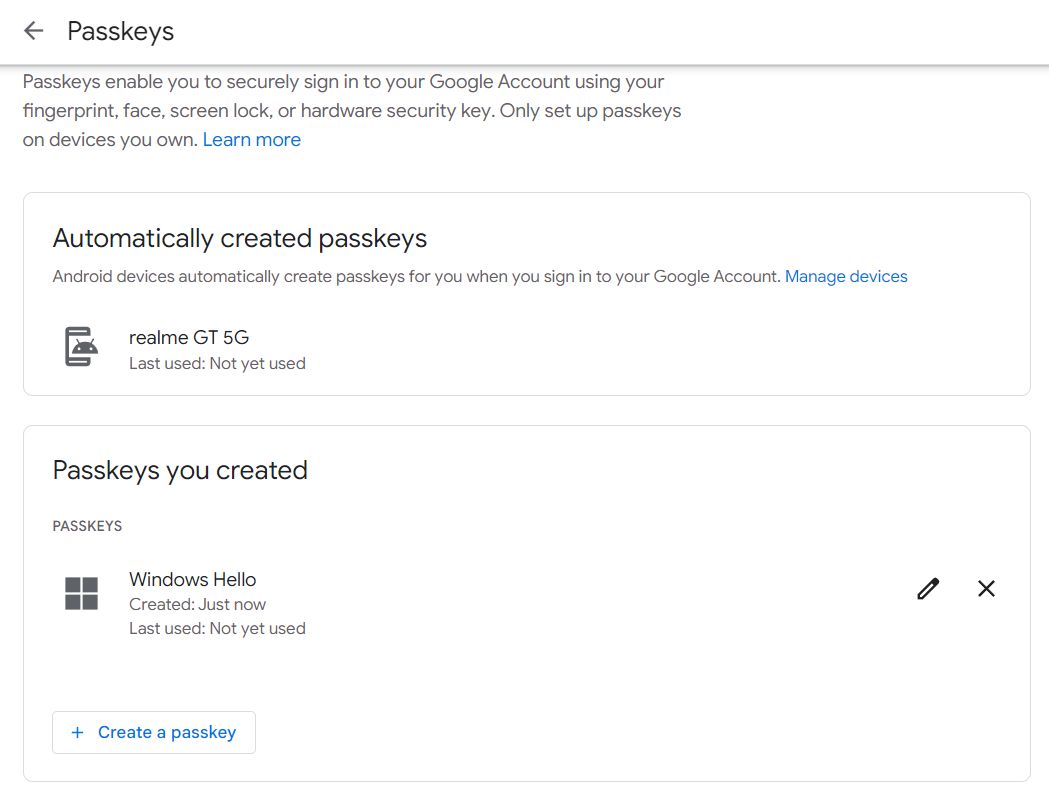
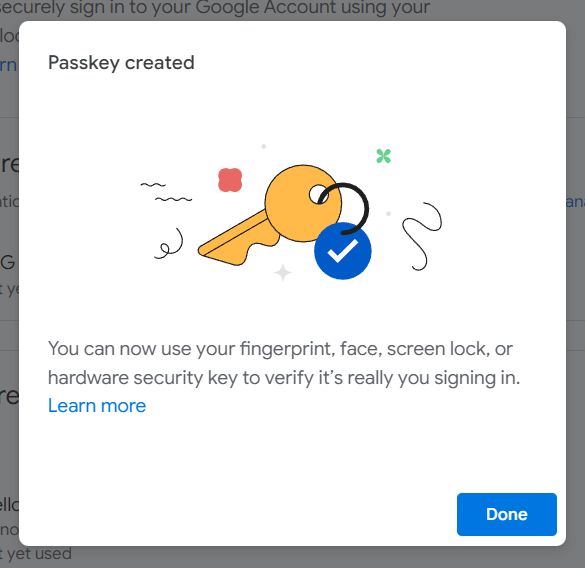
5. After you enter the PIN you’ll see the message that the passkey was created.
6. By default the passkey name is Windows Hello, so if you have more than one computer it would be difficult to figure out which passkey is for which device. I suggest you click on the pen edit button in the Passkeys you created section end edit the passkey name.
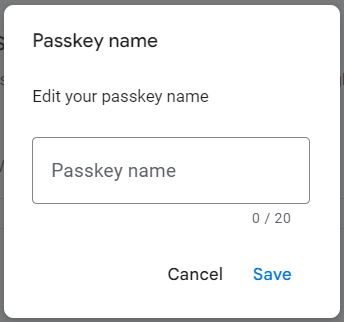
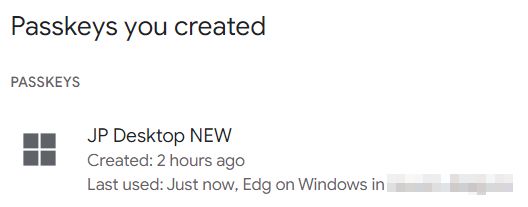
That’s better.
How to Add a Passkey to Your Google Account on Another Device
If at step 3 you selected Use another device you got this prompt:
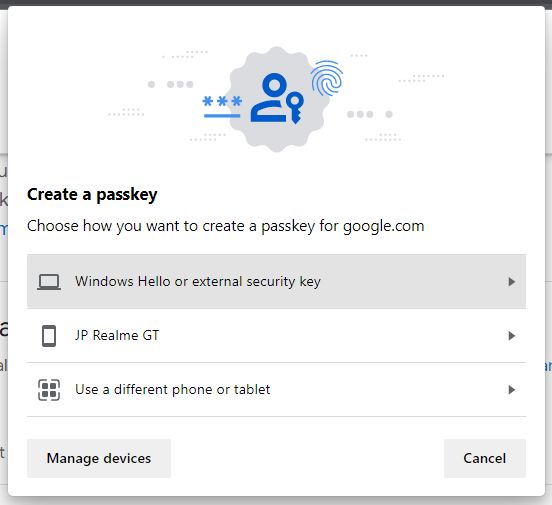
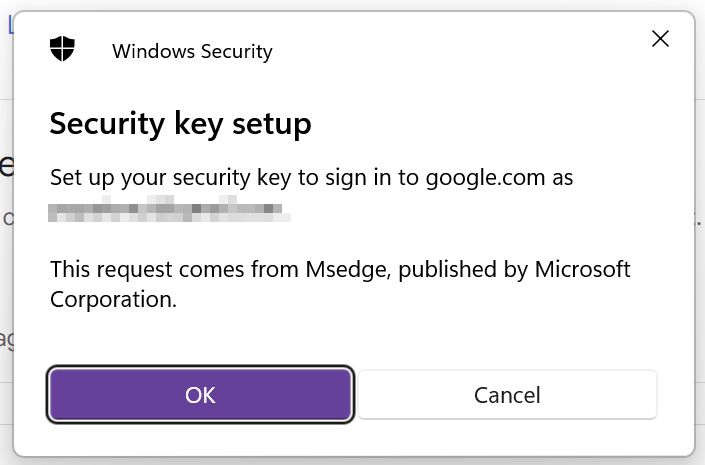
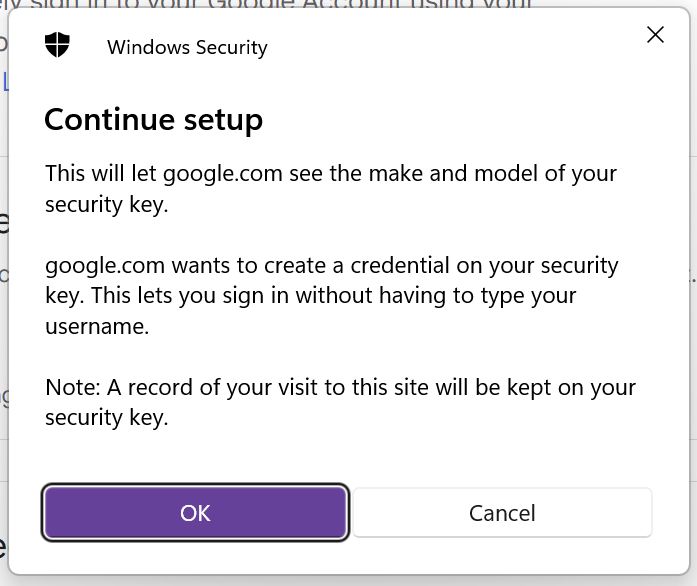
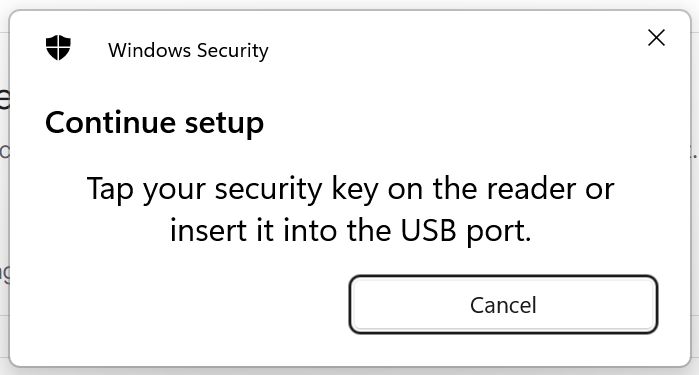
Despite what the first option says, you can’t use Windows Hello from another device (Microsoft, what’s going on?). If you click the option you’ll get a series of prompts to use a hardware security key.
I can’t show you the entire process because I don’t have a security key 😔
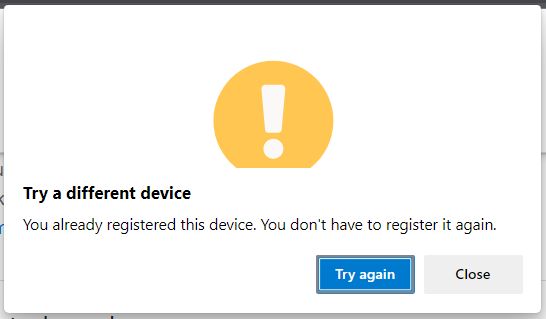
Anyway, using the second option will give me an error, because I already registered my phone and can’t do it twice.
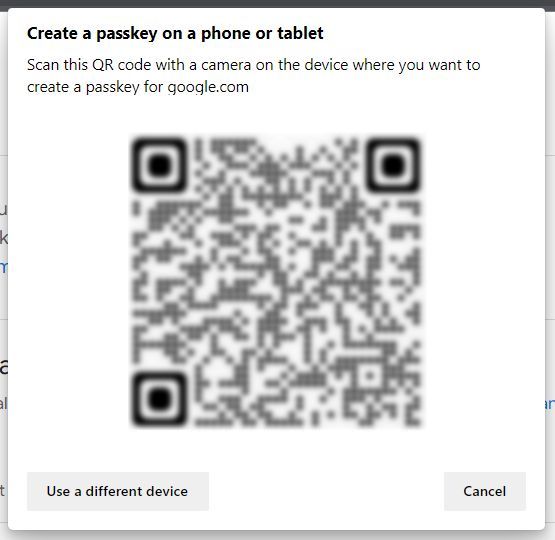
The Use a different phone or tablet is the only true option to register another device.
Once clicked you will see a QR code. Scan it with your smartphone (any app will do) and click to open the link that should always start with FIDO (the technology behind passkeys).
A notification will be sent to your phone.
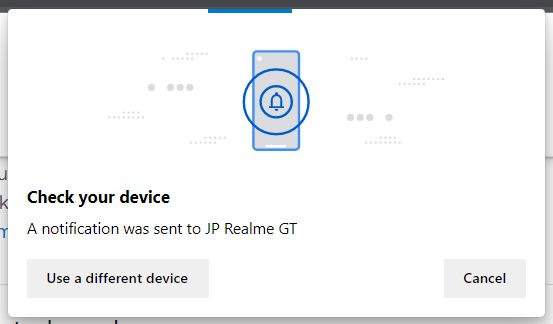
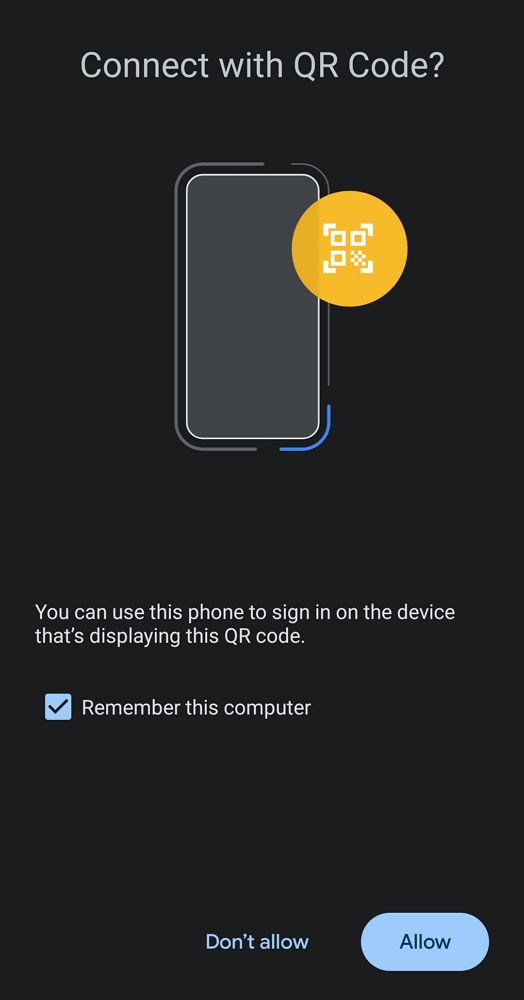
Confirm you want to use this phone to create a passkey for your Google account.
That’s it, from now on when you’ll want to log in to your Google account on any of the already registered devices you will be able to use the local Windows Hello methods (for PCs) or the security measures of your Android phone if you’re accessing your account on your smartphone.
iPhones are also compatible with passkeys and are able to sync passkeys via iCloud.
If you have passkeys enabled on your account and you access it for the first time on another machine you will be prompted automatically to create a passkey on this new device. It’s up to you if you want to do it.
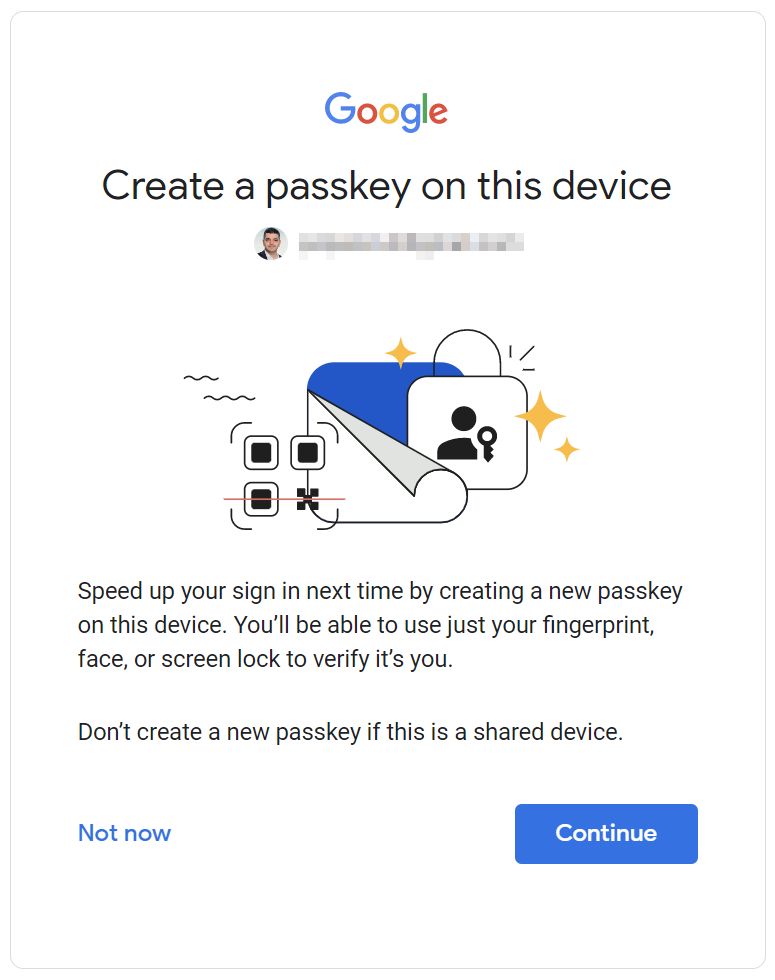
Google recommends you never create passkeys on shared devices.
How to Delete Passkeys From Your Google Account?
The good thing is that you can manage Google passkeys fairly easily. Head back to the passkey section of your account.
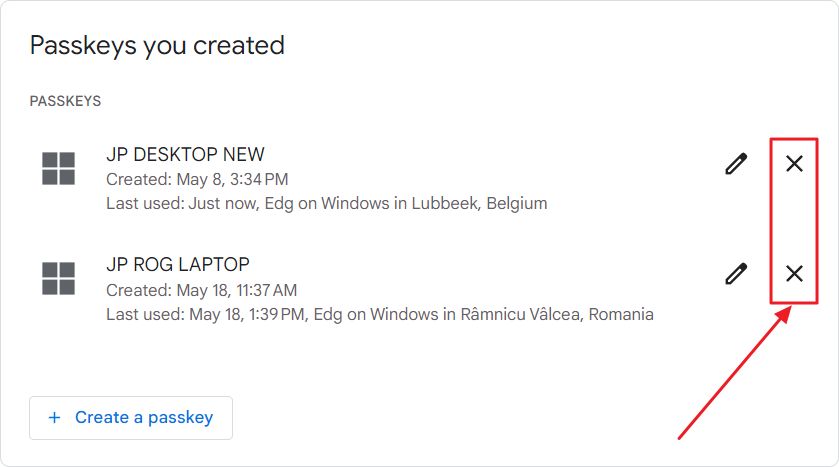
You cannot remove automatically created passkeys from your smartphone. You can only remove manually created passkeys. Next to each one of them is an X button.
Click on the device you want to remove as an authentication method and confirm. That’s it.
How to Login to Your Google Account on a Passkey Registered Device
Let’s use these freshly created passkeys now.
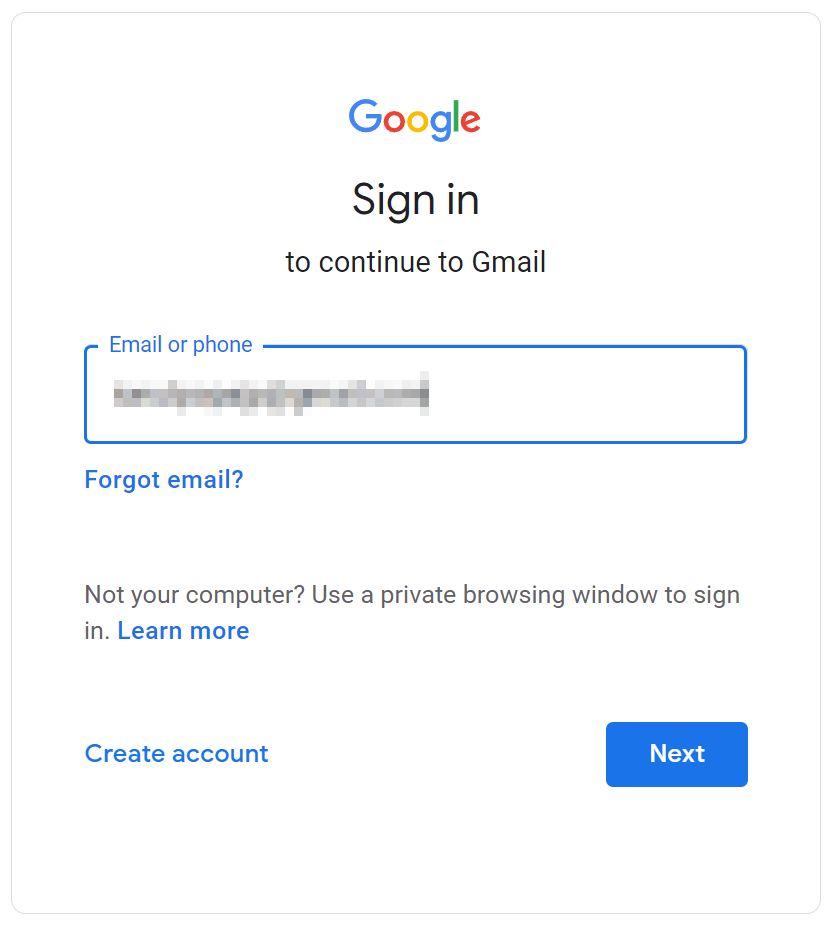
1. Try to access your Google account (or access specific sensitive sections of your Google account).
2. Enter your account email.
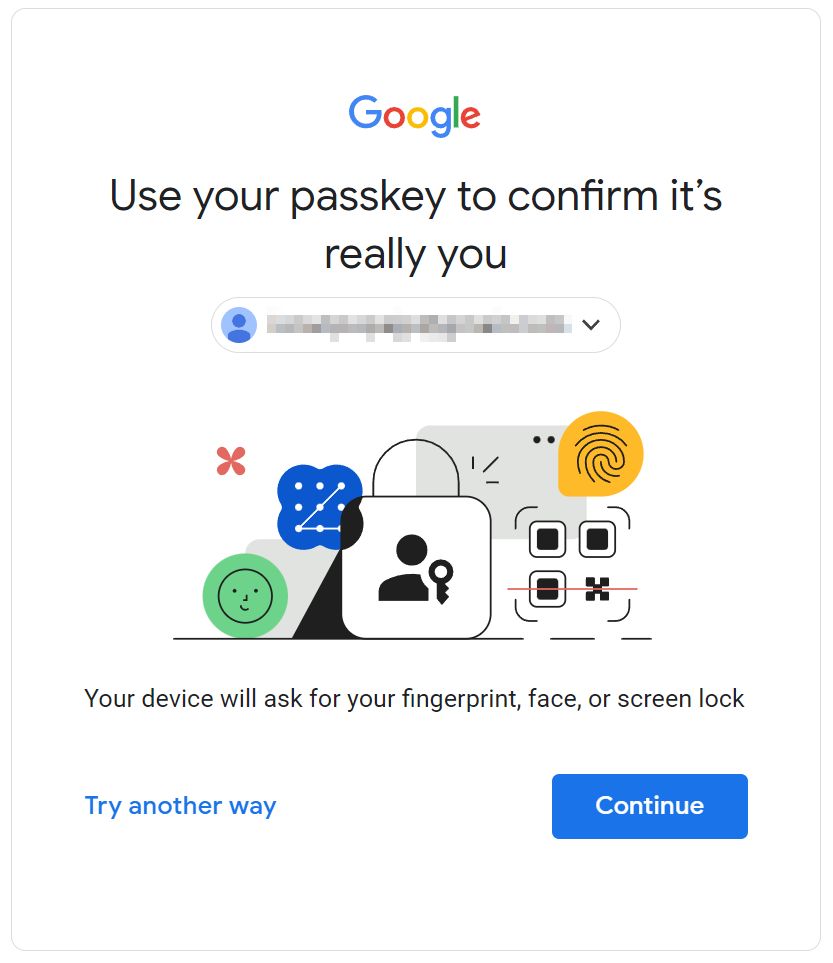
3. You will be asked to use your existing passkeys created on this device. Click Continue to confirm.
4. The familiar Windows Hello screen should pop up now. Enter your PIN (other methods may appear here if you have a Hello IR webcam or a fingerprint sensor). On the rare occasion you have a Security key you can pick that option too.
That’s it: once you confirm you will be automatically authenticated to your account.
How to Login to Your Google Account Using a Passkey Stored on Another Device
This is probably the coolest thing: you can use some of your Google devices to confirm login on another device. That’s really cool, but this feature is for now limited to smartphones for some reason.
You cannot use another Windows machine (already added to your Google account passkey list) to grant login on another device.
The limitation has to do probably with the fact that proximity between the two devices (grantor and grantee) is being established via a small anonymous Bluetooth message.
Let’s see how it’s done:
1. Go to the Google account sign-in screen. Enter your account email address.
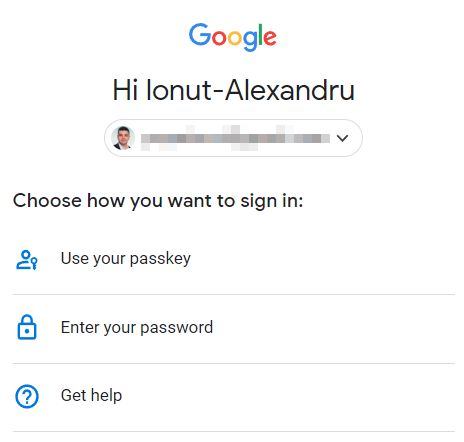
2. If passkeys are enabled you will see Use your passkey to confirm it’s really you from the previous chapter, but now use the Try another way link.
3. This will load another screen. Select the Use your passkey link.
4. A familiar popup will show up. The first option will ask for a security key. It’s not what we want.
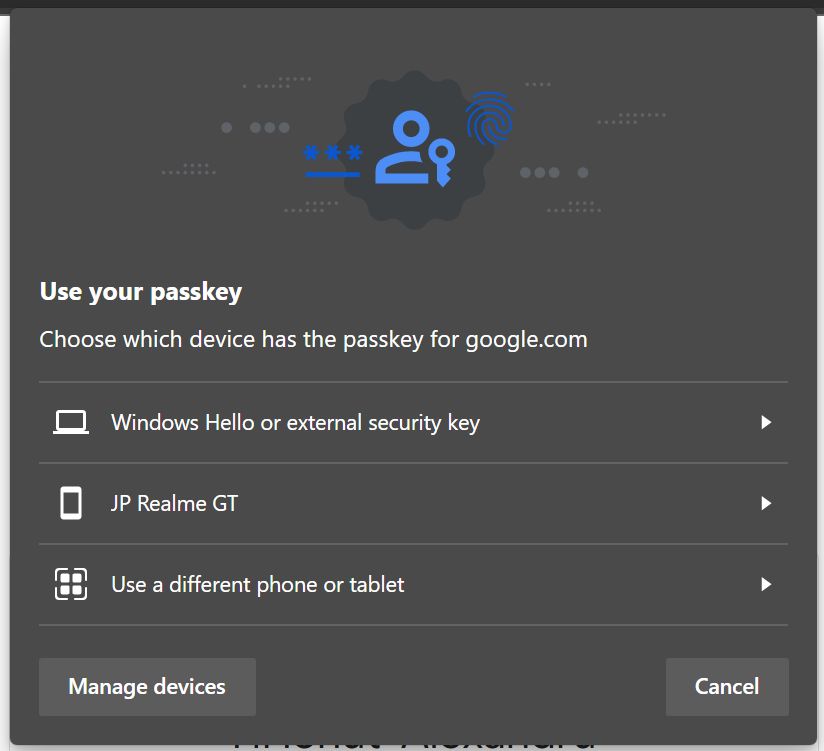
You can use the phone already registered (option two) in which case you will get a prompt on your device. Confirm you want to log in. This will grant you access to your Google account on the other device. Neat, right?
Option three is to use another new device. Another QR code will appear. You know what to do if you read the first part of this article. Scan the code and confirm the login attempt.
This third option will only work on a device that already has access to the same Google account, of course.
How to Login to Your Google Account with a Password If Passkeys are Enabled
What if you want to still use your complicated account password for some reason? Fortunately, it’s still possible.
1. Go again to the Google account sign-in screen. Enter your Google email address.
2. If passkeys are enabled you will see once more the Use your passkey to confirm it’s really you prompt. Click again on the Try another way link.
3. At this screen click on the second option: Enter your password. Type it and press enter to gain access to your Google account the old-fashioned way. You will also have to confirm with 2FA, of course.
Also read: how to add secondary sign-in options to your Microsoft account
So, why use your password when you now have passkeys at your disposal, right?
Anyway, have you used passkeys to access your Google account? I use the on all my Windows machine for some time now, so the transition was seamless when accessing my Google account.