- If your games don’t detect the dedicated laptop GPU there’s a quick fix you can do in the Windows settings.
- Setting game executables to use the high-performance GPU in Windows will fix detection problems on multi GPU laptops.
- Dedicated GPUs will run games faster, with more details, so there’s no reason to use the integrated graphics processing unit.

I’ve recently tried to play Fallout 3, a game released back in 2008, on my 2022 ASUS ROG laptop. I expected to run the game at max details, of course, but I was surprised to see the game crashing immediately to the desktop.
I’ve lowered the settings, disabled the Alder Lake efficiency cores, and rechecked the game files with no luck. The game wouldn’t start no matter what I tried.
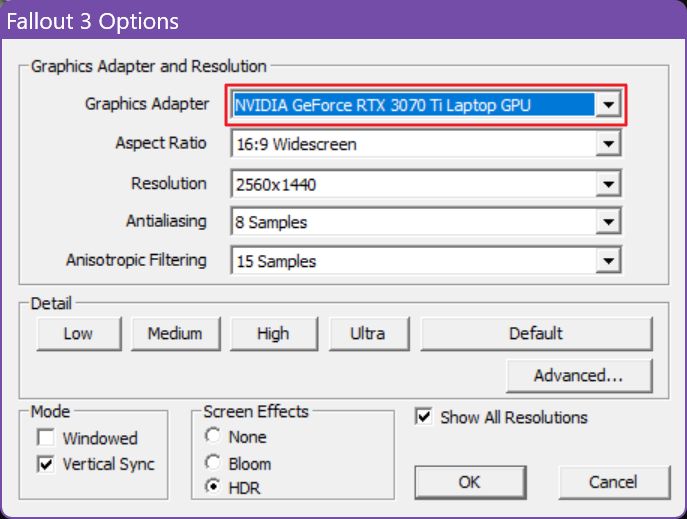
I was almost about to give up and uninstall the game when I noticed in the game settings menu that only the integrated Intel Iris Xe GPU was detected and available as a selection in the Graphics Adapter menu.
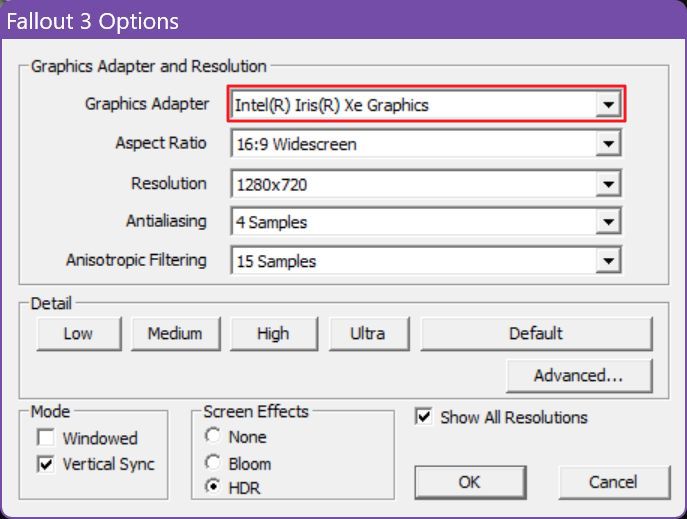
There was no way to select the dedicated Nvidia GPU. That’s why the game wouldn’t start, not the age of the game. Fortunately, there’s a straightforward fix to this problem.
CONTENTS
Why Windows Games Can’t Detect the Dedicated GPU on Laptops
Now that we know what’s happening, let’s see why. Nvidia Optimus and AMD Dynamic Switchable Graphics are two very similar technologies that will switch between the dedicated and integrated laptop GPUs found inside the same machine, in an effort to save power or offer better performance, depending on scenario.
When you’re doing light work, or just browsing the web, that’s done most of the time on the integrated power-sipping GPU. The Nvidia or AMD dedicated GPU is dormant at this stage, consuming almost no power.
Some apps are unable to detect the dedicated GPU, as it doesn’t show up as a resource. This can happen with newer and older programs and games, depending on how they were coded.
The Fix: Pin Games to High-Performance GPU in Settings
Fortunately, Windows offers the option to specify per-app or per-game basis which GPU will be used when the program executable is running.
In our case, we will ask Windows to run Fallout 3 from the dedicated GPU.
1. Open the Settings app by simply pressing the Win + I shortcut.
2. Navigate to System > Display.
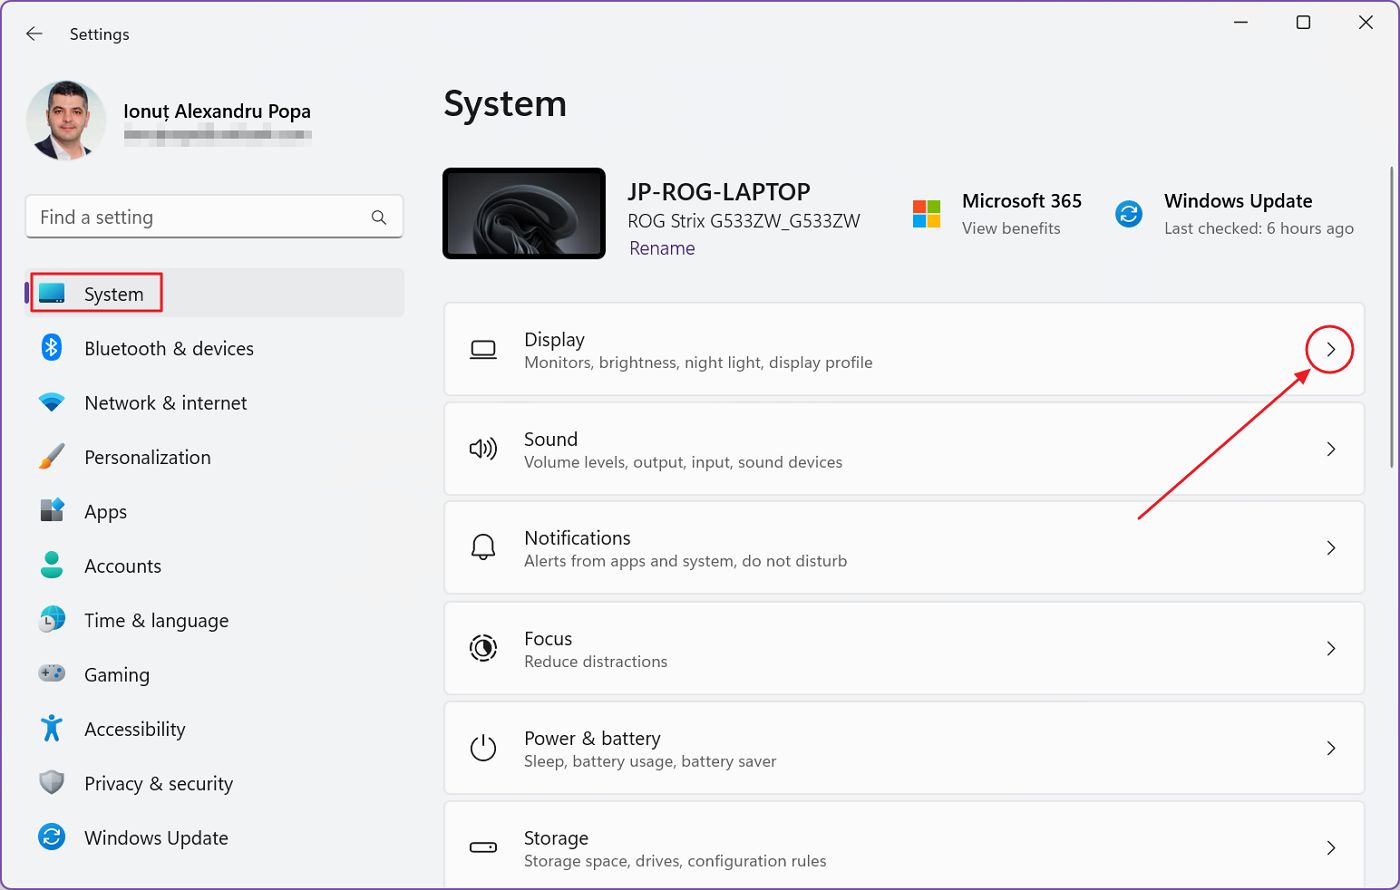
3. Scroll into the right side panel until you get to Graphics under the Related settings menu. Click the right arrow to open.
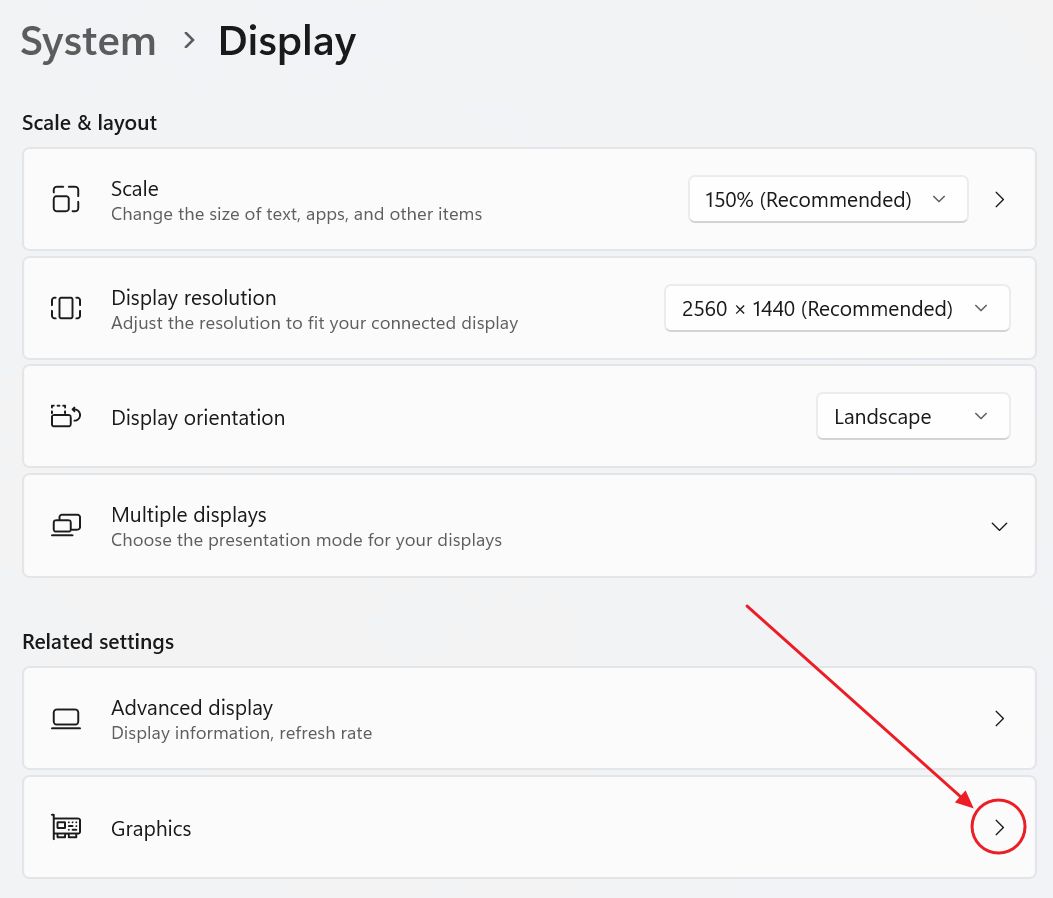
4. You will see here an app list together with an indication of the power mode currently active for them. If you’ve never modified an entry from this list it will show Let Windows Decide (CURRENT_MODE).
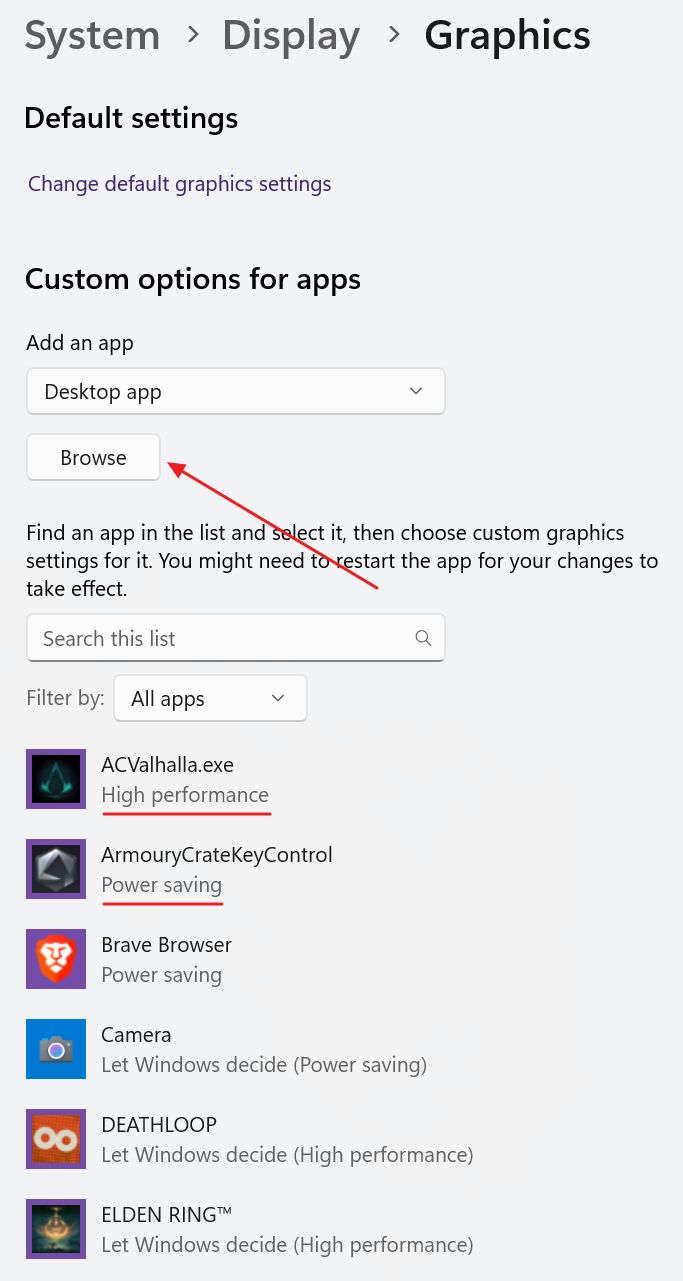
5. If the game you want to change settings for is not already found in this list just add it with the Browse button.
6. Before selecting the game executable let’s see how we can find out its location. For that, right-click on the desktop game icon and select Properties.
7. In the new popup window select the Shortcut tab and look for the Target location.
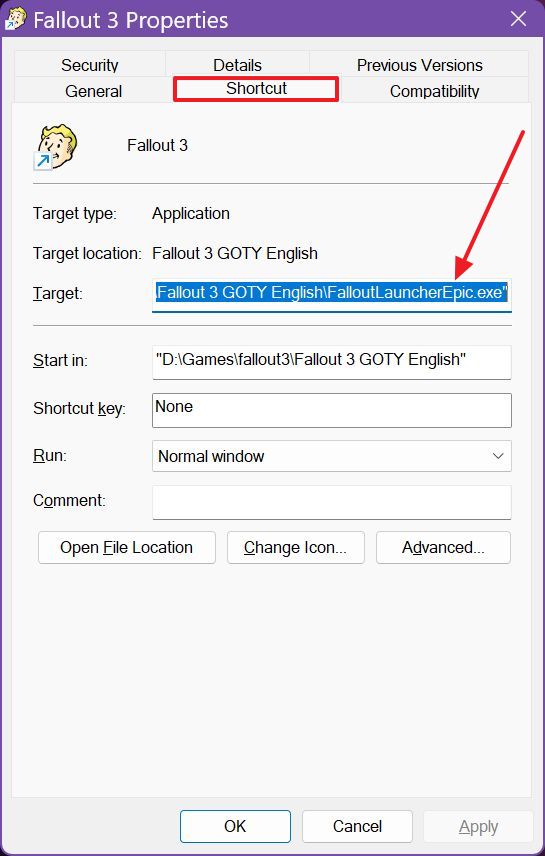
In my case, I need to modify the settings for the Fallout 3 launcher, not the actual game executable. Why? Because in this case, the game settings are set from the launcher, before starting the tame.
Most games feature an in-game settings menu, in which case you will need to select the game’s main executable using the same steps from this guide.
8. Now that we know which game executable we need to add to the graphics settings list we can click on the Browse button and navigate to the appropriate target folder.
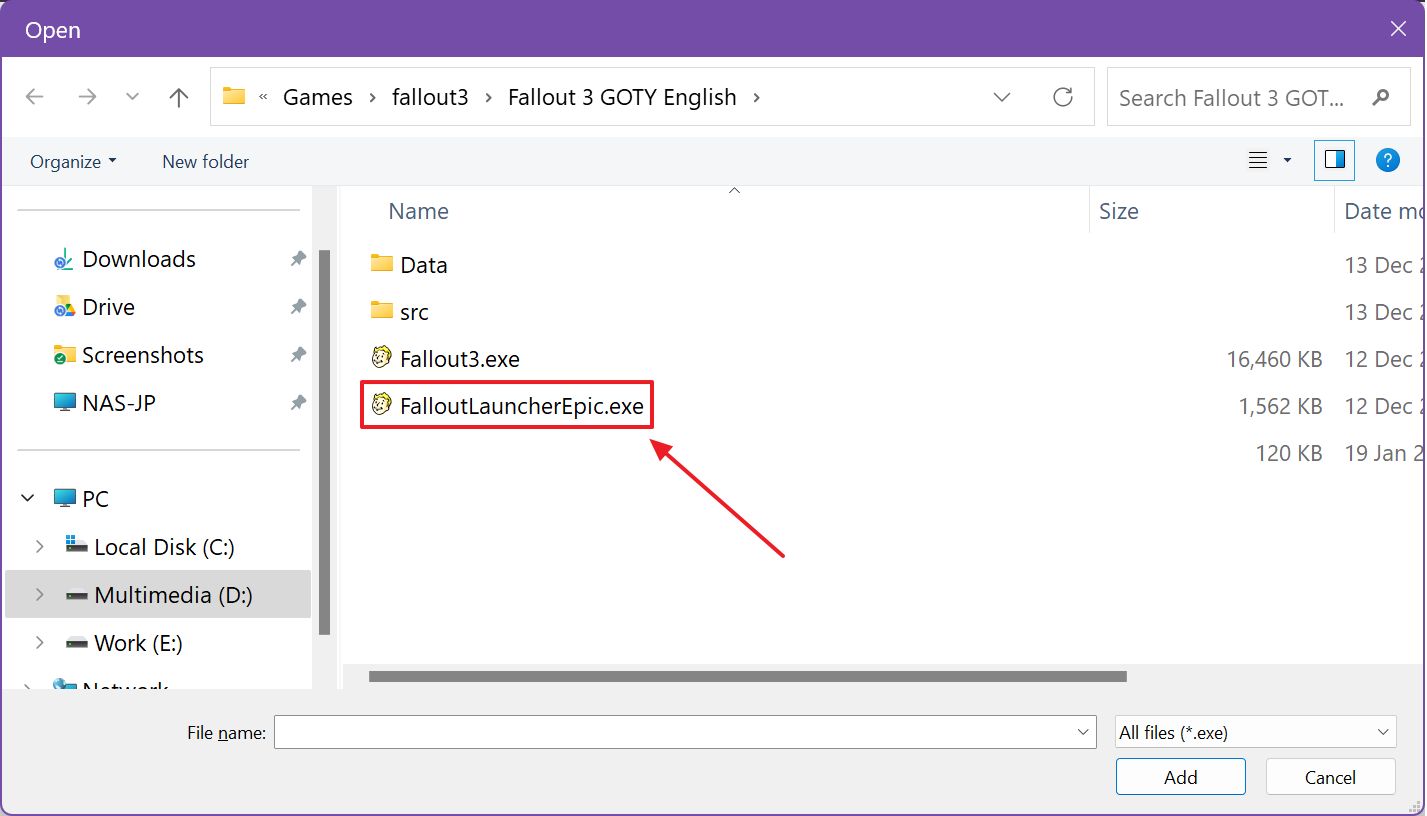
9. The Fallout 3 Laucher will now show up in the Graphics apps list.
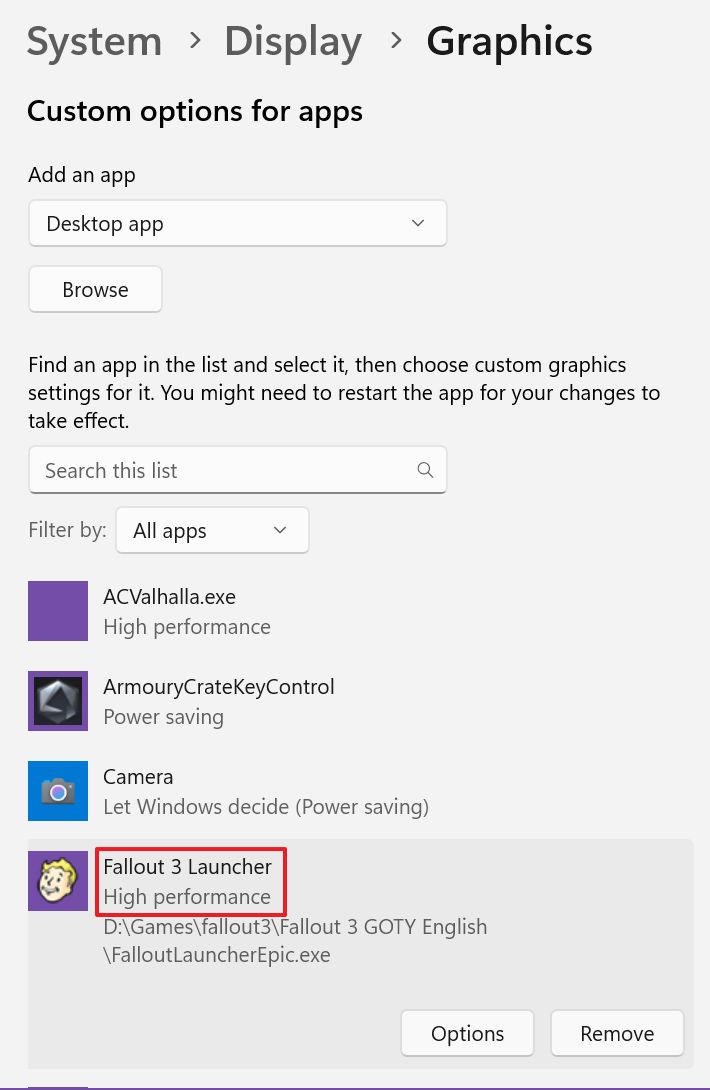
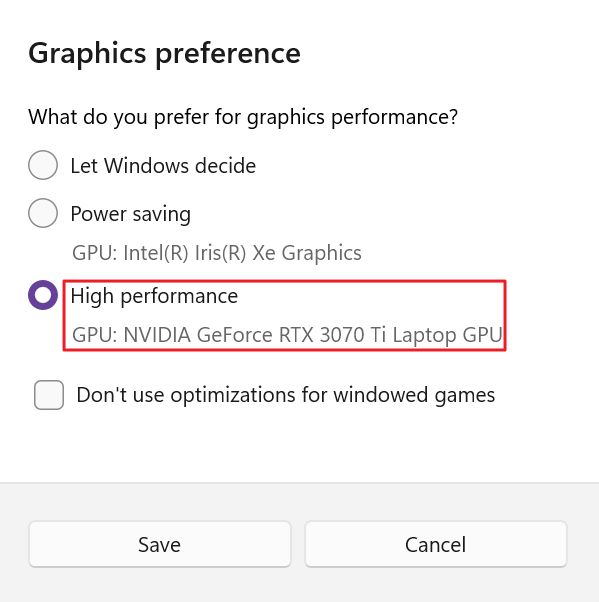
10. Clicking on the Options button will allow you to set the exact GPU you want to use. It’s listed under the High Performance. Select this option and hit Save to confirm. That’s it.
Right away, after doing all these steps, when I launched the game the Graphics Adapter showed up correctly in the game settings options menu.
The game launched correctly, and I could play without any issues whatsoever afterward.
By the way, the guide above is the exact opposite of this other article, where you would pin specific apps to the integrated laptop GPU to save power.
Normally, Windows would automatically select the appropriate GPU if more than one is present in your system, but that doesn’t always happen, so you need to assign the correct GPU to specific programs.
If you’re a gamer you may want to read our guide on which visual game settings affect performance the most. Tweaking a few of these settings can offer a sizeable boost in FPS.



Have bought my first gaming laptop (ROG Strix SCAR 17 2023 – G733PZ) with Advanced Optimus (AMD 610M + NVidia 4080 12GB).
Unfortunately many (old) games have problems detecting dGPU, even after setting "High Performance" (dGPU) mode.
Games like Need for Speed: Hot Pursuit (Steam classic, not the "remastered"), Max Payne 2 (Steam), and more 🙁
Tried also from NVidia Control Panel to force dGPU for those games with no avail, they see only AMD 610M sigh…
It's annoying having to manually switch to dGPU only for those few games (thanks to Adv Optimus from NVCP there is no need to reboot at least!).
If you know some other tricks or 3rd party tools to solve this annoyance please let me now.
When I made this guide I used Fallout 3, a game from 2008. The games you mentioned seem to be a bit older. Are you using GoG version of these games? I believe GoG does some alteration to make them work on newer hardware/operating system, even if the developer stopped supporting the games a while ago.
No… Steam games… Possibly an AMD driver issues (AMD 610 + 4080 NVidia) not switching well to dGPU with some games as the Intel iGPU does for a friend of mine with a Intel+NVidia combo…
Yeah, having GPUs from NVIDIA and AMD in the same system surely isn't ideal.