- This guide will cover the basics of setting up a VM that will boot the Windows 10 installer image.
- If you’re interested in installing Windows 10 on a virtual machine this is a quick guide for doing so with VMWare Workstation Player.
- Virtual machines are becoming more common these days and have some advantages over normal bare-metal installations.
You may have heard about virtual machines, you have an idea about what they are and what they do, but don’t know where to start. If that’s the case here’s a guide that will teach you how to install Windows 10 in VMWare, inside a virtual machine that runs on a PC with Windows 10. We also have a more generic article about VM Pros and Cons.
Yes, it sounds like Inception and it is Inception. You can do VMs inside VMs, but that’s not the point of this article, so let’s get going.
But first, if you don’t know what a virtual machine is read this article.
First Question: Why Use a Virtual Machine?
I’m not an expert in VMs, not even close, but I’ve used them from time to time. I tried to either see what MacOS looks like or a certain Linux distribution without having to risk messing with dual boot, or I was just trying to learn more about virtual machines.
If you’ve ever asked yourself why use a virtual machine, here are a few simple reasons:
- You want to try out new operating systems.
- You need to run old software on a really old OS.
- You want to develop software for other platforms.
- You want to take advantage of snapshots (backups of the state of the OS at a certain point).
- You want to clone a system and try it on a different computer.
And these are just reasons for home use. In the corporate environment or for hosting providers is basically a must-do. Read this article to learn more.
Which Virtual Machine Software to use?
I only have experience with two programs for creating and running virtual machines: VMware Workstation Player and Oracle VirtualBox. Both are free for personal use if you just want to try them.
For this article, I’ll be using VMWare Workstation Player 16, but I’ll do another article for installing Windows 10 with VirtualBox in the near future so make sure you subscribe to BinaryFork to get notified when that article is live.
If you need more options to choose from I recommend you also check out this article. I’ve personally used VMWare and VirtualBox in the past and found them easy to set up and good enough for my use case. That’s why I’ve recommended them in the first place, but there are plenty of other options out there, both free and paid.
Guide for Installing Windows 10 on VMWare Workstation Player
Be aware this is not a tutorial on how to install Windows 10 on a computer (virtual or physical), but a tutorial on how to set up a virtual machine and boot the Windows 10 Installer. Thankfully, we have a step-by-step guide for installing Windows 10.
With the warning above out of the way let’s see how to set up and start the Windows 10 installation in a virtual machine using VMWare Workstation Player as the virtualization environment. It’s a variation of our other guide.
After installing VMWare Workstation Player the first screen you see is this one:
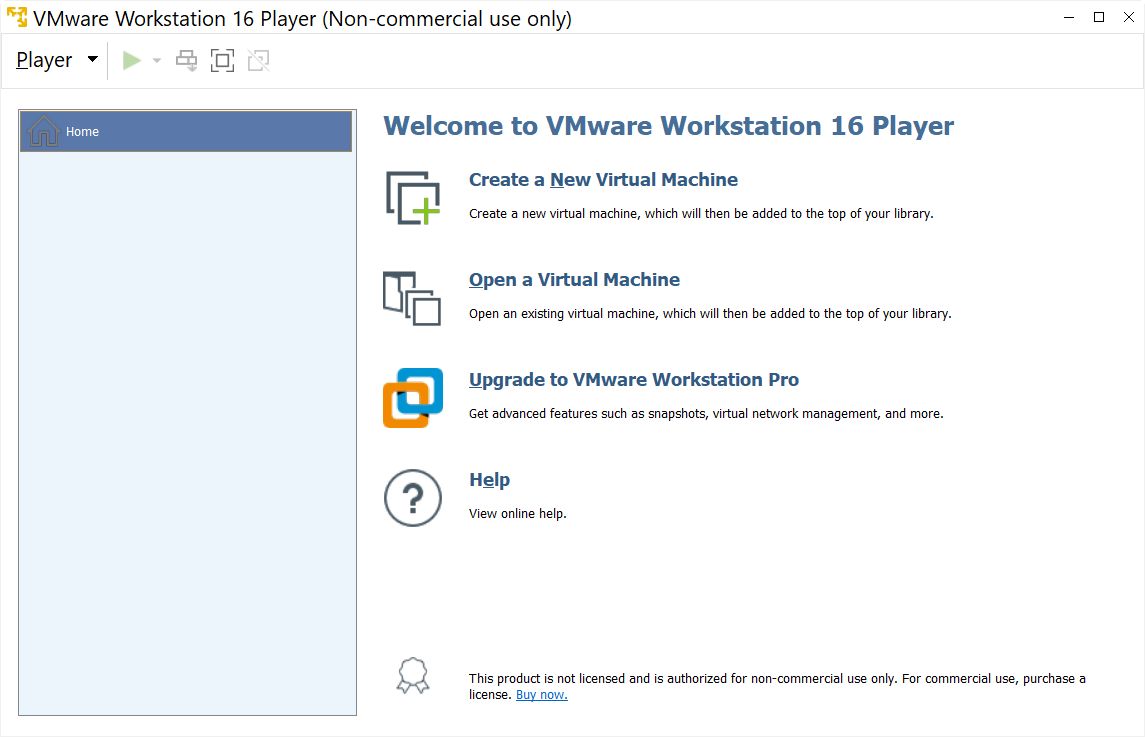
Let’s start clean:
1. Click on Create a New Virtual Machine.
2. In the next window click Browse to select the Windows 10 ISO image you’ve downloaded previously (we have a tutorial on how to do that too).

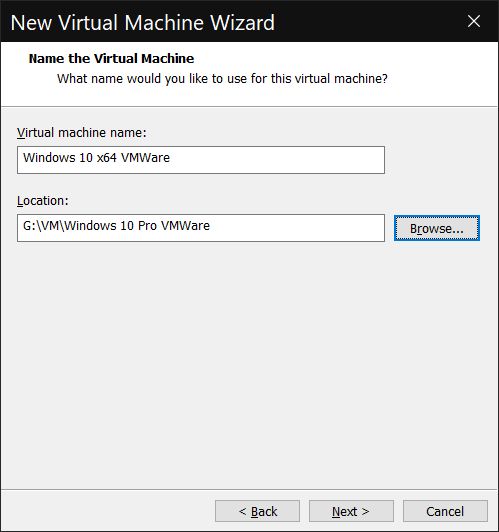
3. Select a name and a storage location on the local computer for the VM files.
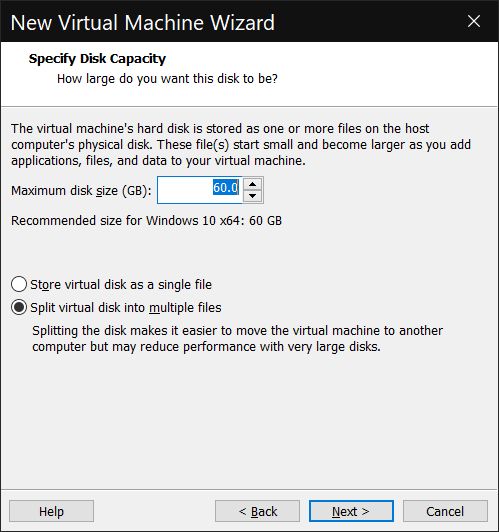
4. Choose a virtual disk size for the VM. I recommend you opt for splitting the VM drive into multiple files. You can expand the size later on if needed, but it’s not super easy. Maybe you can consider choosing a bigger size from the beginning since the actually occupied space will depend on what you install, so you’re not wasting any space by selecting a bigger maximum size.
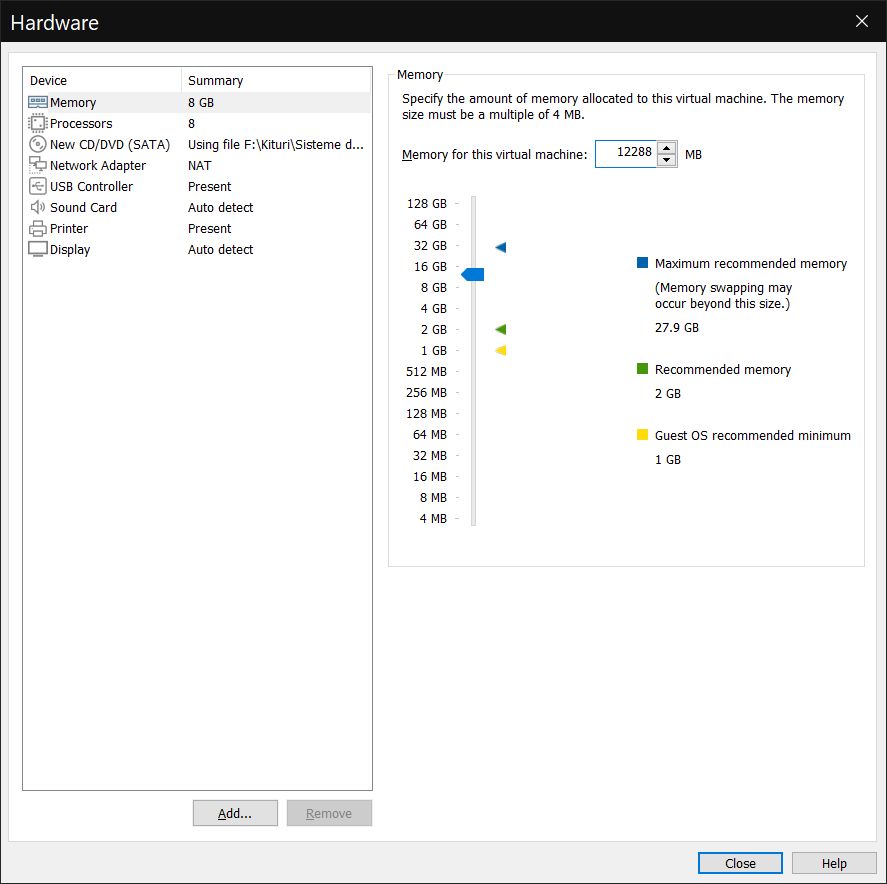
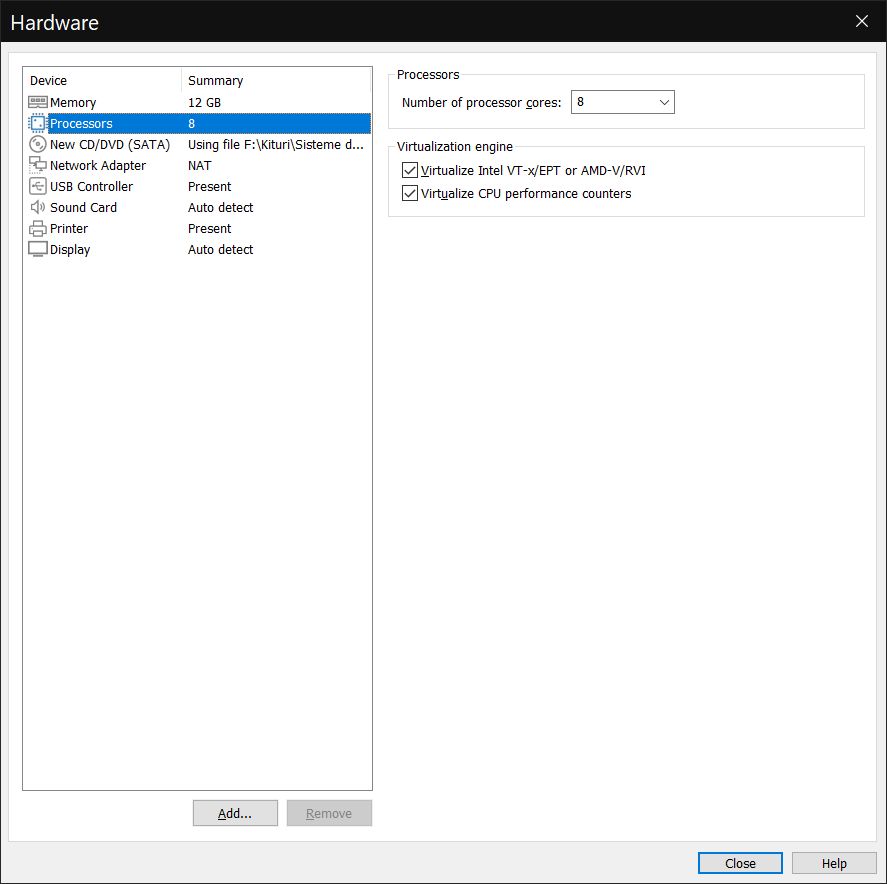
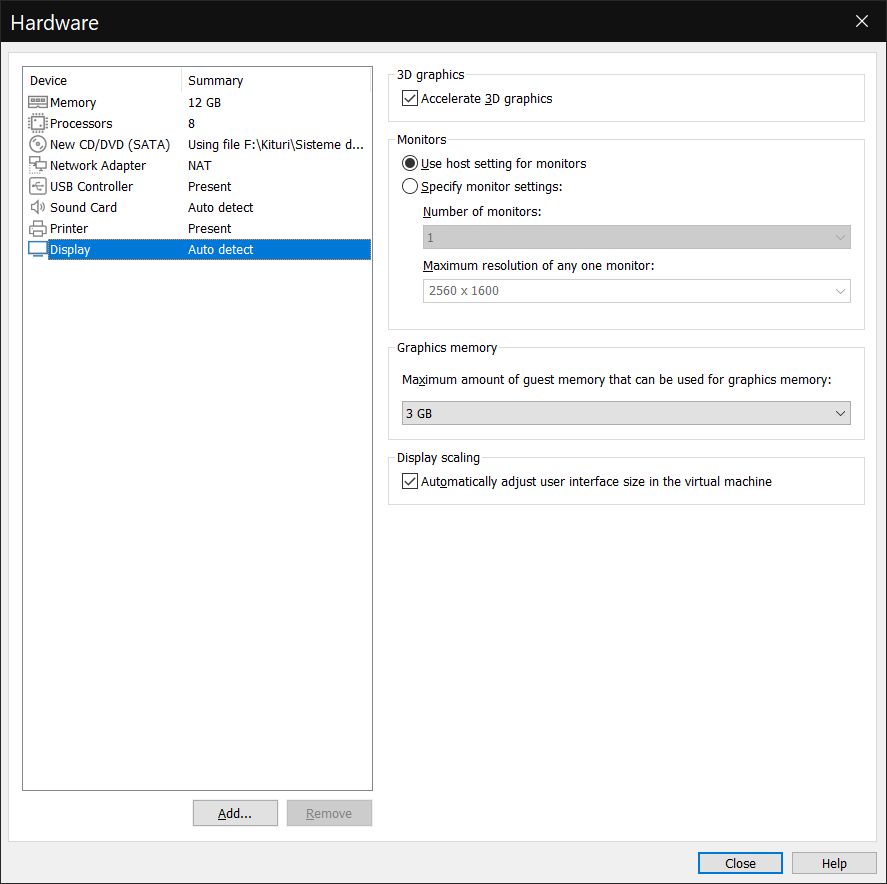
5. At this step you’re getting a summary of your VM settings. Before clicking Finish I suggest you customize the VM hardware first. The default allocated resources are a bit light if you ask me (2 GB RAM and 2 CPU cores).
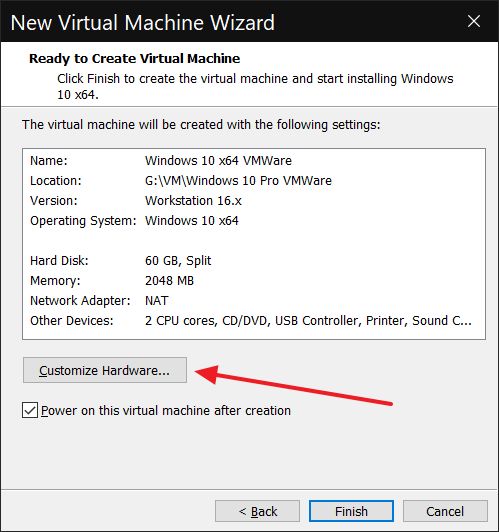
6. All these Hardware settings can be changed later (after you power down the VM), so don’t sweat too much about them. Here are the most important options, for CPU, RAM, and display/GPU.
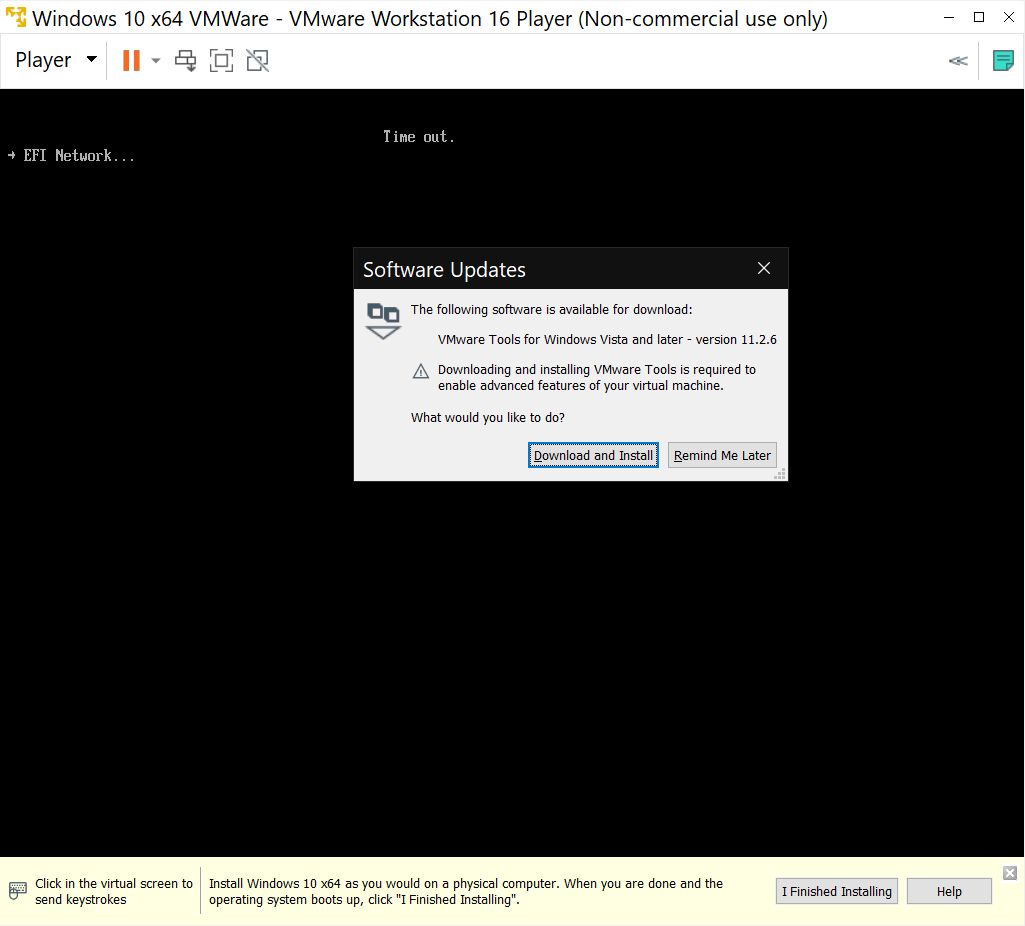
7. Just about now you’ll get a prompt to download VMWare Tools. I suggest you download and install them. This will install them for VMware Workstation Player. There’s also a chapter in this article about how to install them inside the VM.
8. The VM will now start and greet you with the Boot Manager. Select the SATA CDROM drive. This is where the Windows 10 ISO selected at the first step will be mounted automatically by VMWare.

9. The following screen is well known for users like me: Press any key to boot from CD or DVD… What are you waiting for? Press that Any key they keep mentioning.

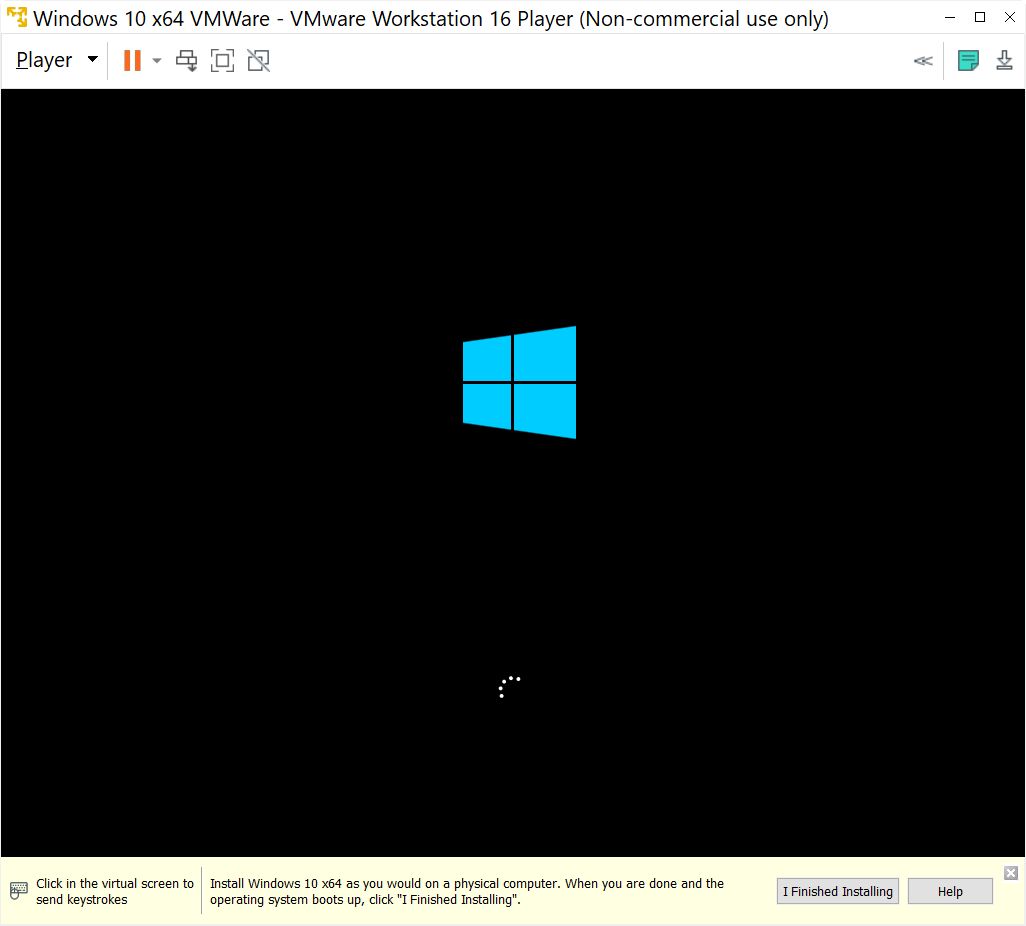
10. The familiar Windows 10 logo will show up and soon you’ll see the first step of the Windows 10 installer.
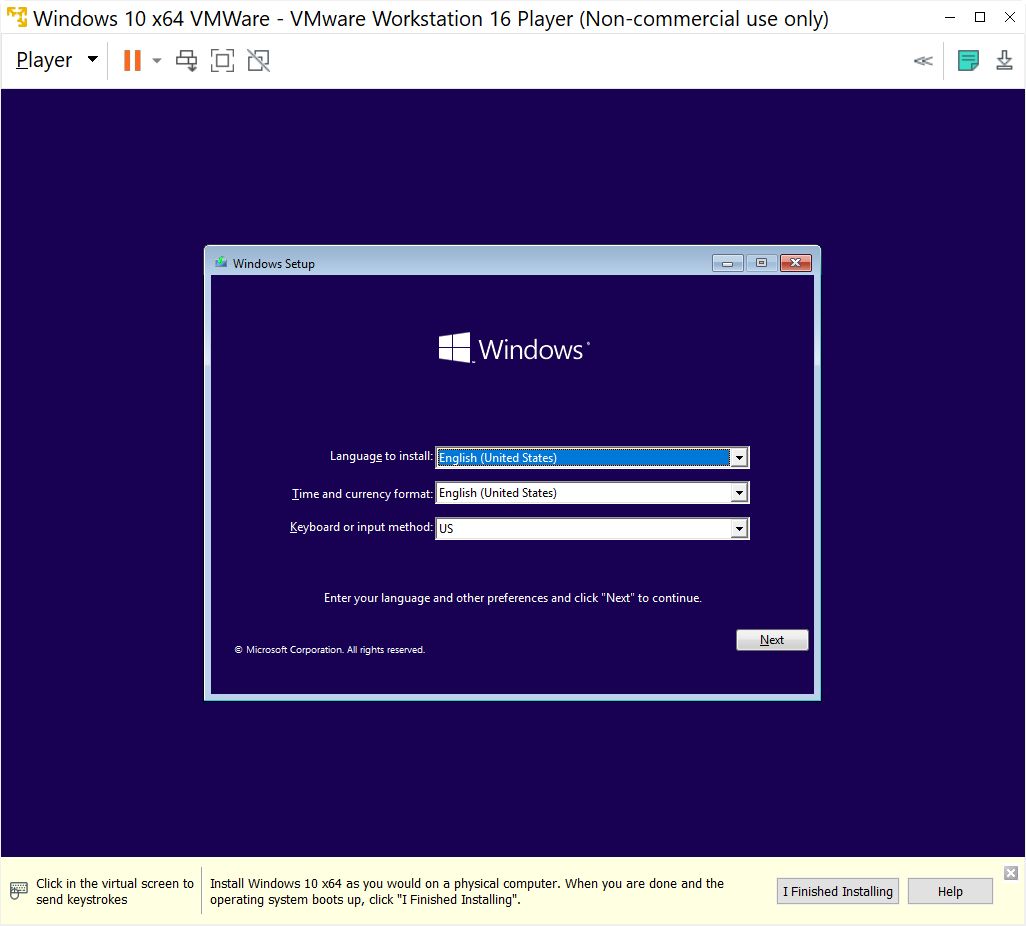
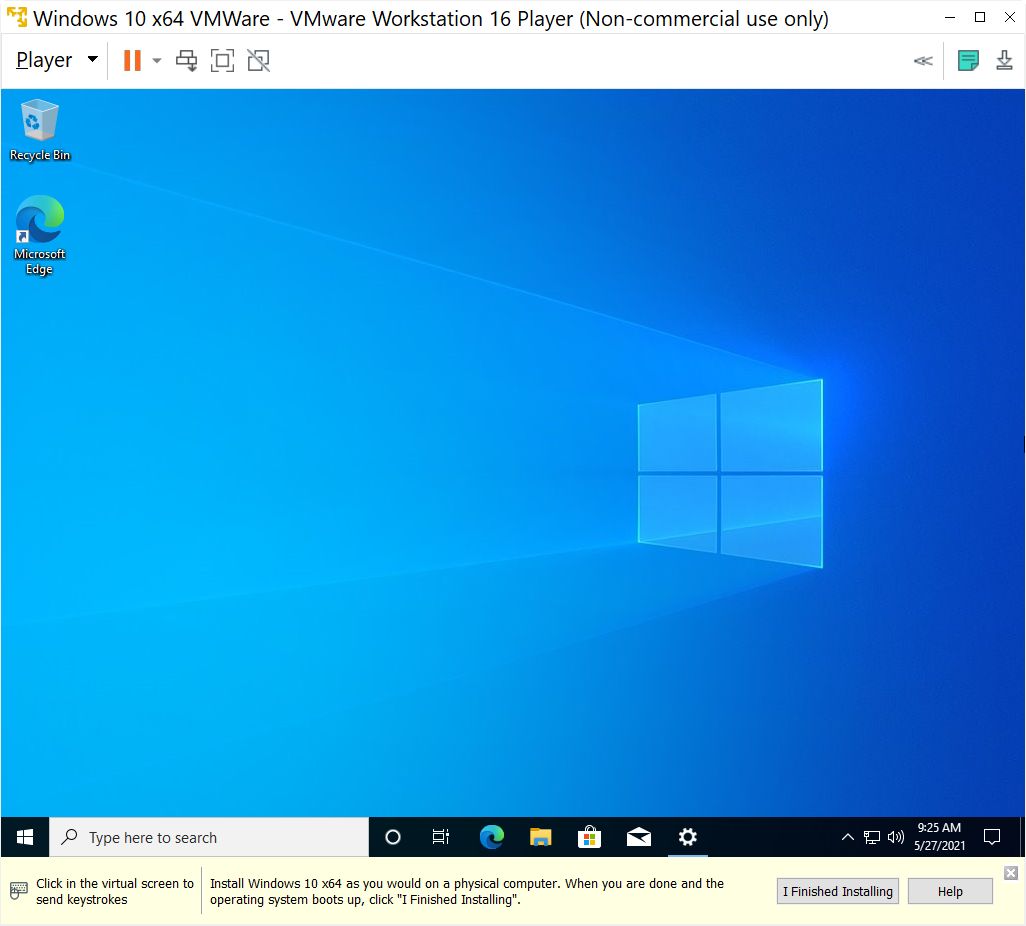
11. Follow all steps and in a matter of minutes, the VM will boot into Windows for the first time. Don’t forget to click the “I Finished Installing” notification at the bottom of the VMWare Workstation Player.
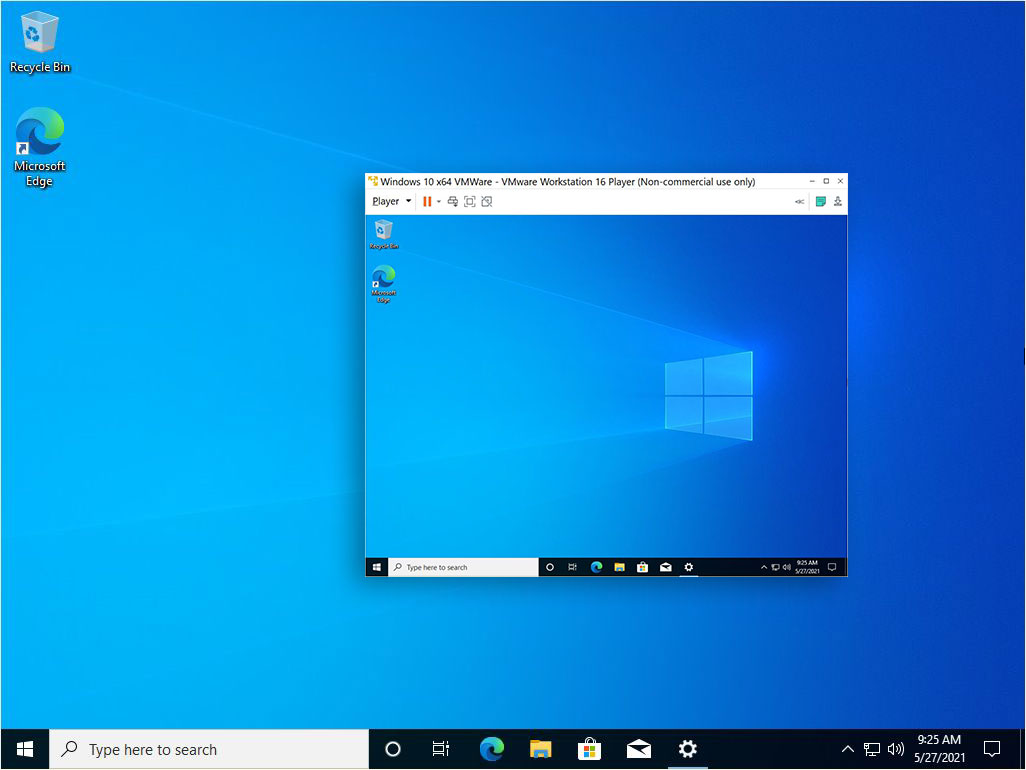
You’re set up now and can start working with your new VM. Shutting down, restarting, or suspending the VM can be done from the Windows 10 Start menu, the one inside the machine, or from the Player menu inside VMWare (Player – Power). Starting the VM can only be done from VMWare, of course, since the VM doesn’t have a physical On/Off switch.
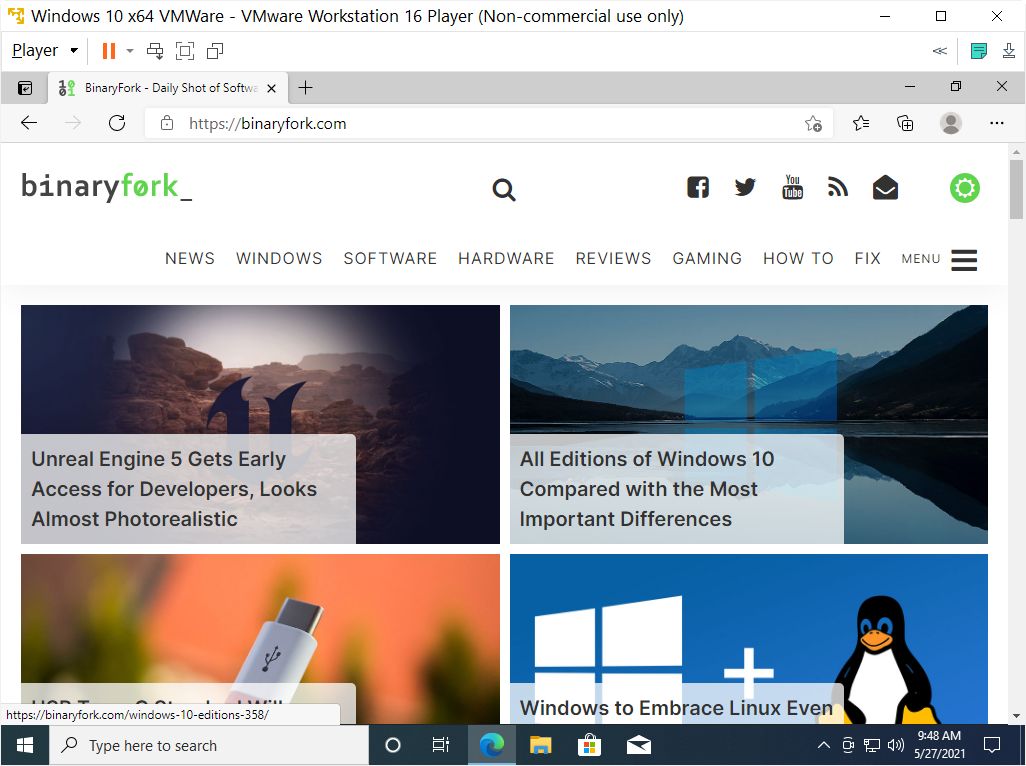
The first thing I did was visit BinaryFork, of course 🙂
Optional Step: Install VMWare Tools
If you want to get more from your virtual machine I suggest you also install VMWare tools, basically software add-ons that will be installed inside the VM, allowing for better management and even a seamless integration with the guest OS. More details can be found on VMWare’s website.
How to install:
- In the VMWare top menu go to Player – Manage – Install VMware Tools.
- The VMWare Tools image will be loaded into the virtual CD ROM drive. Run setup64.exe to begin the installation.
- In the last step select Typical for the setup type if you don’t have custom needs.
- Reboot the VM.

After doing this step you’ll likely feel that the user interface of the VM responds faster and feels snappier. Not quite as fast as the native Windows 10 install, but still pretty good for most tasks you’ll be running inside the VM.
I’m planning a similar tutorial that will cover the basic setup of a Windows 10 VM with Oracle VirtualBox. Also, I’ve talked about an interesting virtualization feature in Windows: the Sandbox environment for testing apps. Let me know if you have any questions or suggestions for making these articles more interesting/useful. Any feedback is appreciated.