- You can easily download your Facebook archive with all your posts, stories, likes, contacts, chats, and other profile info.
- There’s a simple catch though: you have to request the Facebook archive in advance.
- Find out how long it takes to download your Facebook information, what info is included, and how to read the Facebook archive contents.
Facebook is still the largest social media platform. As of today the number of Facebook users almost hits 3 billion people. That’s a lot of info Facebook knows about you, me, and your friends. Even if you’re not on Facebook!
Maybe you wish to download all your Facebook account data, either for archiving purposes, or to move it to another platform, which claims to better safeguard your privacy. It’s not that hard to be better at privacy than Facebook if I am honest.
Anyway, just as Twitter lets you download all your tweets and Google Takeout lets you export your Google data, Meta, the parent company of Facebook, lets you download an archive of all your content, with granular controls for what you want to export and for which period.
CONTENTS
How to Download a Complete Facebook Profile Archive with All Your Content
There’s an official help page that explains the process, but I’ve found the info to be incomplete, with steps missing. It may not be on purpose, but if you’re having trouble downloading your Facebook archive you’ve come to the right place.
1 – Log in into your Facebook account.
2 – Click on your profile picture in the top right corner.
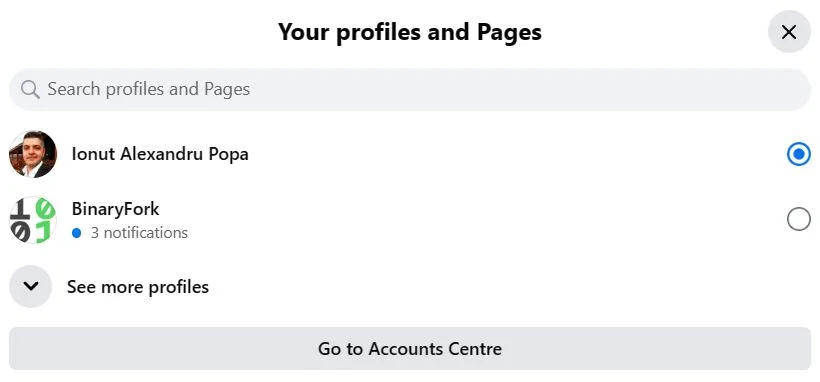
3 – Click on the See all profiles link, if you have more than one profile.
4 – Select the profile you wish to export Facebook data for.
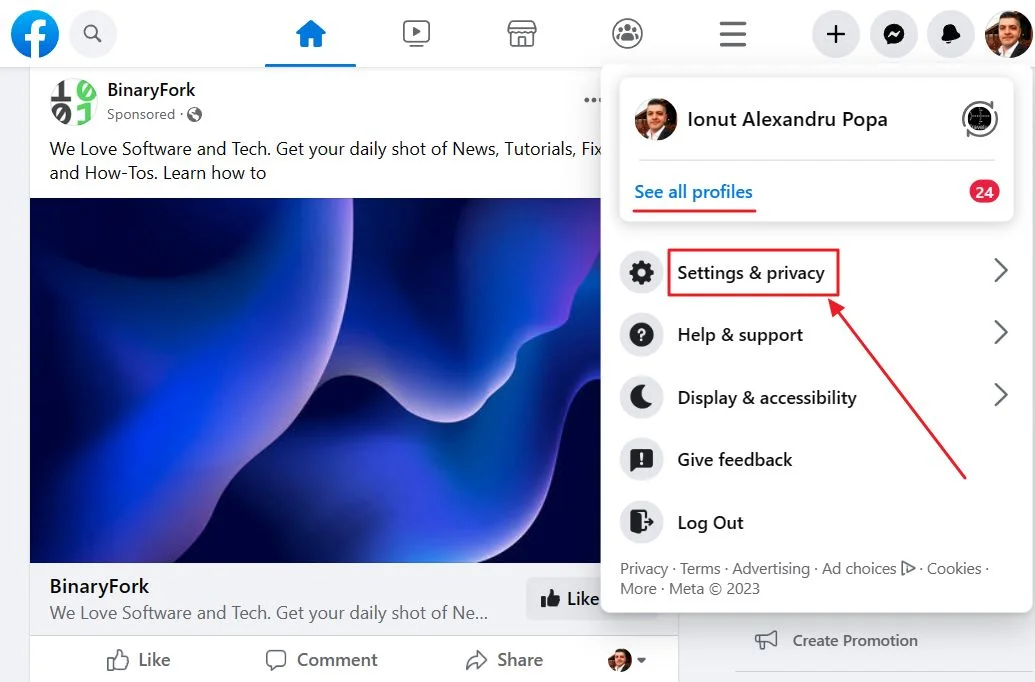
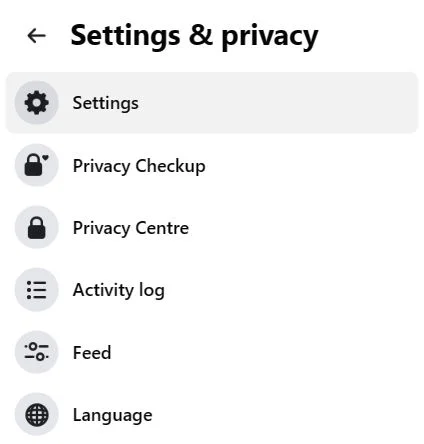
5 – Once you click on your profile picture a popup menu will show up. Click on the Settings & privacy option.
6 – The menu will refresh. Select Settings now.
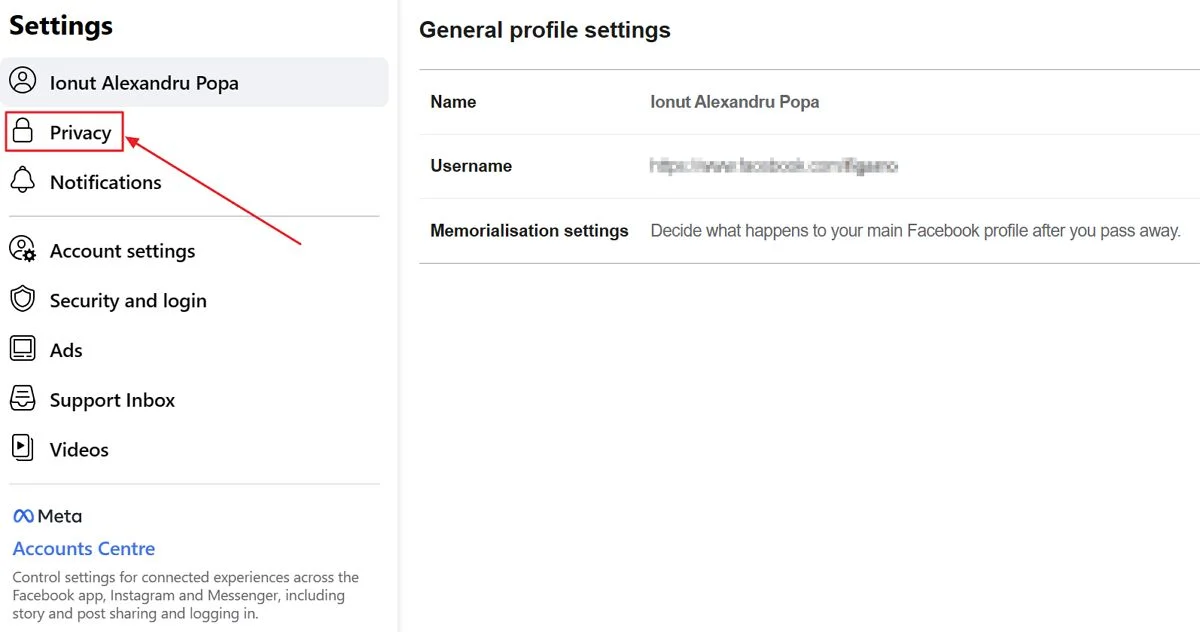
7 – Doing this will refresh the page and load the Facebook settings page. Click on Privacy on the left side menu.
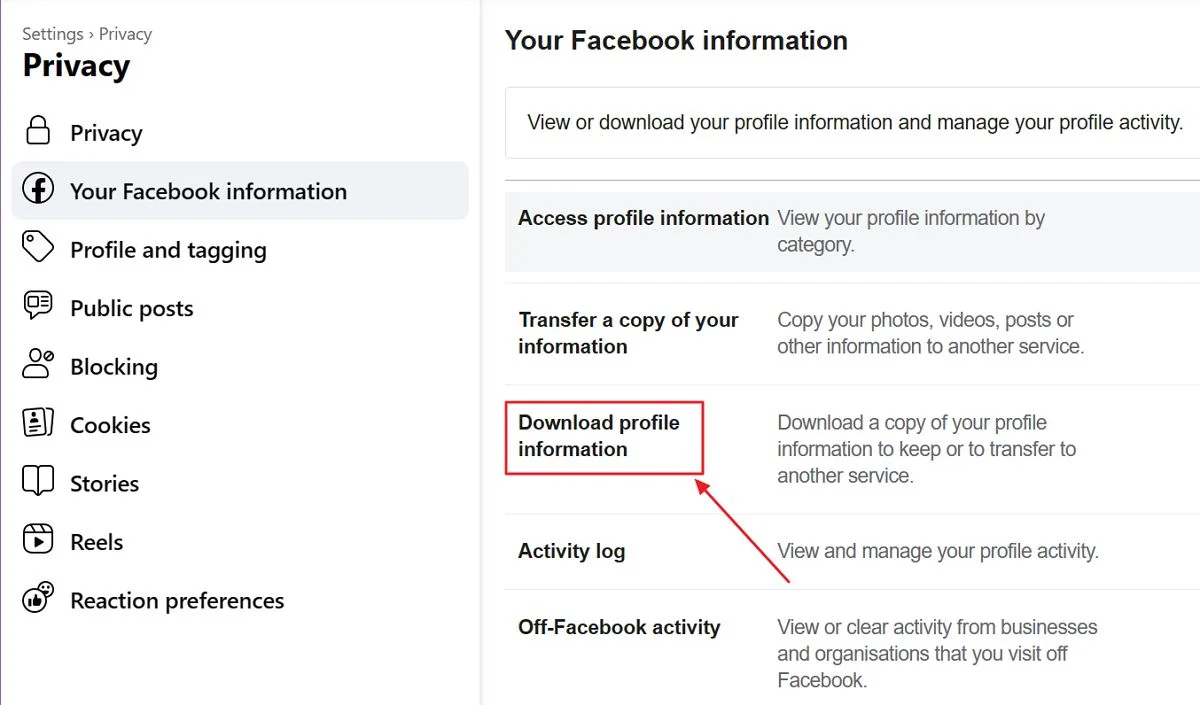
8 – In the Privacy page select Your Facebook information from the left side menu.
9 – In the right panel click on Download profile information.
10 – Now you’re finally on the Download your information Facebook section of the Settings.
The right side features two tabs:
- Request a download – here you select what you want to export from Facebook.
- Available files – here you can see the status of recent requests, with the option to download the archives that were already processed, but not expired.
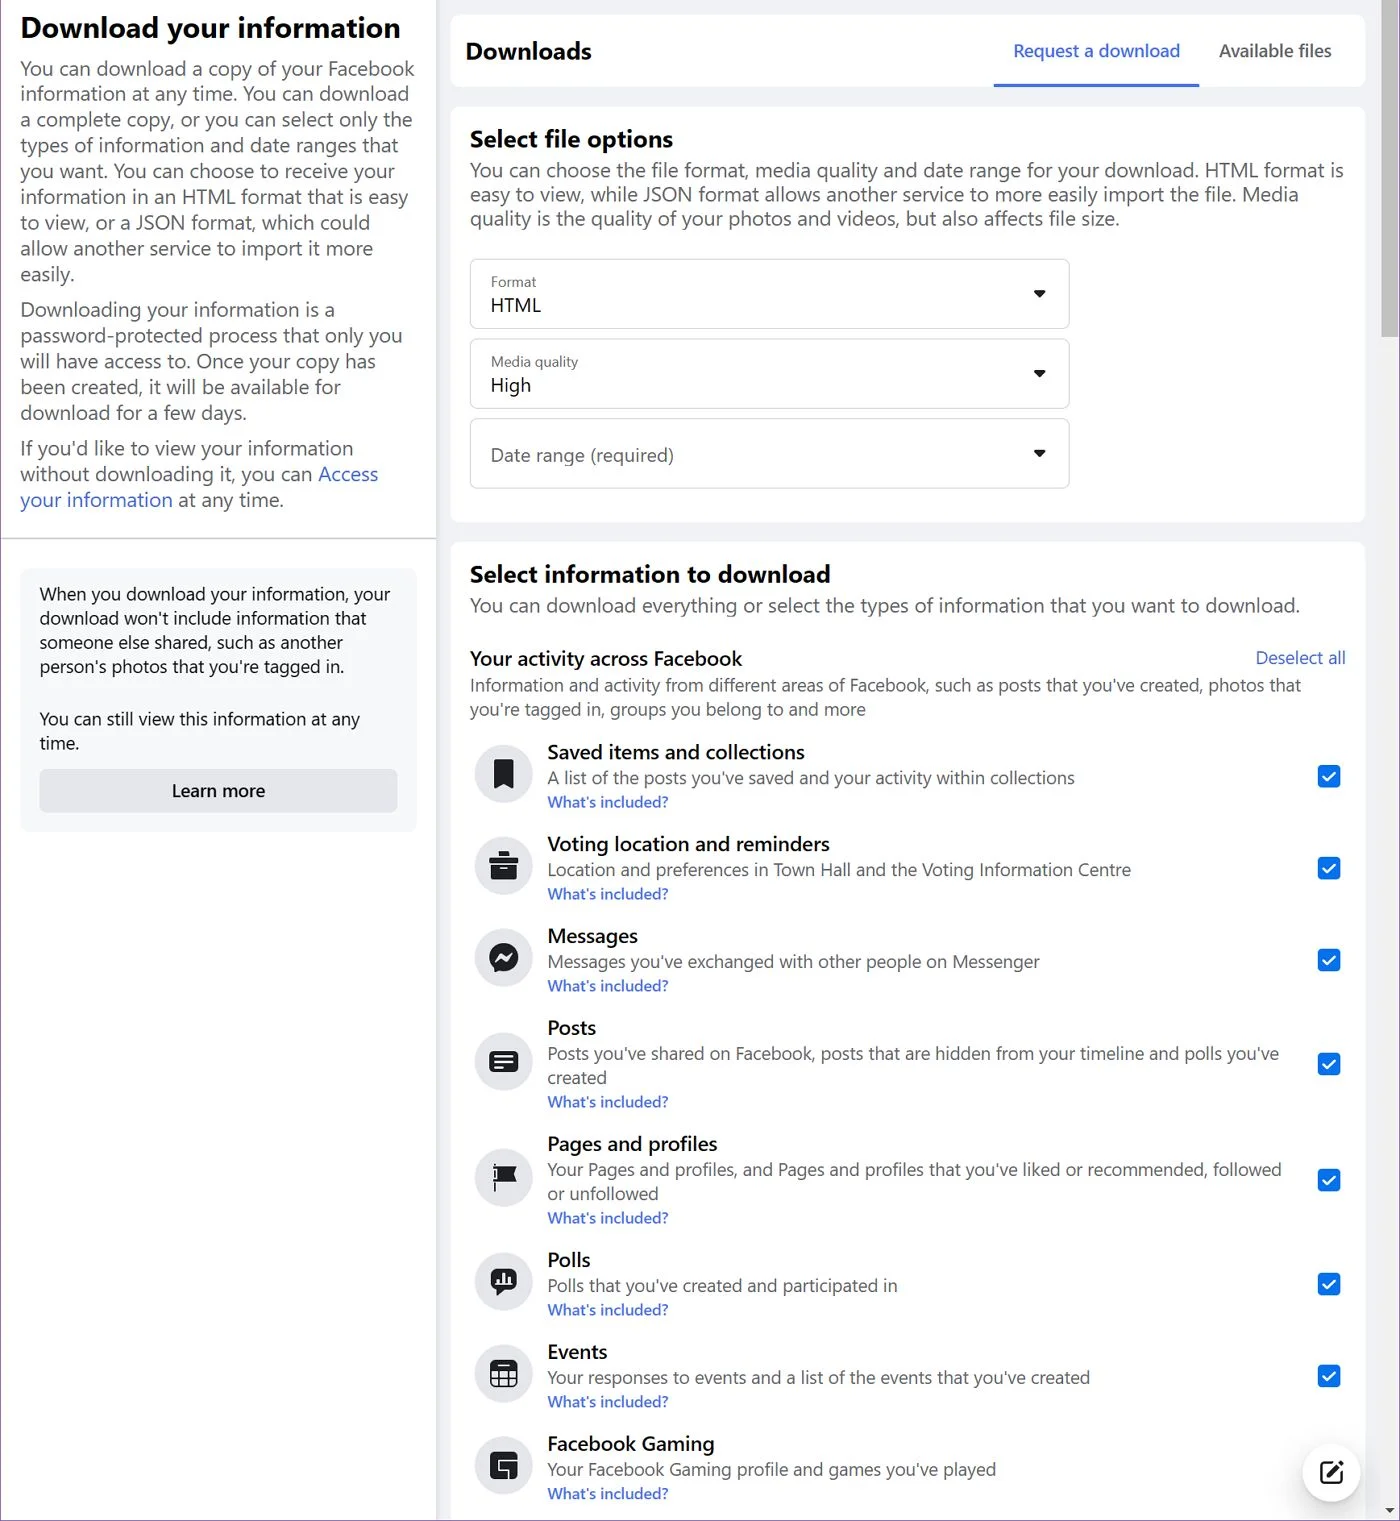
Let’s break down the available options for your Facebook archive:
- Archive format:
- HTML – easy to browse and read the contents
- JSON – easy(er) to migrate to another service
- Media quality – how well do you want your videos and images to look? Choose between Low, Medium, and High. This option will affect archive size and the time needed for Facebook to compile all the info.
- Date range – the time interval you want to export the data for. Available options are last week, month, 3 months, 6 months, year, 3 years, all time, and a custom date range.
- Information to download – what exactly do you want the archive to include? That’s going to be detailed in the next chapter.
11 – Once you select a date range the Request a download button becomes available at the bottom of the page. You have to click on it.

12 – The Available files tab gets selected automatically. Here you’ll see the status of your Facebook archive request. An email is sent also to your profile email address.
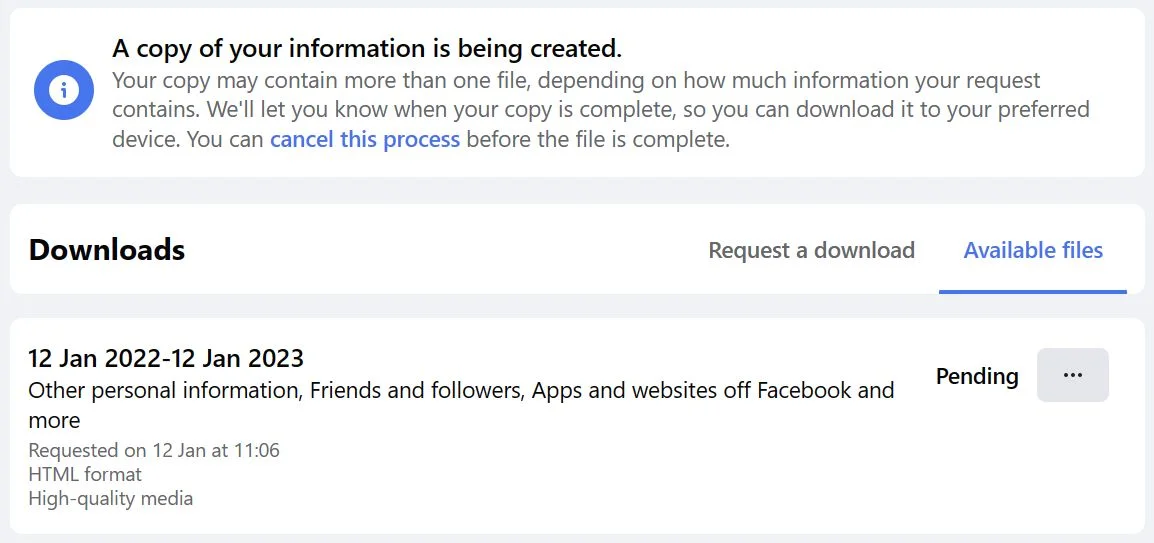
13 – You can refresh this page or wait for the confirmation email to arrive in your Inbox. Click on the Download button next.
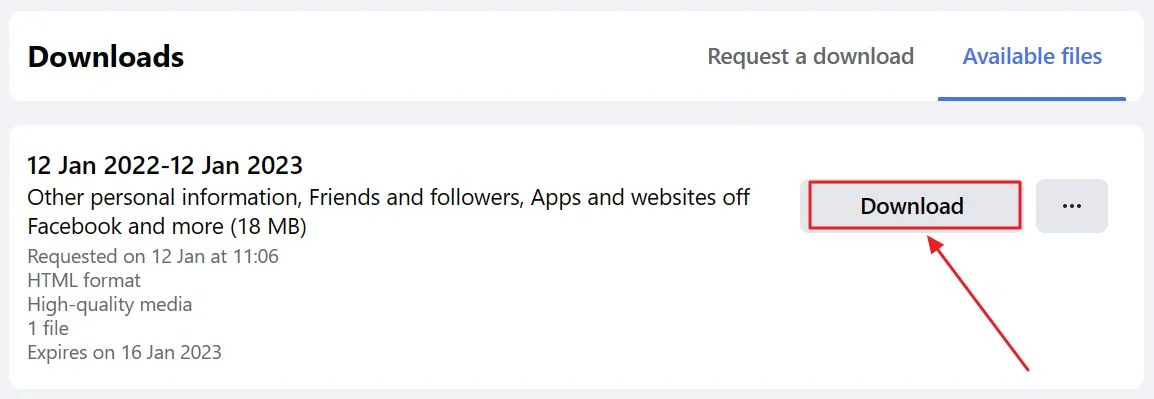
14 – You’ll be asked for your Facebook account password, as a security measure, before you can actually download the Facebook archive file.
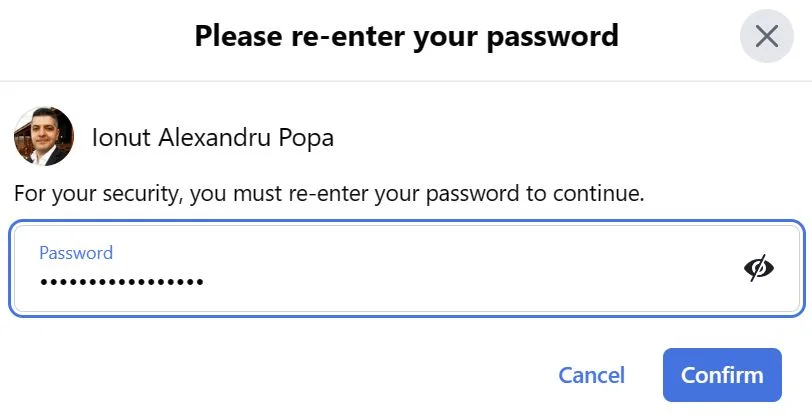
15 – And a final prompt. Click on Confirm to begin the actual download.

Facebook Archive FAQ
Downloading a Facebook archive with all your profile data is surprisingly fast, taking from just a few minutes to an hour or so, depending on how much data you have in your profile.
You will get two emails: one when the Facebook archiving process starts, and one when the Facebook archive file is ready.
If you’re also the manager of one or more Facebook pages you will have a Facebook profile for each of those, together with your personal profile.
While you can’t download a Facebook archive with all your profiles you can download individual archives for each profile by selecting the appropriate profile before beginning the export process.
What Does a Facebook Archive Contain?
By default, Facebook checks everything, allowing you to download anything they have on you, at least what they admit. You can fine-tune what’s exported, of course. Available information includes items such as:
- Saved items and collections
- Messages Chats from Facebook Messenger
- Your own posts
- Polls you created and participated in
- Events you created and responses to other events
- Groups you belong to, groups you manage, posts and comments within these Facebook Groups
- Places you created on Facebook
- Facebook payments
- Facebook Marketplace items you sold
- Comments and reactions to posts
- Stories and reels
- Business reviews
- Friends and followers
- The personal information you provided when you set up Facebook accounts and profiles
- Location information
- Facebook search history
- Notifications
- Feed preferences
- Ads information including interactions with ads and advertisers
There are more options, but I’ve outlined only the important bits.
How to Read the Contents of a Facebook Archive
After the Facebook archive finishes you can extract its contents. Can’t find the download folder? Here’s how to find your browser downloads folder. By default, you’ll find everything inside a folder called facebook-username.
Inside, there are folders for each type of information. Some folders include subfolders and index files. You’re interested in the index.html file from the root of the archive.
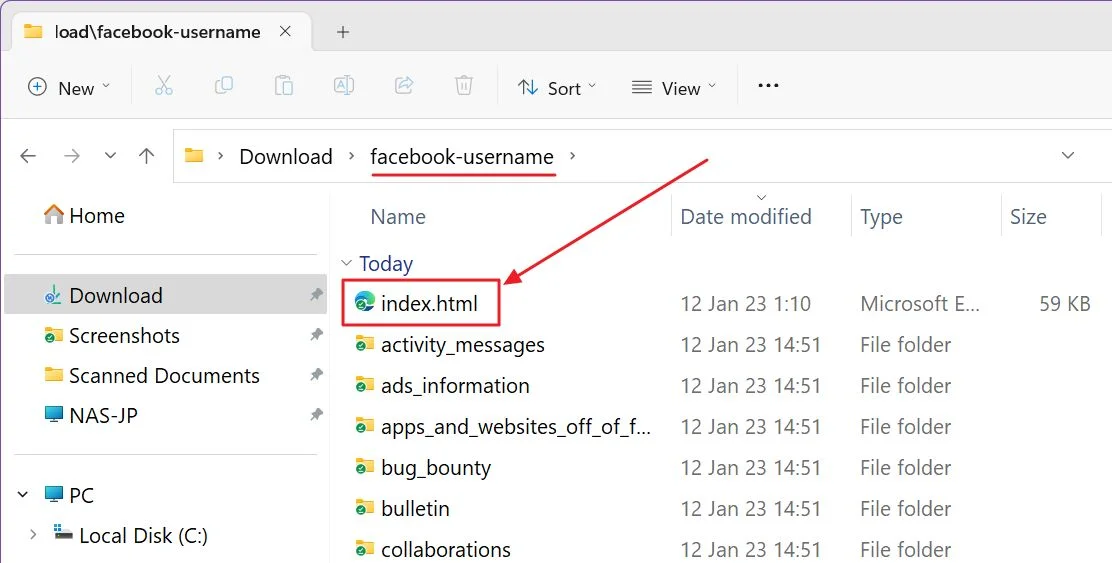
Double-clicking on the file will open it in your default browser.
The interface looks a lot like the current Facebook website, as expected. The archive can be navigated perfectly using the links for each subsection. These will open other archive HTML files with all the info you have requested.
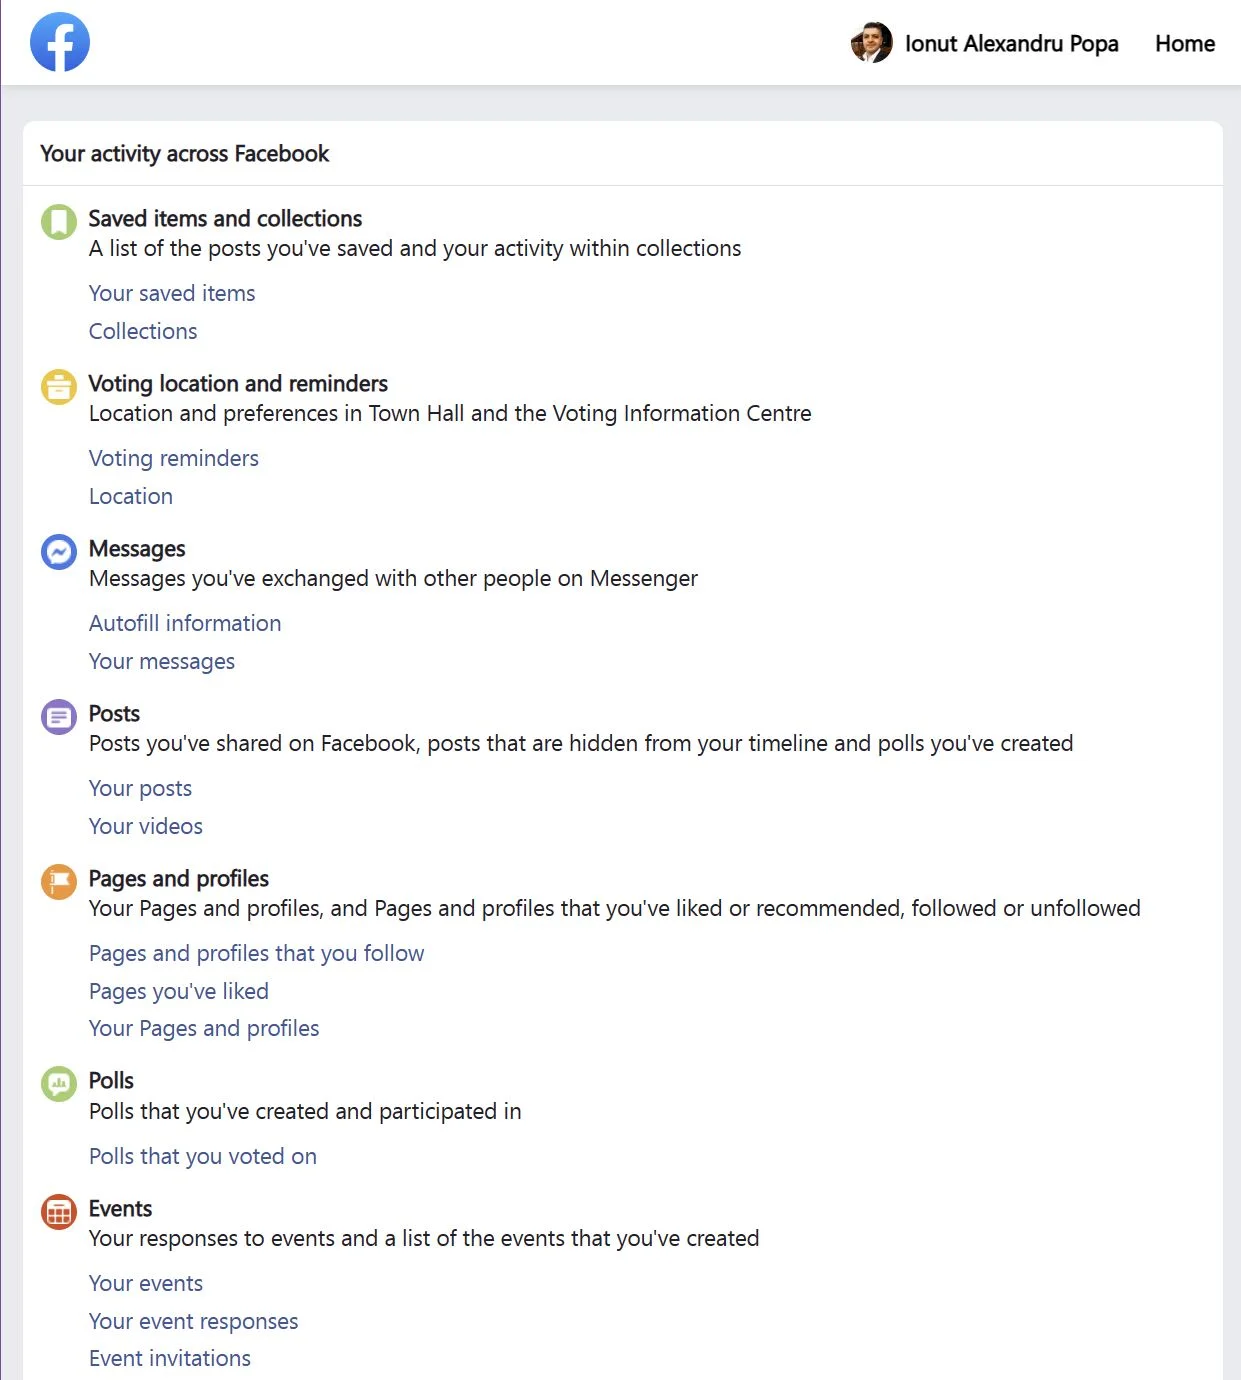
Be aware that some links will take you to the Facebook website. For example, if you liked someone else’s post that action will show up in your Facebook archive, but to see the contents of the post you’ll be taken to the live Facebook website.
You have to be logged in with the same account to see this content if it’s still available.
Can you Delete Your Facebook Archive?
If you’re talking about the archive files from Facebook’s servers, then yes. You can delete them by using the three-dot menu in the Download your information > Available files tab.
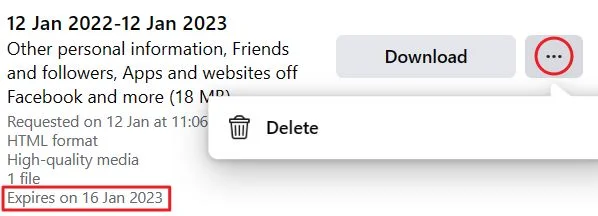
Or, you can just let them expire. That happens in about 4 days. The expiry date is mentioned next to each archive request.
If you’re talking about the information Facebook has on you, you have multiple options:
- Delete your Facebook account or temporarily deactivate from Settings & Privacy > Settings > Privacy > Your Facebook Information > Deactivation and deletion
- Edit the audience for each item you publish and select Only me.
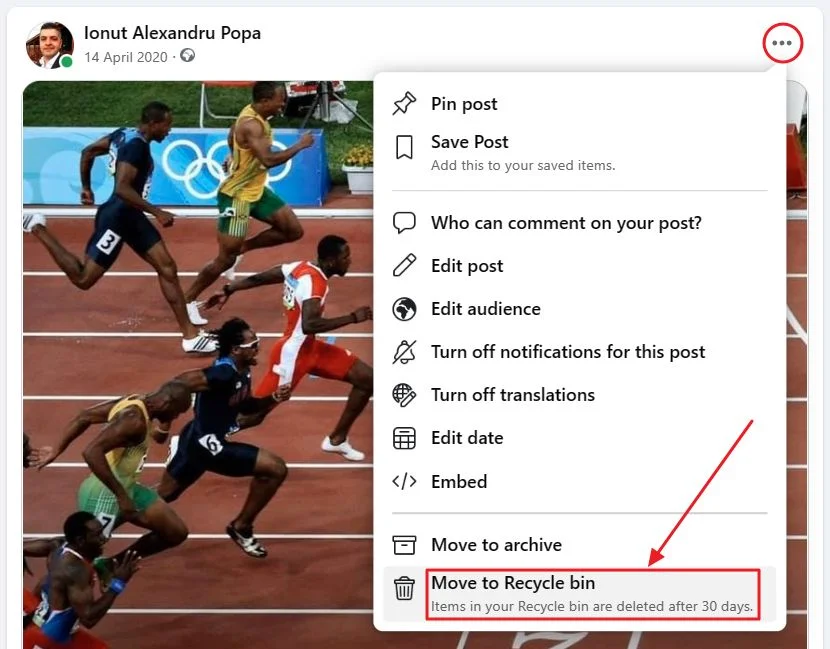
- Move to Archive or Move to Recycle Bin posts, images, and other types of content by using the three-dot menu.
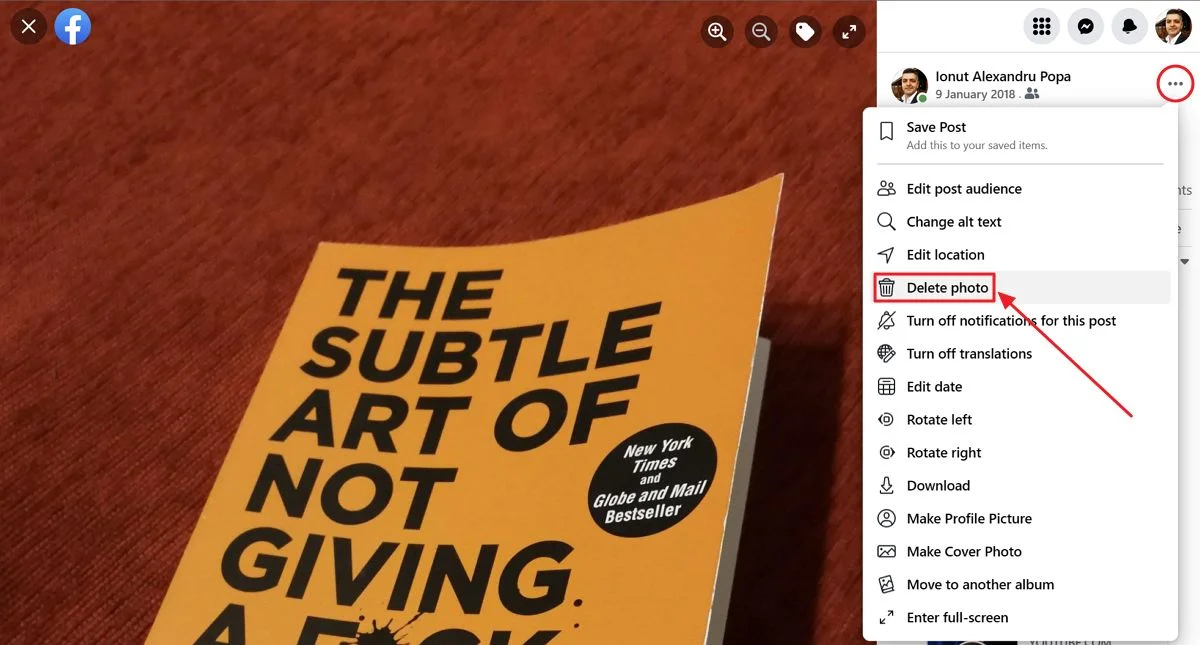
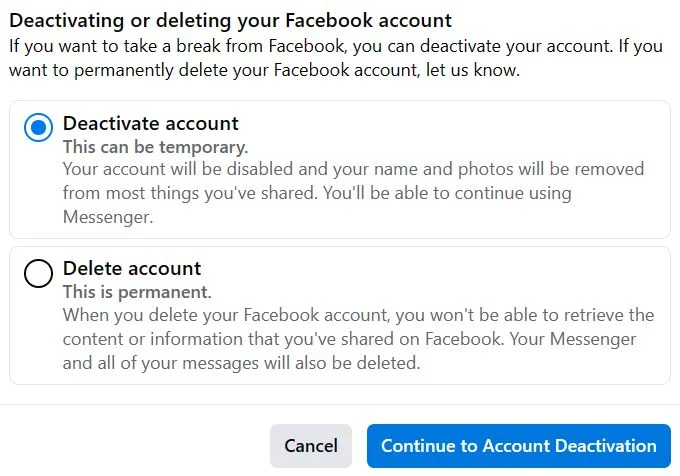
None of these options guarantees Facebook will actually erase your data. If may not show up on Facebook anymore, it may disappear from search engines in a few months, but as they say, the Internet never forgets.
