- Learn how to keep your devices settings in sync with Windows 10 and Windows 11.
- In a world where everyone owns quite a few devices, syncing settings between them is something that you want to happen automatically, in the background.
- Windows can sync passwords, system settings, and user folders between devices.

I have to admit that the settings synchronization on iOS devices is the best I’ve experienced. Android and Windows don’t come anywhere close. That doesn’t mean you can’t use the background sync option on your Windows machines.
The sync function between Windows devices works for both Windows 10 and Windows 11 and can sync cross-device system settings that are common, of course.
If you didn’t know this is possible continue reading and see what’s what.
Requirements: you need to be logged in to Windows with your Microsoft online account.
The weird thing? You can enable sync on a device with a local account, but it won’t sync with anything. Microsoft being Microsoft, I guess.
CONTENTS
Sync Settings Option in Windows 10
1. Open the Settings app (you can press the Win + I combo).
2. Navigate to the Accounts section.
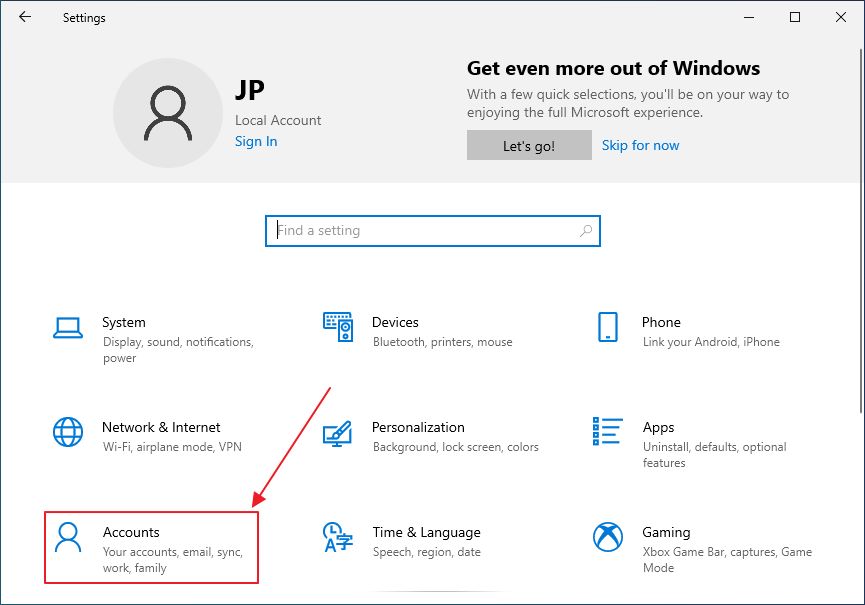
3. In the left-side menu click on the Sync your settings option.
4. The right-side panel will update now. First, enable the Sync settings checkbox, then, one by one, select one of the three options available.
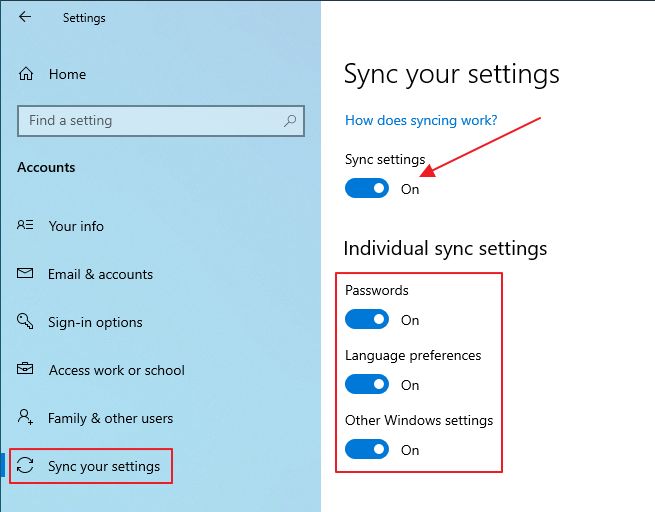
That’s it, your Windows 10 machine is now in sync. You can come back at any time to disable sync, to break the chain if you wish. Settings are not synced instantly, but it shouldn’t take more than a few minutes to see the changes on all your devices if they’re turned on.
How to Enable Device Sync in Windows 11
Windows 11 offers a bit more options. Not a lot more. It just integrates OneDrive directly into the Settings app.
1. Open the Settings app (pick your method).
2. Click on the Accounts section on the left panel.
3. Scroll the right panel and find Windows backup. Click to open.
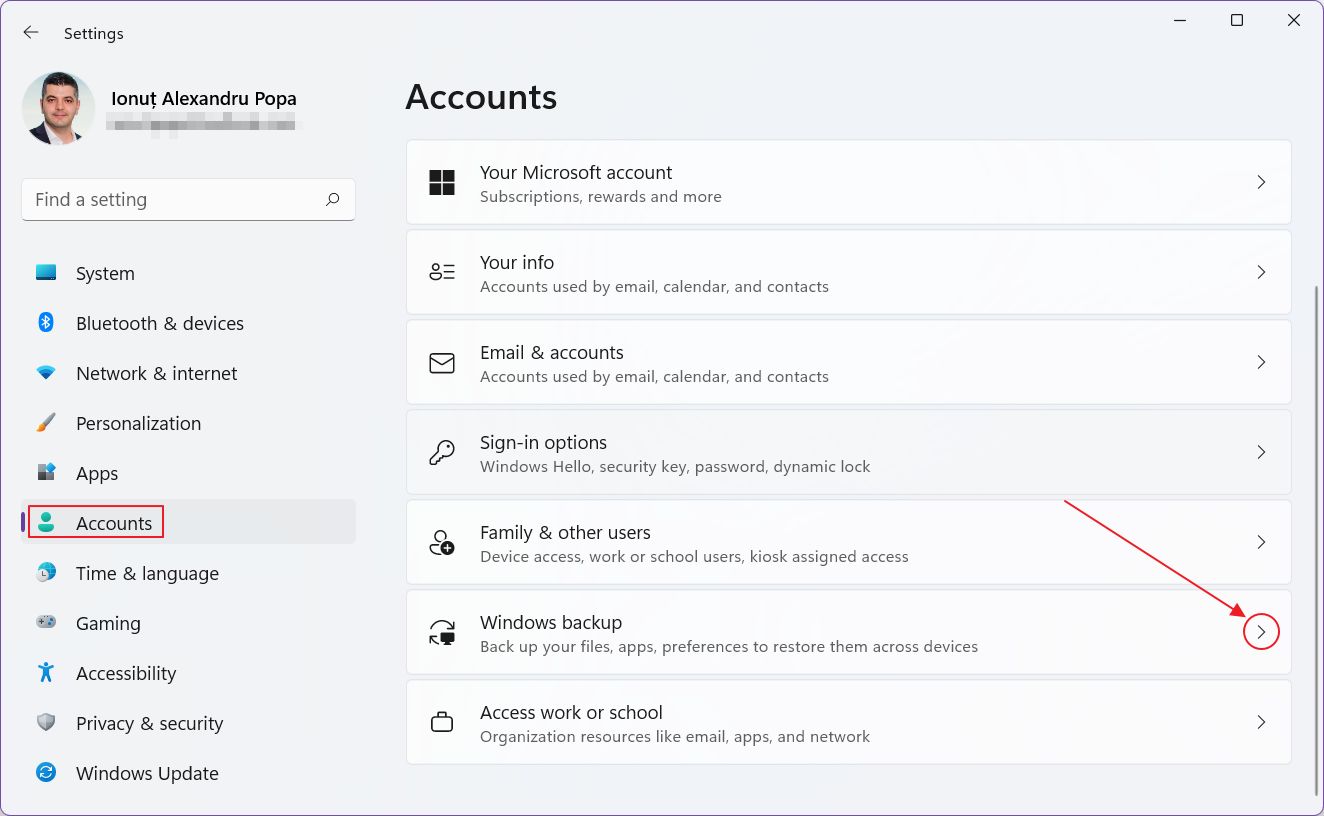
4. On top of the new section you’ll see which things are currently in sync.
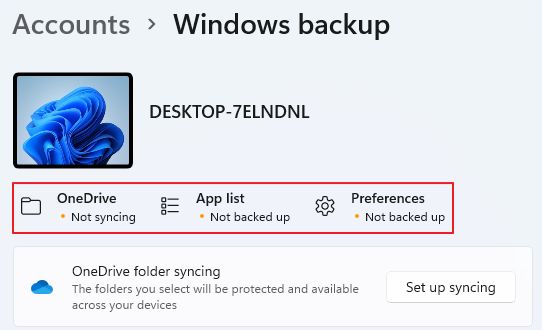
The the categories are:
- OneDrive
- App list (native apps from the Windows Store)
- Preferences (system settings, themes, passwords, language, printers, mouse options, notification preferences, and a few others).
5. You can toggle them one by one, but there are not many options.
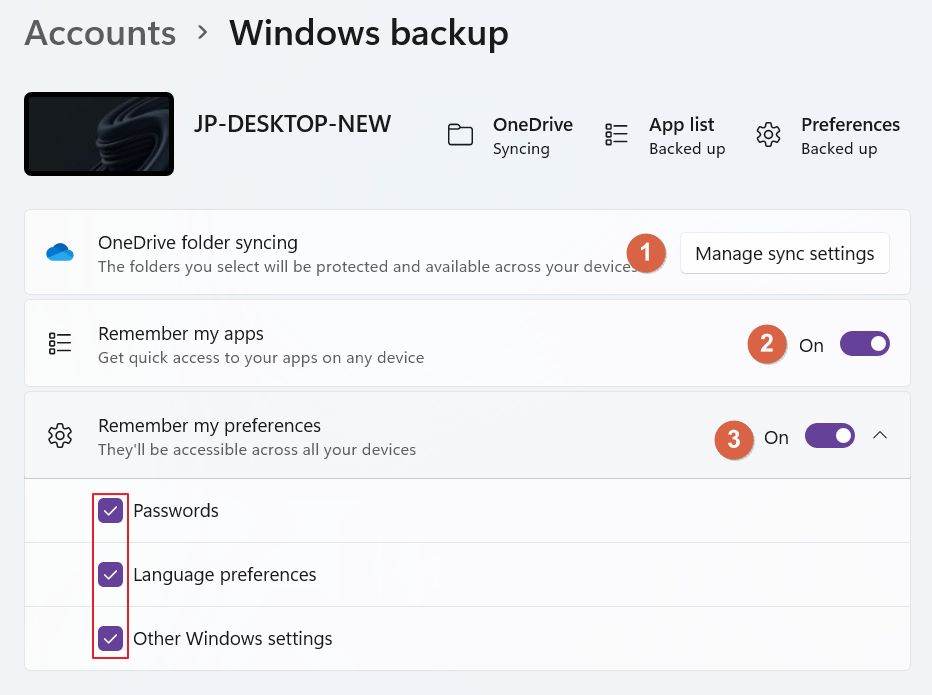
6. If you have uninstalled OneDrive you need to install the app again to see the Set up syncing button.
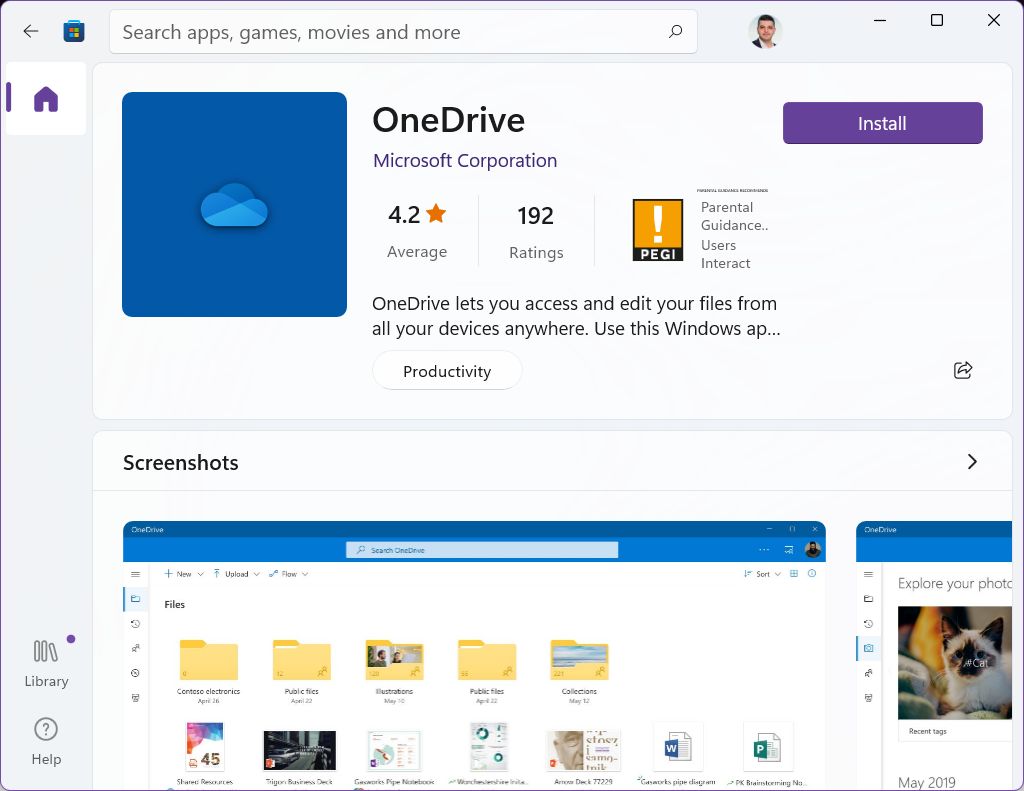
Don’t make the mistake of downloading the OneDrive app from the Microsoft store. For some reason, it doesn’t seem to be working. It looks like this is just a browser for your OneDrive online account, just like the Android and iOS apps. Weird, but let’s move on.
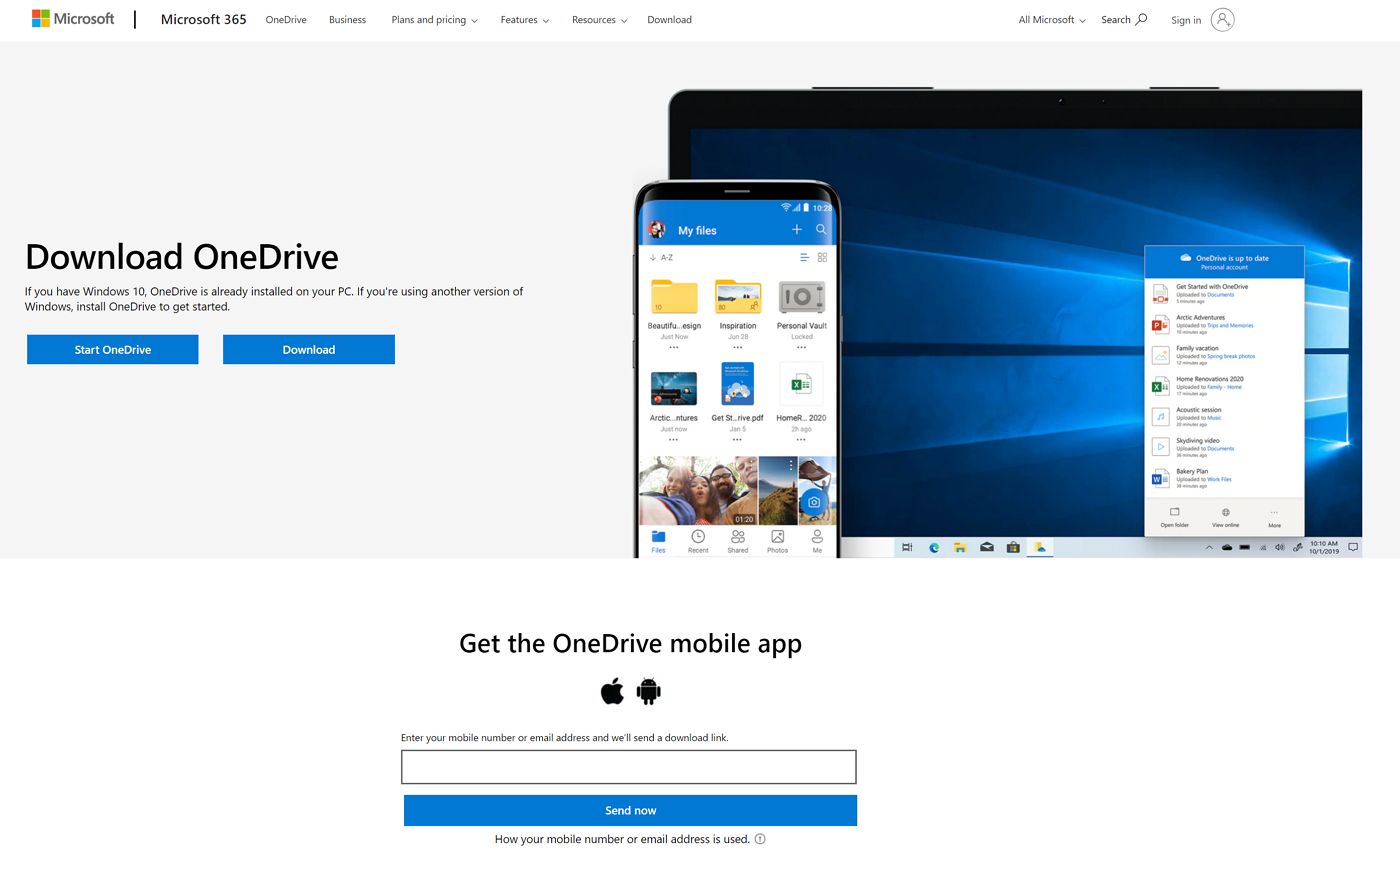
Download the OneDrive app from Microsoft 365 website. Install OneDrive, do the initial setup, then go back to the Windows Backup section in the Settings app, and click on the Set up syncing button.
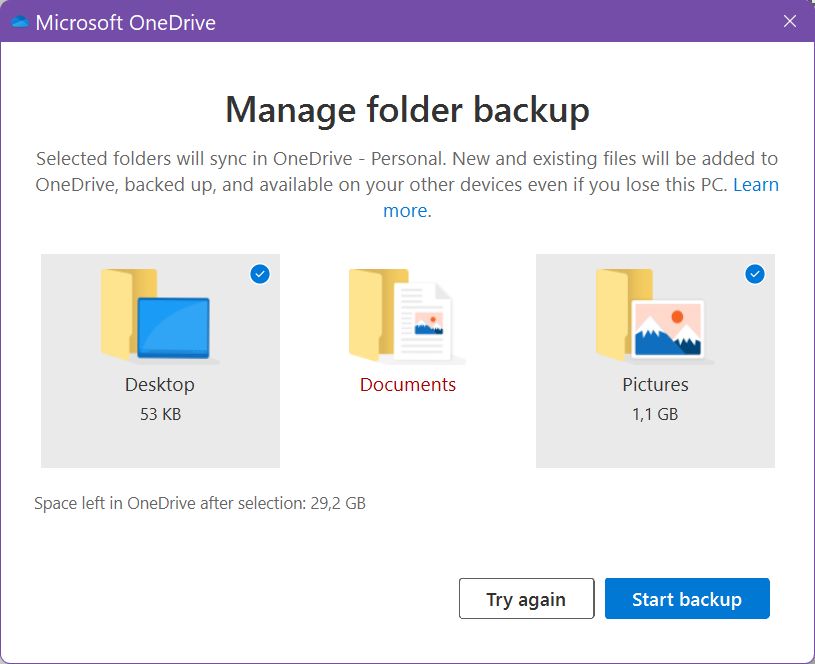
7. A new popup will appear, allowing you to select which OneDrive folders from the cloud plus the current user My Documents folder will be kept in sync between Windows devices. Tick the folders you want and confirm with Start backup.
8. You’ll see a notification letting you know that OneDrive sync has started. You can click on the View sync progress if you wish.
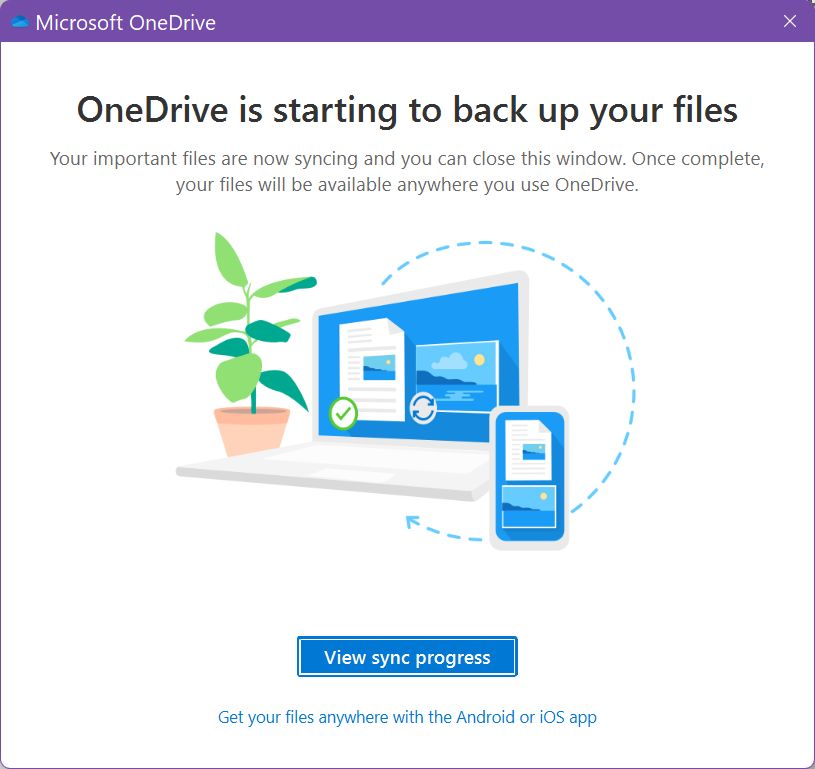
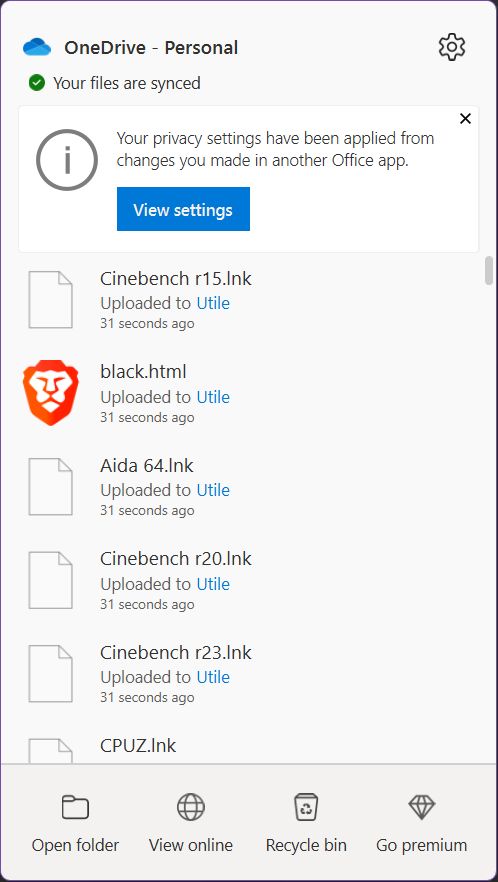
9. If you click on the button, the following popup will show up in your system tray, where OneDrive stays open.
10. If you want to change which folders are synced head back to the Window Backup section and click on the Manage Sync Settings button next to OneDrive.
11. A similar popup will show up, but this time you get a Stop backup link under each previously selected folder. Click on each link to stop syncing.
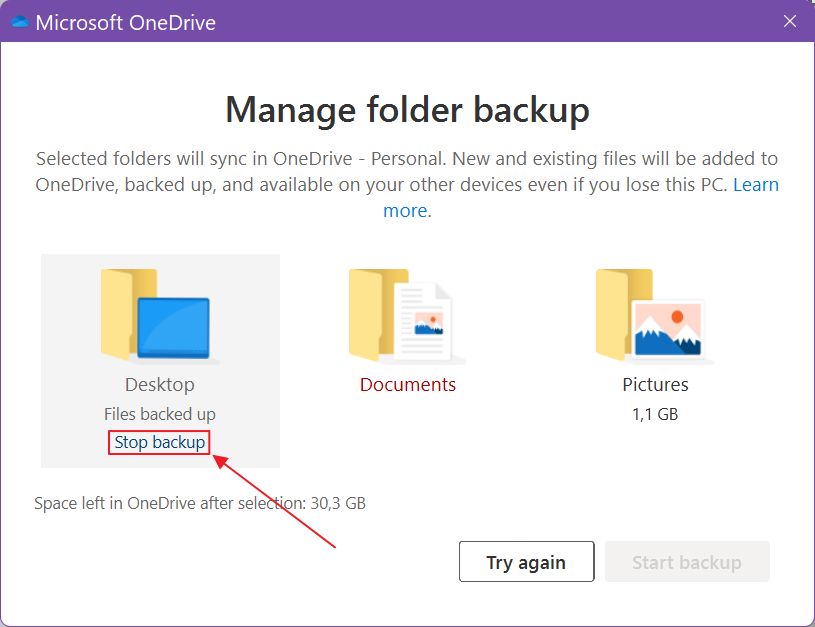
12. Hold on, you’re not done yet. Confirm you really want to remove this folder from the backup chain by clicking on the not-so-obvious option: Stop back up.
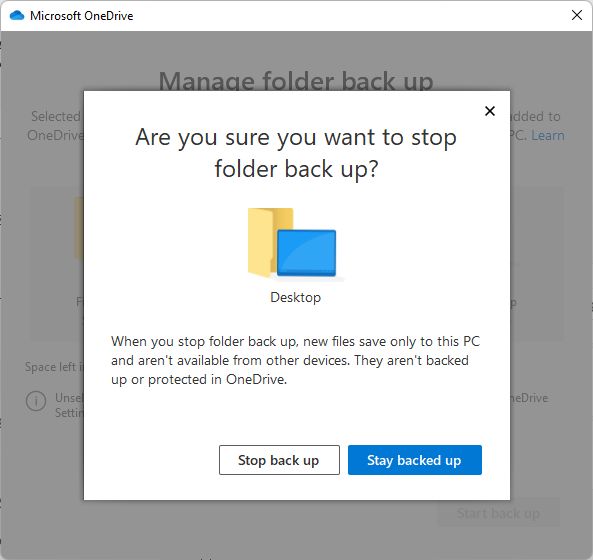
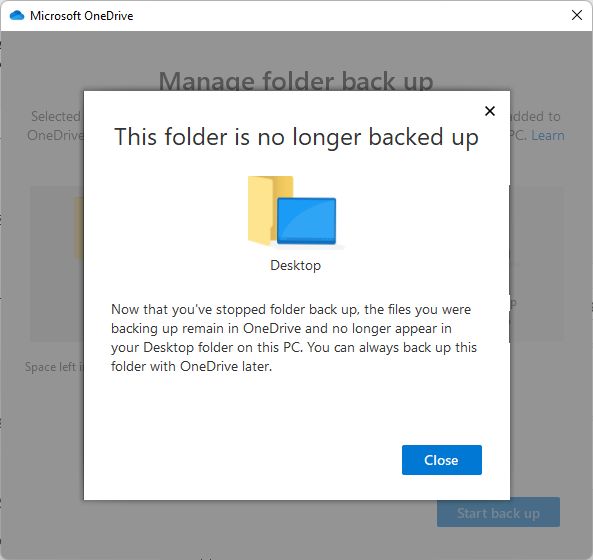
13. Aaaand this is the last popup, which will let you know that the syncing has stopped.
This is basically how you set up settings sync between your Windows machines.
Funny thing: after stopping sync for my Desktop folder, the icons disappeared from my current machine. So the folder was also erased from the local computer. I found them in the OneDrive cloud browser, but this is something you have to keep in mind. I though it was a bug, but it happened on another machine too, so I think this is how it’s supposed to work.
Read this comprehensive article if you want to learn more about OneDrive app settings for Windows.
How to Stop Sync Between Windows Devices and Completely Erase Cloud Data
The cool thing is that Microsoft lets you delete the data stored in the cloud, if you choose so, for privacy reasons (see what other options you can turn off in Windows).
First, ensure you have turned off settings sync on your devices.
1. Navigate to this address https://account.microsoft.com/devices.
2. Sign in with your Microsoft account and scroll to the bottom of the page, to the Cloud synced settings section.
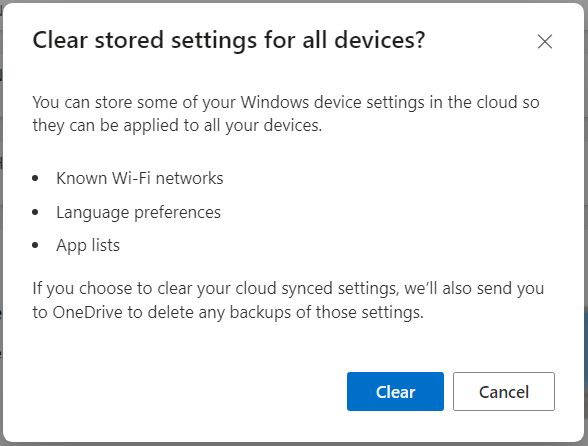
3. Click on the Clear stored settings link.

4. Confirm by pressing the Clear button.
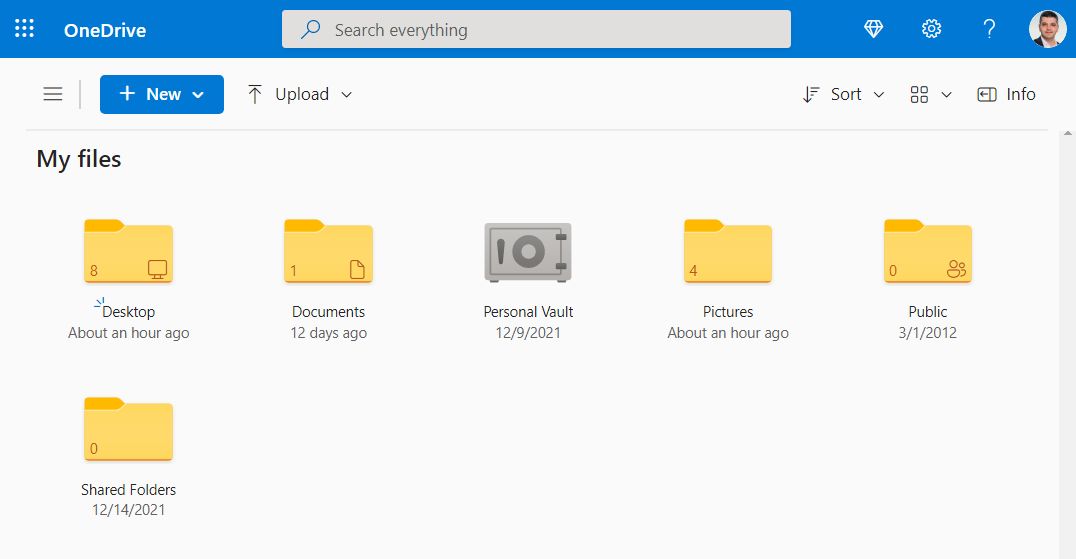
5. You will be taken to your OneDrive cloud account, where you can further erase other folders, to clear absolutely everything.
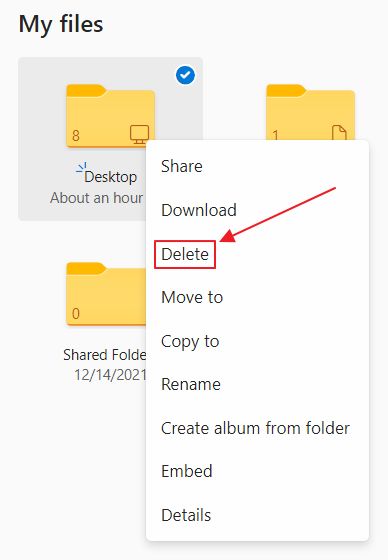
6. Right-click on each folder you want to delete and select Delete from the contextual menu.
This is everything you need to know about syncing your Windows settings between devices and how to remove every trace, in case you change your mind.
I’ve been using sync for a few years now, and it works OK, mainly because there aren’t that many settings that made it into the sync list. In time I’m sure this list will grow, but for now, it’s pretty limited.
For other guides like this one check out this page.
