- Learn how to install OneDrive, in case it’s missing on your system, and how to set up and start syncing your files.
- OneDrive is a compelling cloud service, especially if you’re getting the benefits included with Microsoft 365 Personal.
- More recent Windows versions come with OneDrive pre-installed by default.
I normally use Google Drive as my main cloud storage service for a few reasons, but I have used OneDrive in the past quite extensively. What made me switch is the fact that people I work with use Google Drive. It’s like the iMessage things.
I don’t particularly like Google Drive, especially the storage, sync, and sharing part, which makes up the most important functionality, but as I said, I didn’t choose it for the features.
Anyway, if you work with people that are using Microsoft 365 services, then you definitely need to give OneDrive a try.
If you’re still here continue reading because you’ll learn how to install OneDrive, and how to configure and start backing up and syncing your documents.
For other How To articles check our dedicated section.
CONTENTS
How to Install the OneDrive App on Your Windows Machine
Given the fact that OneDrive comes preinstalled with the latest version of Windows, you may be wondering why you would need to install it in the first place. Well, this guide assumes that, just like many others, you have uninstalled OneDrive because you were not using it.
So, let’s do a clean install.
1. Download the correct version of OneDrive, the one from the Microsoft 365 website, not the one from the Microsoft Store. See, it’s tricky already.
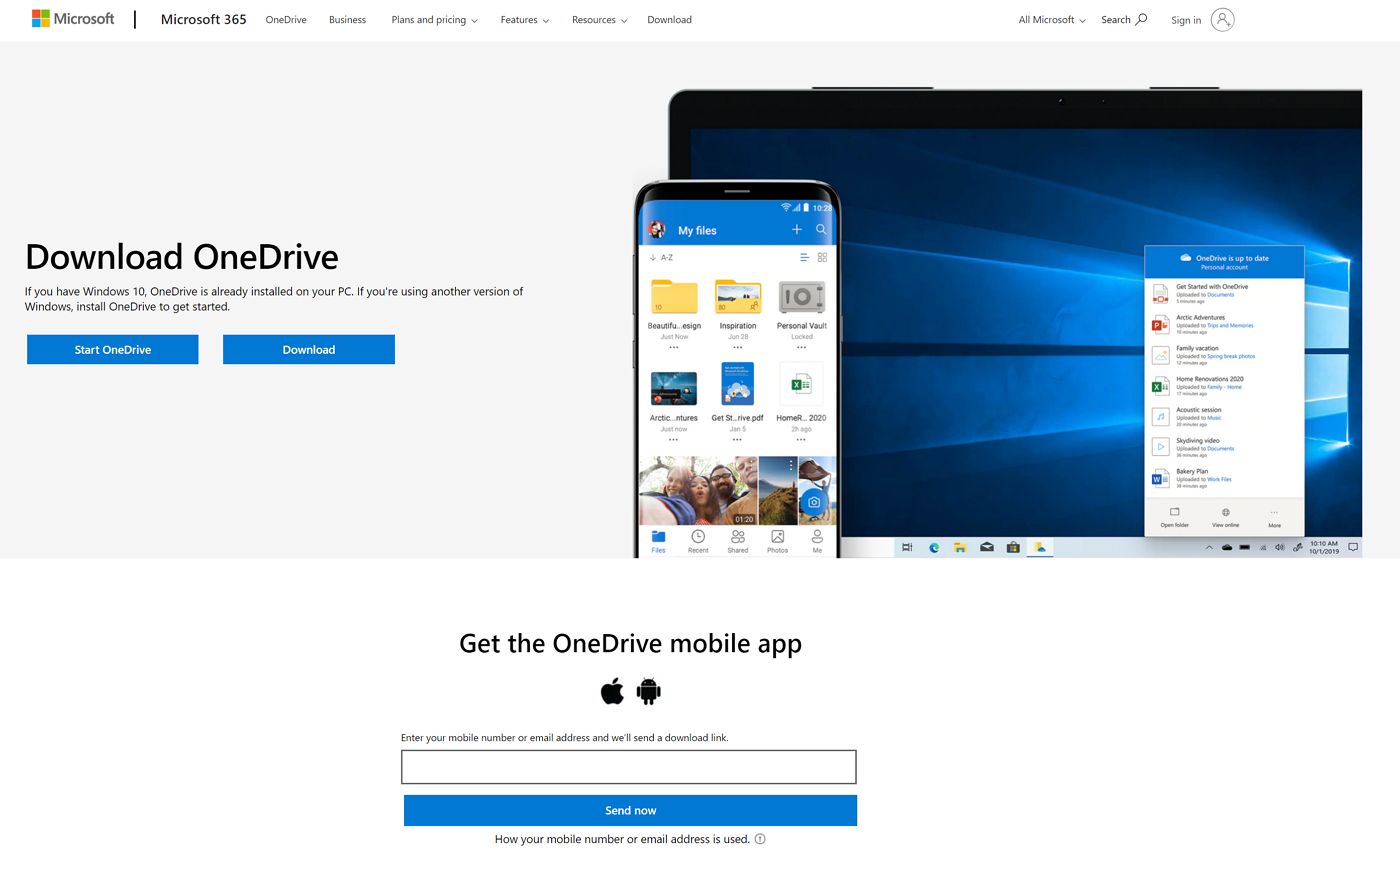
The Windows Store app acts pretty much like the Android and iOS versions, as a browser for your online stuff. It doesn’t actually sync files and folders.
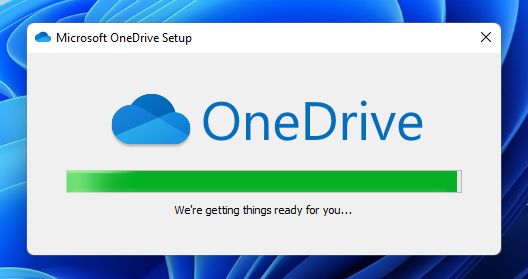
2. Run the OneDrive installer. You’ll get no prompts, so no way to customize the installation folder, for example.
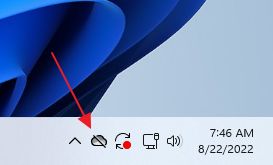
3. The oneDrive Icon should appear in the system tray immediately. If not, click on the arrow pointing up and you’ll find it there.
Set up OneDrive Step-by-Step in Windows
Now, let’s see how you actually set up OneDrive properly.
1. Double-click on the system tray icon or open the Start menu (press the Win key) and type OneDrive.
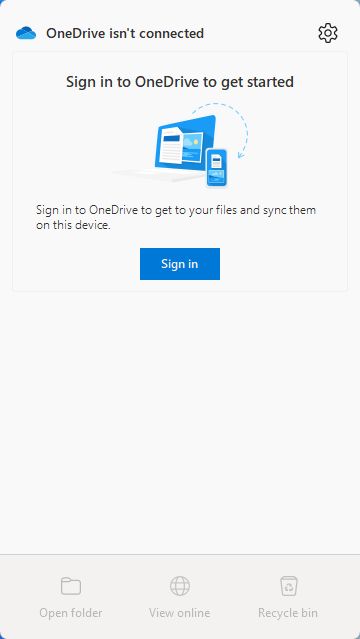
2. The following overlay will open. You will need to log in with your Microsoft account at this step. Click on the Sign in button to proceed.
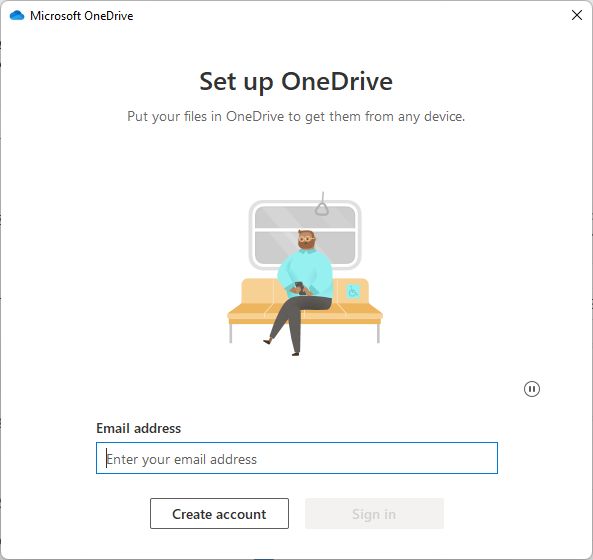
3. In the following windows enter your Microsoft account associated email address, then the password. If you don’t have a Microsoft account, you can create one instead at this step.
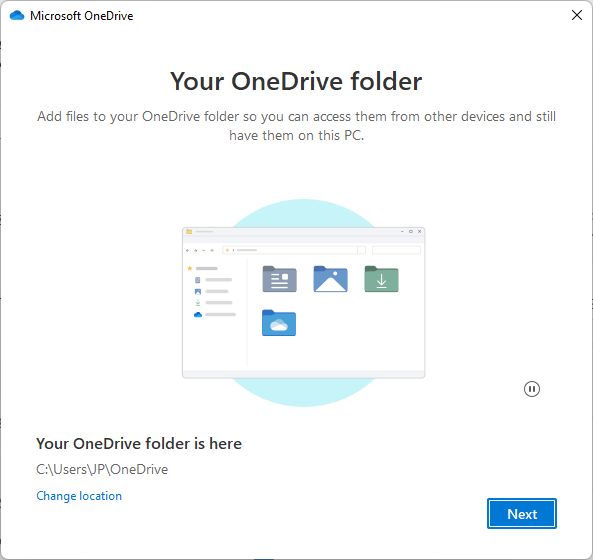
4. At this step you can just click Next if you’re OK with the default local storage location for the OneDrive folder, which is inside your current user My Documents folder.
I normally move any cloud folders on a separate partition. To do so click on the Change location link and pick a new location, then proceed to the next step.
5. Now you’ll see a list of local user folders you can choose to back up with your OneDrive online storage account. Tick or untick each folder and click Continue.
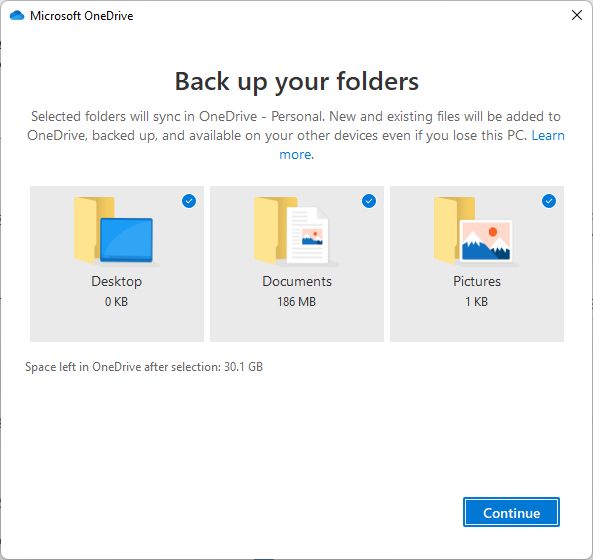
If you have other folders in your existing OneDrive account, they won’t show up at this step. Head to the Settings chapter to see how to choose what you want to synchronize to your local machine.
OneDrive is now integrated even deeper in the Windows backup functionality and is used for user folders backup in the new Windows backup app.
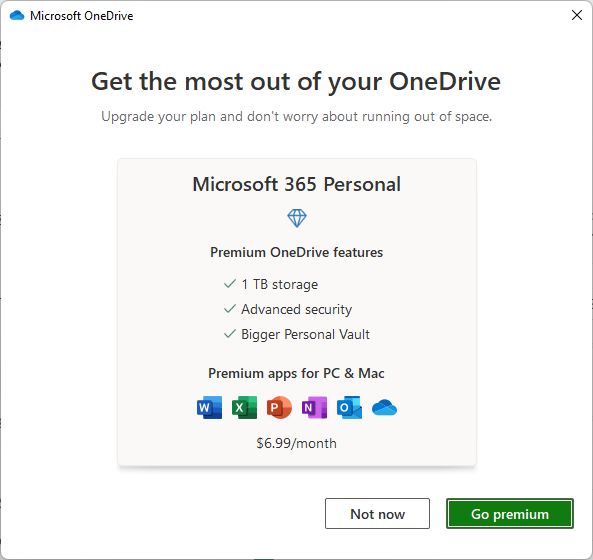
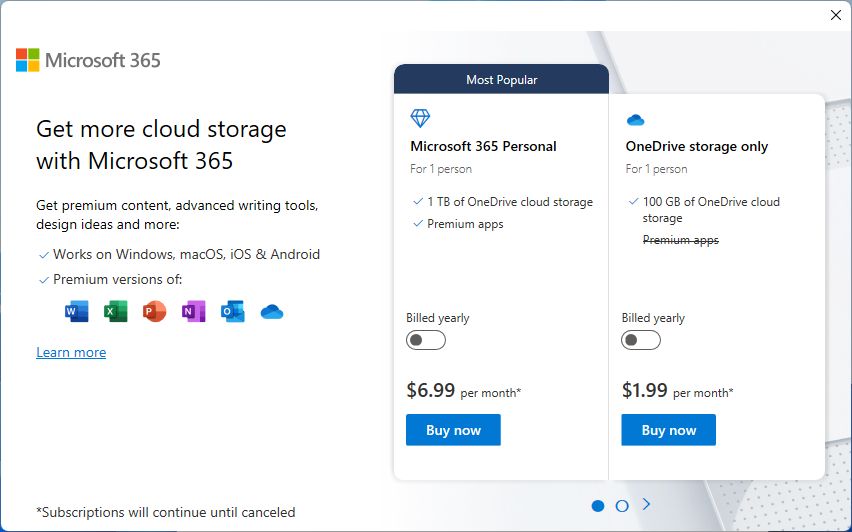
6. Now Microsoft will try to sell you a Microsoft 365 Personal subscription. For $6.99/month it’s a pretty good deal, considering you’re also getting Microsoft Word, Excel, Powerpoint, OneNote, and Outlook. I don’t count OneDrive since it’s already free.
The Family plan is probably the best deal, since you can use the same account for up to 6 devices/people. That’s with Office apps included.
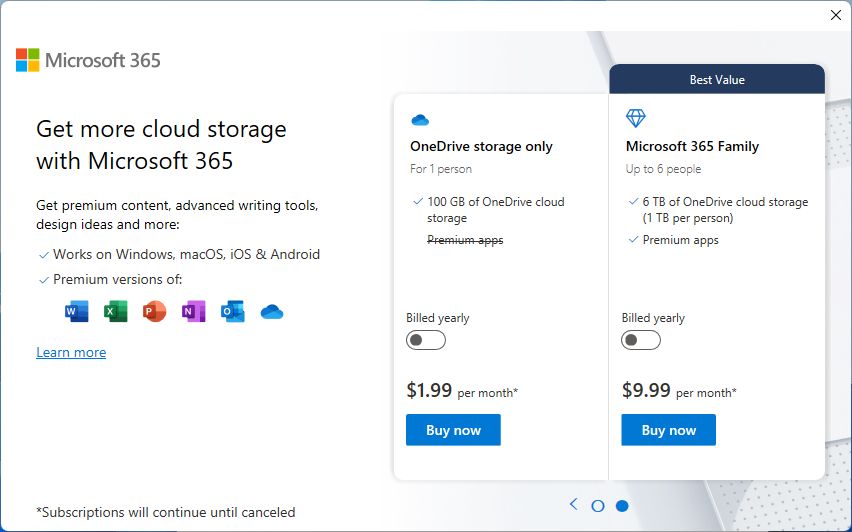
7. Now you’ll get a short explanation about how you can add stuff to your OneDrive folder. Nothing to see here. Let’s move on.
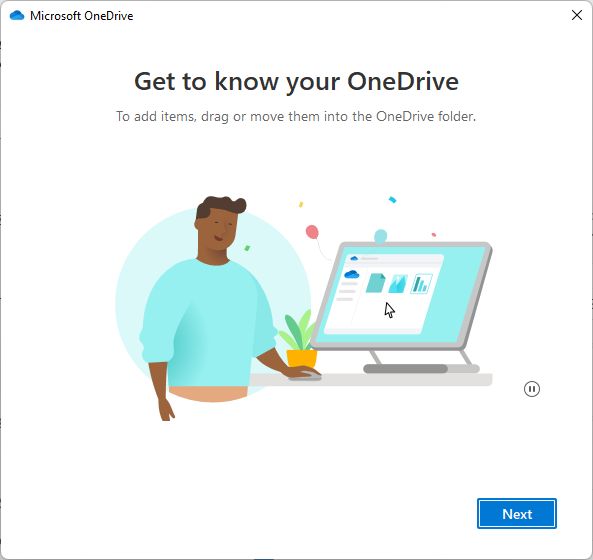
8. Another explainer tells you can share files and folders with other people, so you can work together with them. It’s very similar to what Google Drive offers.
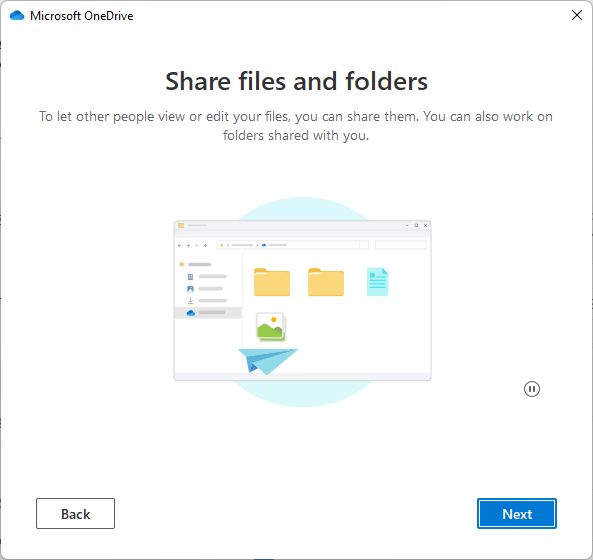
9. This is the most important explainer: each file and folder in your OneDrive folder from File Explorer will have one of these icons. It quickly lets you know which item is available online only, whether it’s synced with this device or is always available offline.
10. Another self-promo, which prompts you to download the mobile app. Do that, if you need to.
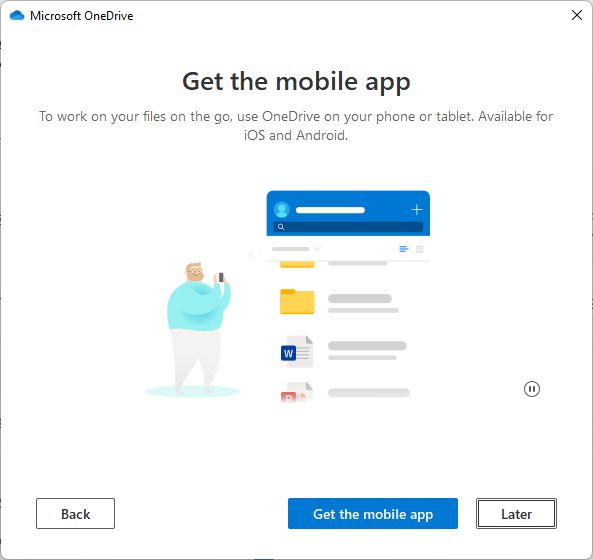
11. And you’re done. OneDrive is ready for you.
If you click on the Open my OneDrive folder button you will see what’s stored into your local folder and what’s stored online.
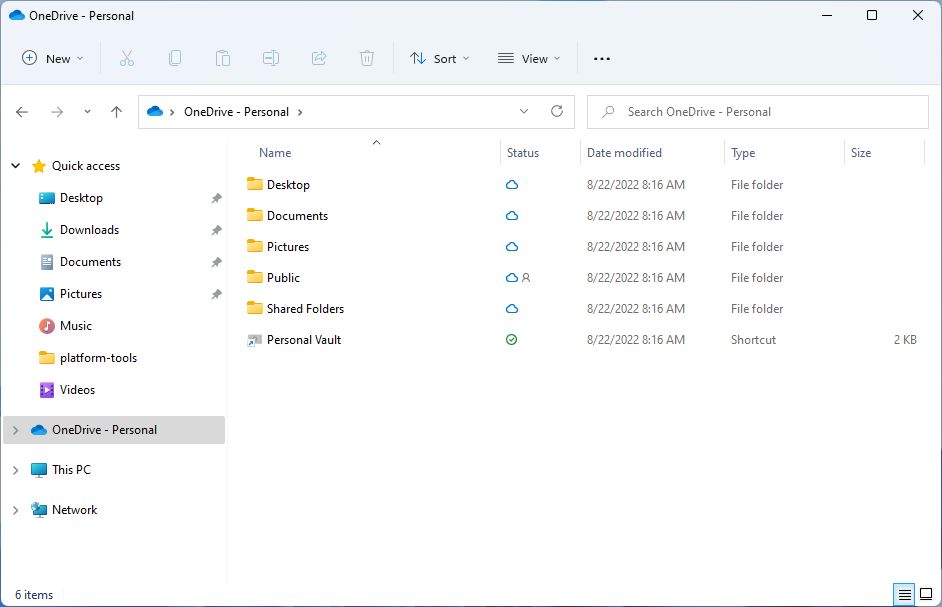
Note the Status icons for each folder. If you want to open the OneDrive folder later on, you can open File Explorer (press Win + E) then in the left side menu you will find the OneDrive – Personal shortcut.
OneDrive Sync and Backup Settings
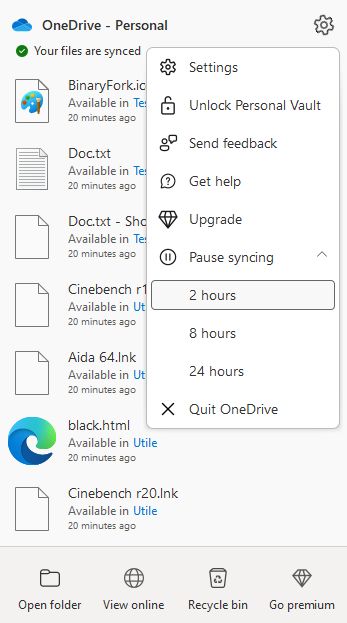
Clicking on the system tray icon will now open something like this, a list of the latest changed/added/synced files, the options bar, and the settings menu.
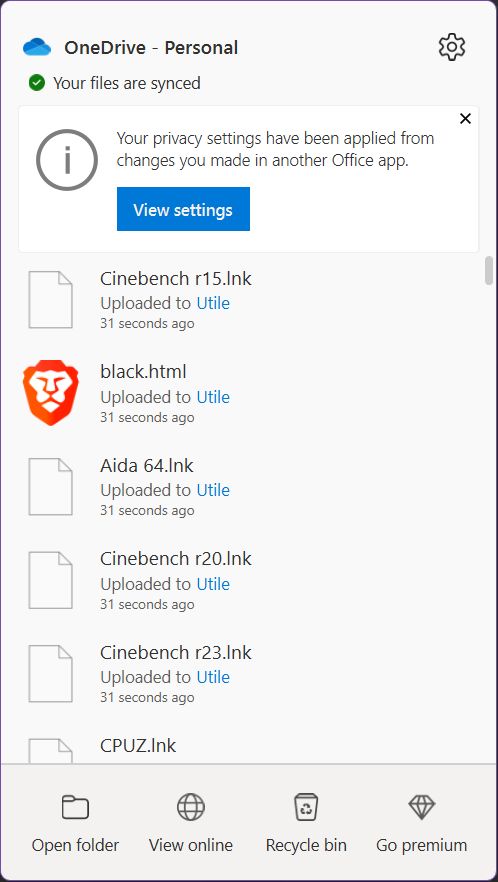
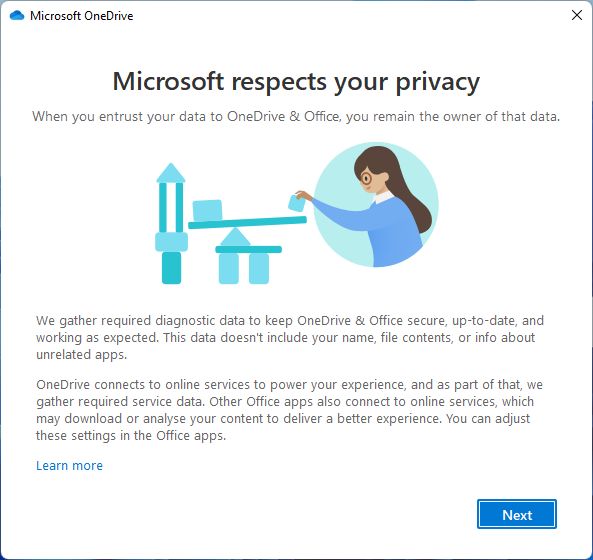
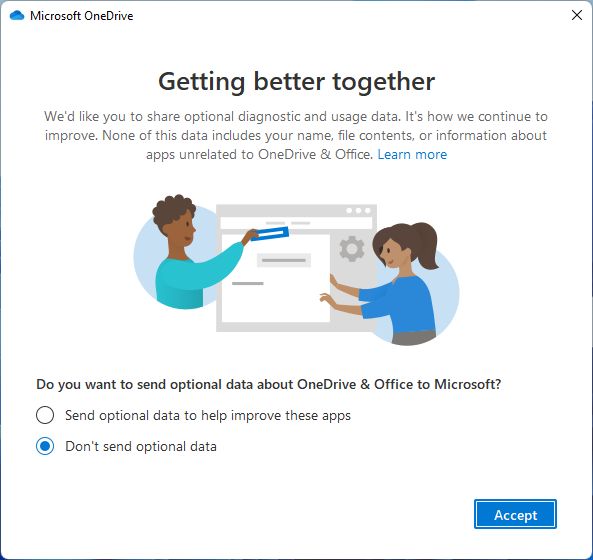
Note the Privacy warning at the top of the popup. You should review that. As a Windows privacy measure, I chose not to share optional data. Some data will still be shared, mind you (learn how to check the data Windows is sending “home”).
Now, to access the other settings let’s open the system tray menu again. At the bottom you have links to open the (1) OneDrive local folder, (2) the OneDrive online storage (goes to onedrive.live.com), (3) the online Recycle Bin where you can restore previously deleted files, and (4) a link to the premium subscription popup.
Click on the upper-right cog wheel to open a second menu. Here there’s a link to the app settings, and a few other options, with the notable one being the ability to pause sync for the current computer for 2, 8, and 24 hours respectively.
We’ll discuss the Personal Vault later in the article. It’s pretty cool.
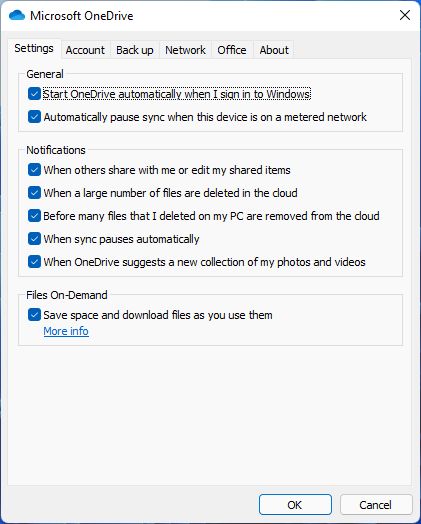
Let’s see the settings now. I’m only going go highlight the most important ones:
OneDrive General Settings
Here you can choose to start OneDrive with your computer, which is recommended. You can also manage which notifications appear in your notification center in Windows.
The most important option is the one labeled Files On-Demand. This will basically only download files as you use them. The files will still show up in the local OneDrive folder but with the online-only icon. Once you try to open them OneDrive will download them to the local machine. If you have a fast Internet connection, that’s not a problem.
Adding a Second Business Account to OneDrive
In the second tab, labeled Account, you can add another account to OneDrive. There’s a catch: you can only have two accounts in total, one personal, one business. You can’t add two personal accounts.
If you click on Add an account, you’ll see the same prompts as the ones in the install section above.
Also here, you can unlink an account from OneDrive.
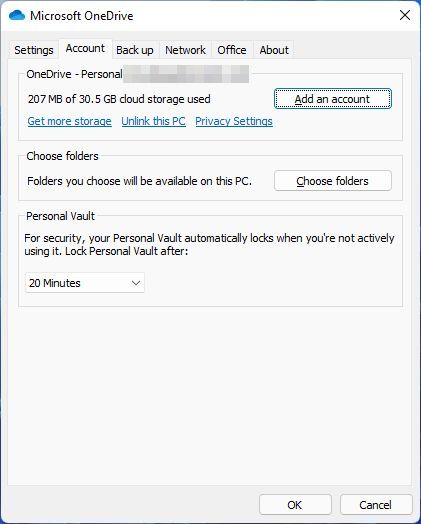
There’s an interesting option on this page: the option to choose which online folders will show up in the local OneDrive folder. Click on the Choose folders button to display a list of all folders in your OneDrive account with toggles for each one.
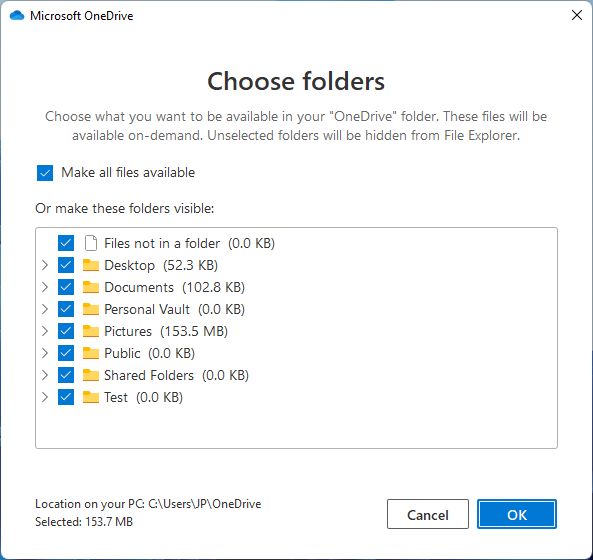
If you don’t have enough space on your current device, it may be a good idea to only choose a few folders, or just enable the Files On-Demand from the Settings tab. The second option is the more appealing one to me.
On the same settings tab, there’s the option to configure how long the Personal Vault stays unlocked when you open it: 20 minutes (default), 1, 2, or 4 hours. First, let’s set this up.
Extra Safety with Personal Vault in OneDrive
If you access System Tray > cogwheel icon > Unlock Personal Vault for the first time, this action will trigger the setup wizard.
What is the Personal Vault? A special folder that requires Microsoft’s two-step authentication to unlock. That happens every time. The folder will automatically lock back after a given period of time. Files in the Personal Folder can’t be shared.
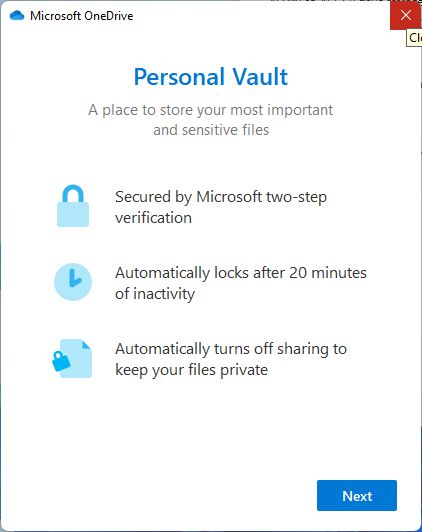
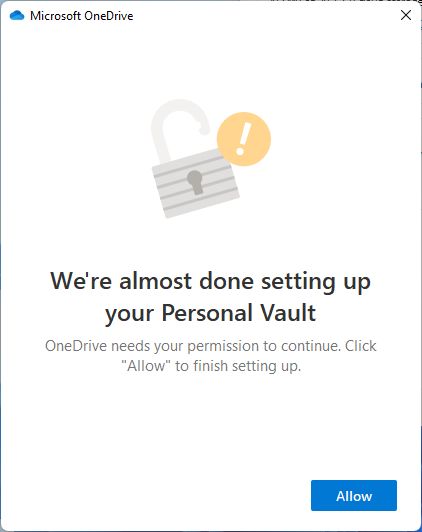
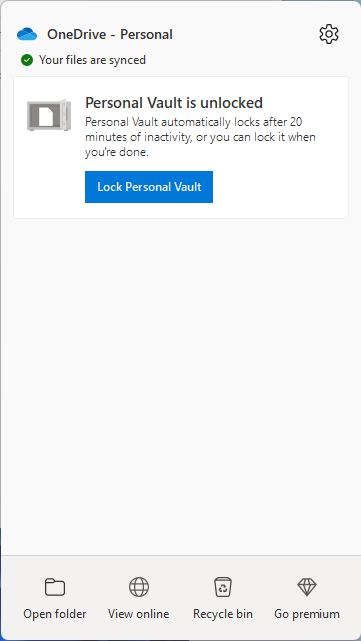
If you unlock the Personal Vault once you open the system tray menu you’ll get this warning, with the option to lock the folder back immediately.
For a more in-depth look at the Personal Vault read this article.
Back-Up User Folders with OneDrive
In the third tab, you can set up which local user folders are backed up from the local computer with your OneDrive account and with the other machines you have linked. This is part of the Windows settings sync functionality. If you click on Manage back up, you can once again select which folders will be kept in sync.
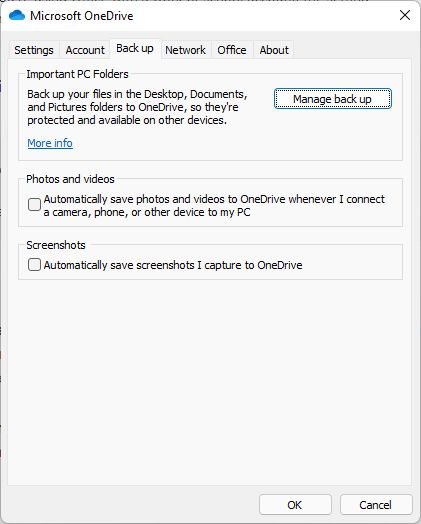
There are two other important options on this page. You can choose to keep every screenshot you take in OneDrive, and you can also enable camera photos and video backup. So, every time you connect a camera, be it a DSLR or a mobile phone, all clips and images will be saved automatically to OneDrive. I would keep this off.
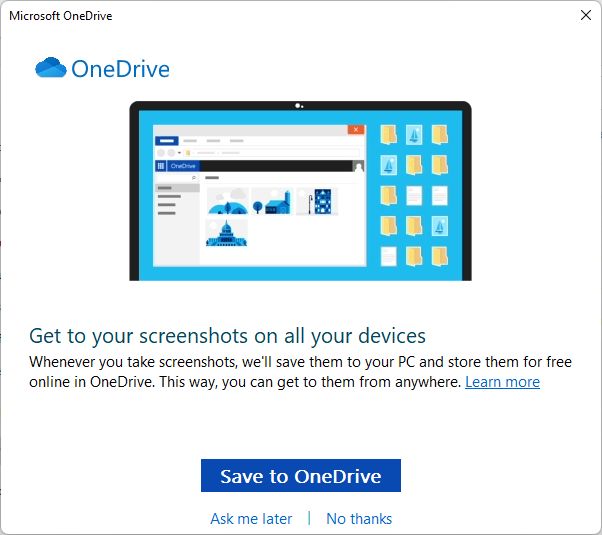
This popup will show up if you press the PrintSceen key anywhere in Windows.
In the Office settings tab, there’s one important checkbox. Once ticked it will enable collaboration for all Microsoft Office documents saved in the OneDrive folder. It works from the Office online browser apps and the native Microsoft Office premium apps.
It functions just like collaboration in Google Sheets.
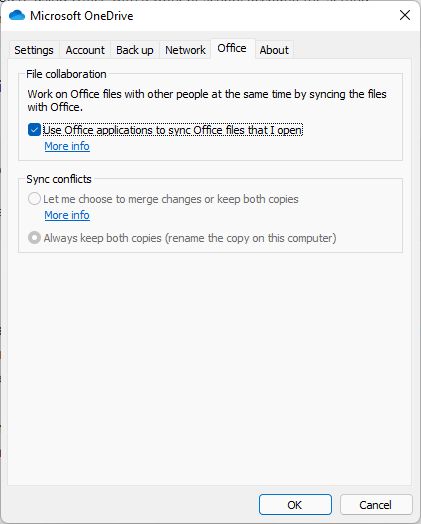
You can even choose how to handle conflict: Keep both copies or ask every time (merge or keep both).
Looking for a way to turn off OneDrive Memories? Learn how to stop On This Day OneDrive notifications.
And this covers everything there is to know about the OneDrive Windows app. If you still have questions or need help don’t be shy and ask for help in the comments below.
