- Learn what the Recover from a Drive option does and how to use it to get your PC up and running again in no time in case of a failure.
- Windows offers quite a few options to recover and repair the operating system in case something goes wrong.
- The Recover from a Drive option can be used with a Recovery Drive to reinstall Windows painlessly.

After dealing with Windows for over two decades I’m still confused about some of the terminologies used by Microsoft. There are so many little terms that sound similar but are actually very different in the way they work. Also, it doesn’t help when terms don’t actually mean what you think they do.
Confusing? Yes, almost as confusing as the Recover from a Drive option present in the troubleshooting menu that shows up when you boot your computer from a Recovery Drive.
CONTENTS
Is a Windows Recover from a Drive the Same as a Clean Install?
As the name suggests, it recovers Windows. Most people would expect to get their computer up and running again after a failure that prevents Windows from starting.
The problem is that Recover from a Drive will not fix Windows, but it will reinstall everything, thus deleting your existing files and programs. It’s basically a clean install of Windows, with fewer steps than the regular procedure.
So, if you’ve already done a System Image backup that’s the better option to recover Windows to a working state.
The Recover from a Drive option is recommended only if you don’t have a system partition backup you can use, and Windows will not boot at all, not even into the Recovery Environment so the other options are not available to you. If Windows boots fine I recommend you to the Reset PC operation directly from settings.
If that’s the case here’s how to use this option to quickly reinstall Windows.
Steps to Reinstall Windows with Recover from a Drive
Requirements: a USB Recovery Drive. It can be created from any Windows computer. The Back up system files to the recovery drive option must be enabled during the process.
First, you need to boot from the Recovery Drive to get to the Windows RE (Recovery Environment).
1. Insert your Recovery Drive into one of your free USB ports. It’s preferable to avoid the front USB case ports.
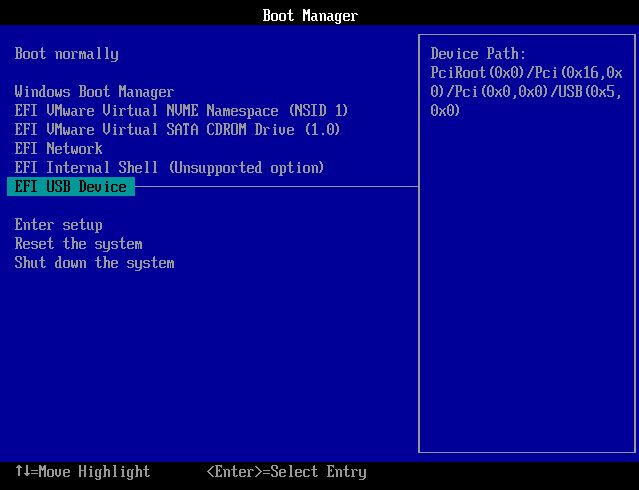
2. Press F8 multiple times when the computer starts to bring up the boot options menu.
3. Select the correct USB device to boot from the Recovery Drive.
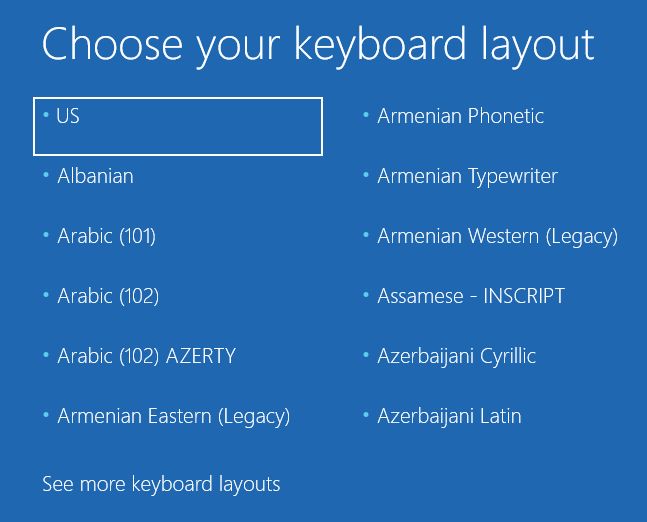
4. Wait a few moments until the first screen shows up. You must select the keyboard layout you want to use. Select the appropriate option with the mouse or with the keyboard arrows to proceed.
5. The next screen is the Recovery Environment you’ve probably seen at one time when Windows failed to boot. It’s similar, but the options are laid out differently when starting RE from the recovery drive.
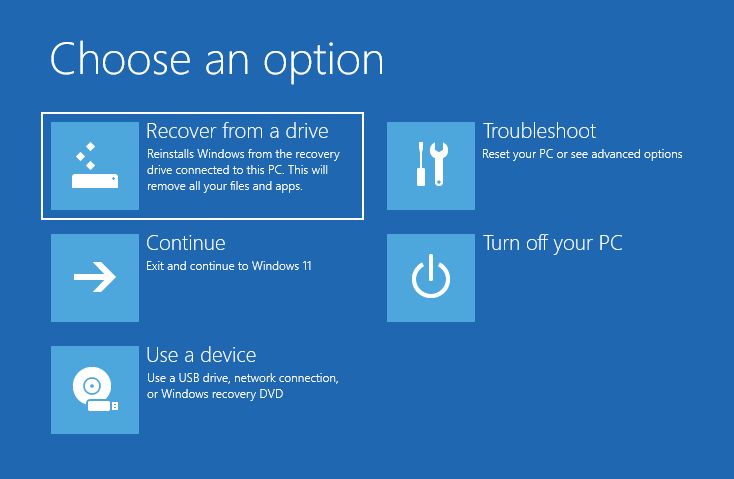
If you checked the Back up system files to the recovery drive option when you created the recovery drive, backup system files were added together with the Windows RE option to Recover Windows from a drive.
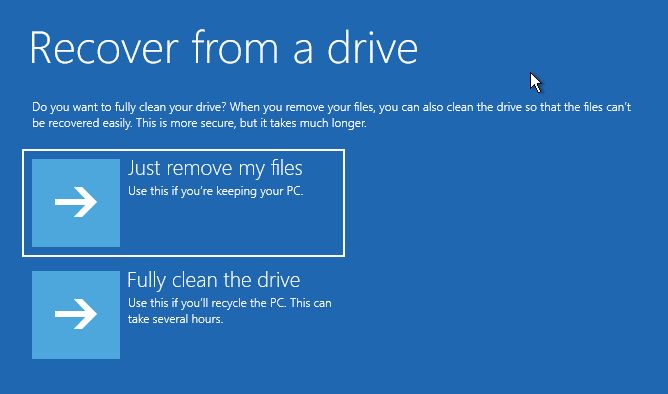
6. The main difference from the Reset this PC option available with the automatic Recovery Environment, is that there is no option to keep the user files. Both options shown here will delete all files and programs.
Unless you’re selling your computer there is no reason to select the second option, Fully clean the drive. It will take several hours to complete because it must rewrite every bit to ensure the info is not recoverable.
Select the desired option to continue.
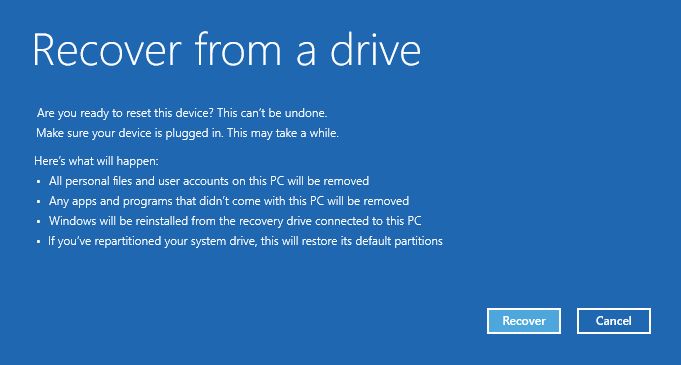
7. You will now get a confirmation window that lets you know briefly what’s going to happen next. Read everything and confirm by clicking on the confusing Recover button.
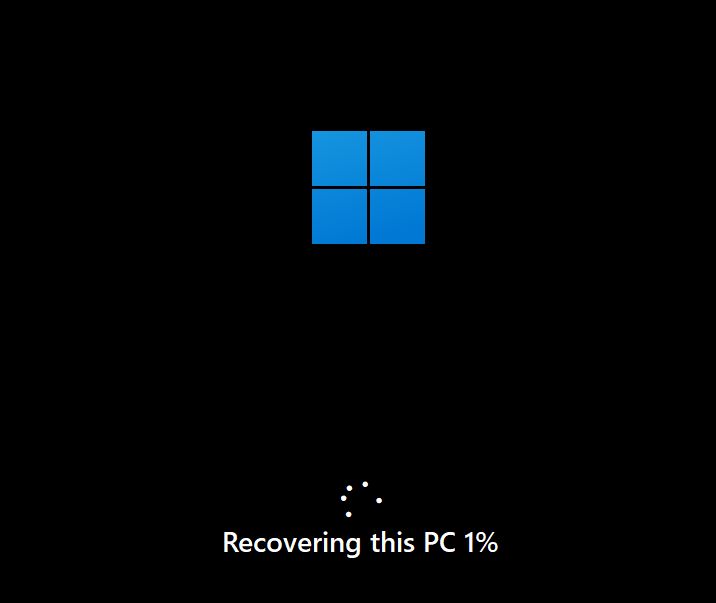
8. The recovery process will start immediately and the computer will reboot a few times. You’ll also go through the familiar Windows installation wizard, but not quite all steps.
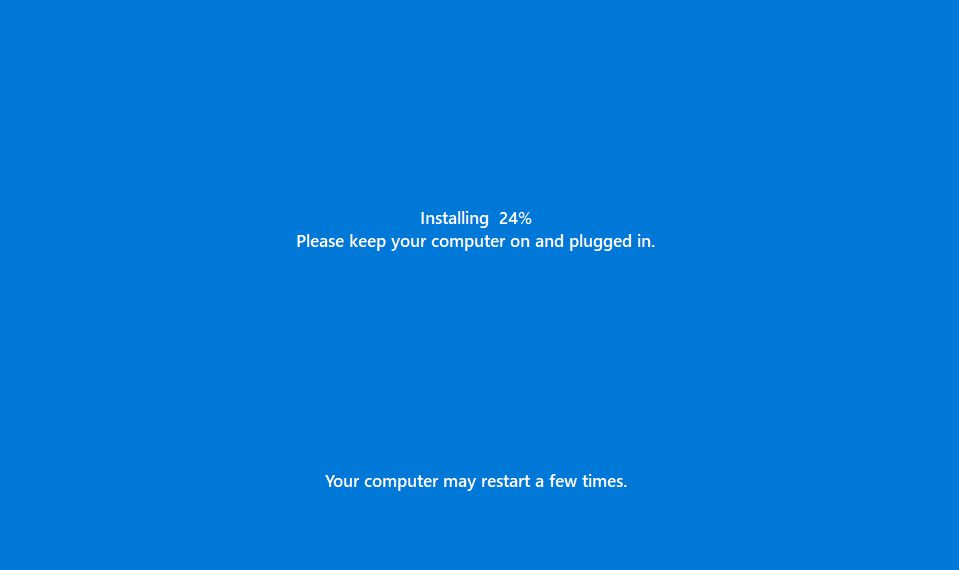
In a few minutes, you will be greeted with the familiar Windows login screen behind which a fresh install awaits you.
How to Fully Restore Windows From a System Image: Complete Guide
Get your coffee ready and start reinstalling your favorite apps. Maybe use something like Ninite to speed things up a bit. If you’re using an online account, it’s possible to also sync and restore some of the Windows settings between your computers.
Got questions? Don’t be shy and leave a comment. I’m happy to help you out.