- Learn how to quickly restore lost or modified files and folders with the Windows Backup and Restore utility.
- If you’re using Windows Backup and Restore to save your important documents it may come a time when you would need to restore those.
- You can restore all saved documents and folders, or just an individual selection.

I love my backups. They keep my important data safe so I can focus on what I’m doing instead of annoyingly redoing a project because my computer failed or because I’ve deleted something I shouldn’t have.
If you’ve read the previous article, where I’ve shown you how to set up a scheduled backup task of your Windows machine on a network device, you may ask yourself how you recover files and folders in case of a failure.
Now, if your PC fails to boot and loads the Recovery Environment when it starts you have your options explained here. You may have to create a Recovery Drive in order to be able to fully recover Windows from a System Image in case of a catastrophic failure.
Once you got Windows up and running again you can use a previous backup to recover specific user files, that were maybe not saved on the system partition. Read on to find out how it’s done with Microsoft’s version on Time Machine: the Backup and Restore Control Panel utility.
The guide works in both Windows 10 and Windows 11.
How to Use Restore My Files with Backup and Restore
First, we need to launch the Backup and Restore Utility.
1. Open the Start menu. Do so quickly by pressing the Win key.
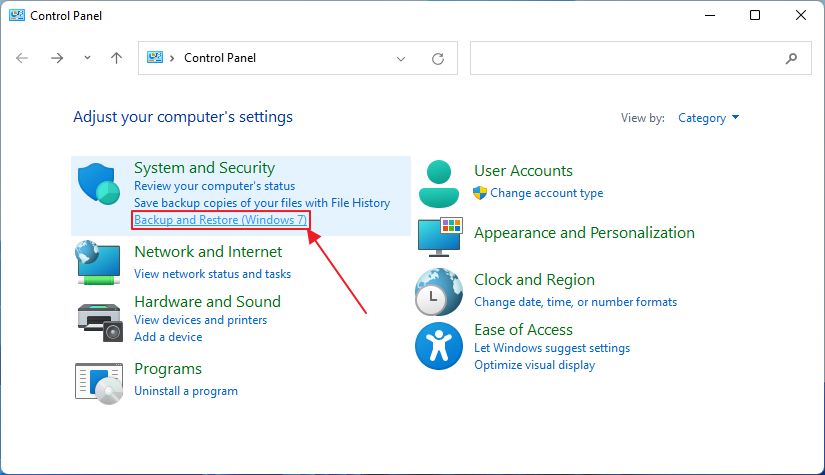
2. Type Control Panel and open the first result.
3. In the System and Security section click on the Backup and Restore (Windows 7) link.
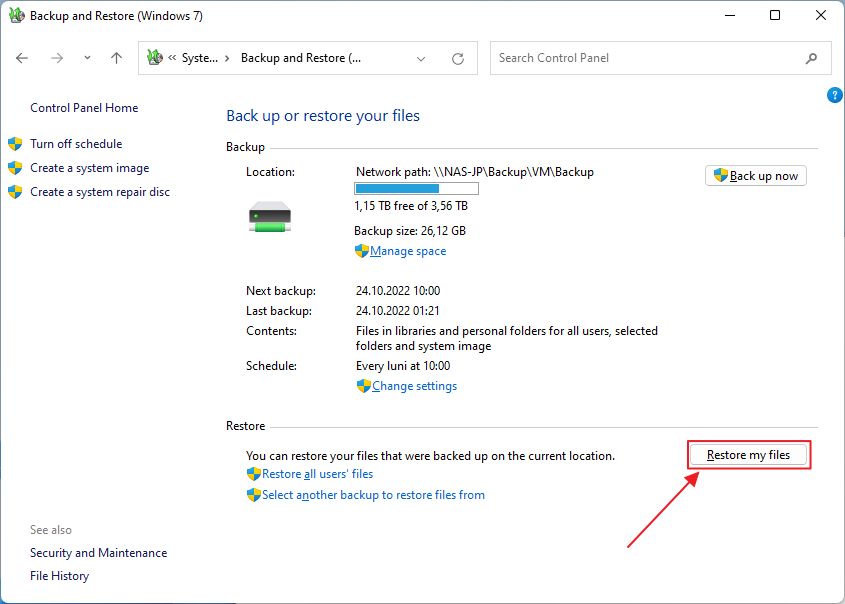
4. In total there are three restore links on this page:
- Restore my files – I suppose it should restore the current user documents.
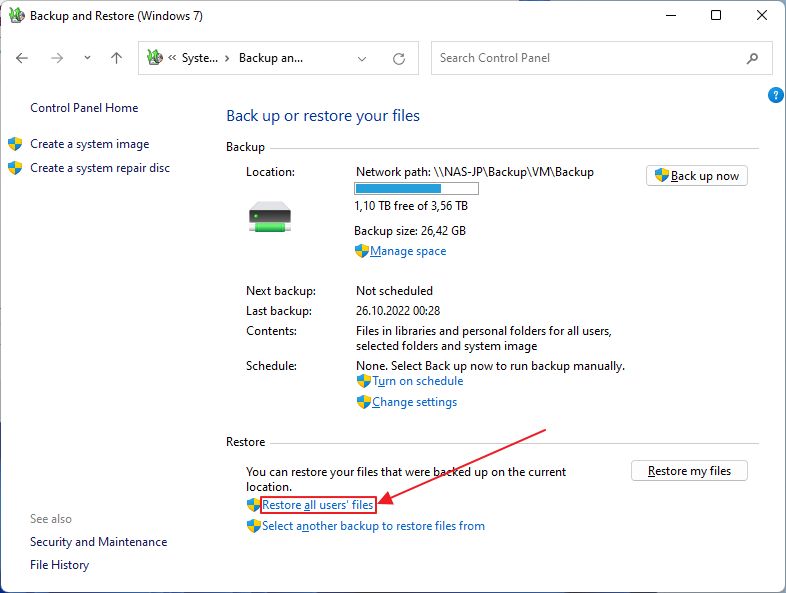
- Restore all users’ files – I suppose it should restore documents for all users registered on this machine.
- Select another backup to restore files from – select another backup location other than the current one you have set up in Backup and Restore.
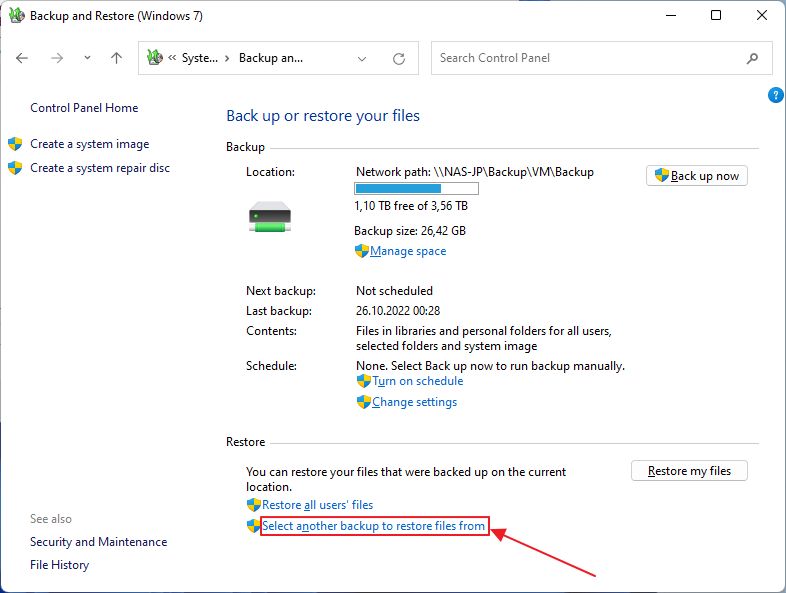
In practice, all three options will ask you to select the files and folders you actually want to recover. The last option will allow you to select another backup location, that’s the only difference. I’ll use this option for the next part of the guide.
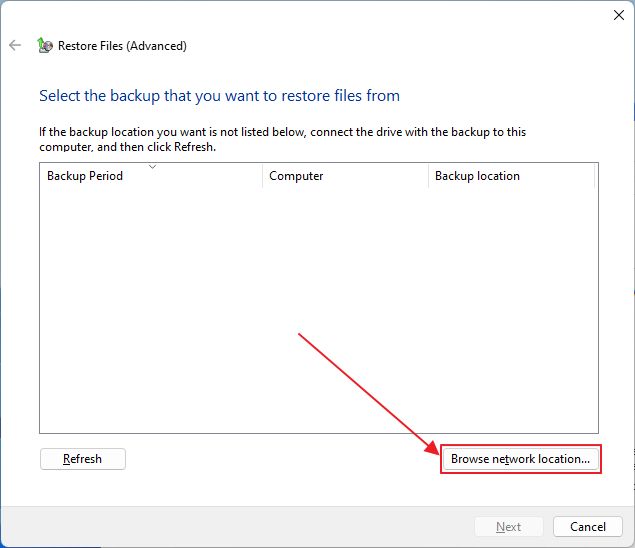
5. When you pick Select another backup to restore files from a popup window will show up. Here you will see all automatically detected backup locations from system drives and attached external hard drives.
We’re going to look up a network location, so click on the Browse network location… button.
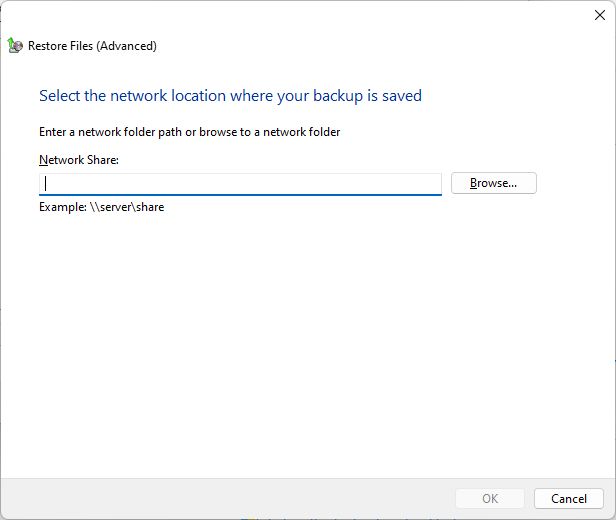
6. You can either manually input the backup location if you know that by heart, or just hit the Browse… button.
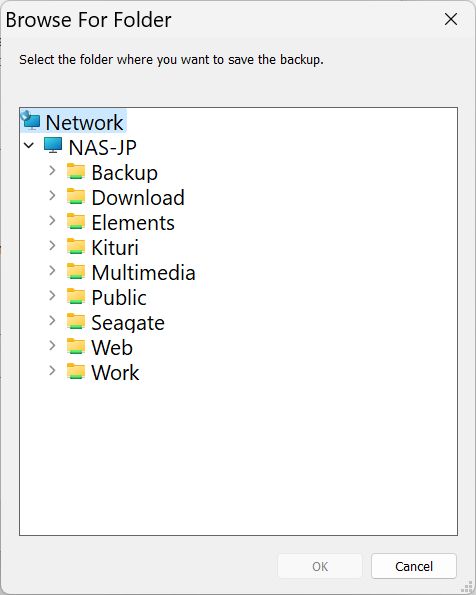
7. If you chose to browse just wait for the Backup and Restore utility to detect network devices and point the little window to the correct location.
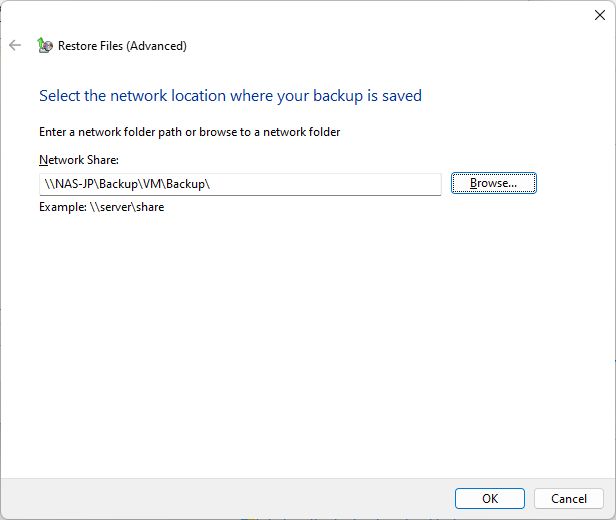
8. Selecting a network folder will prepopulate the Network Share path. Click OK to continue.
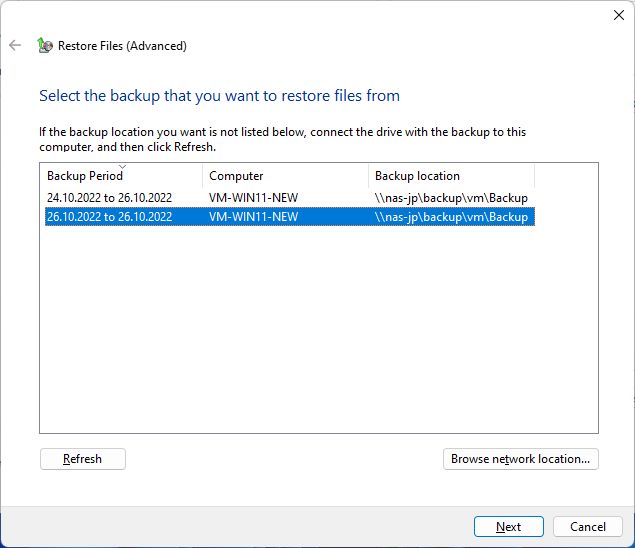
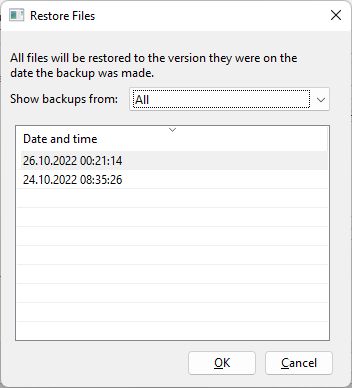
9. You will now see a list of available backups together with the time period and the computer name they’re associated with.
You shouldn’t save backups for multiple computers in the same folder anyway, but this list will help you sort things out, in case you did.
10. This is the Restore Files window. It shows you a couple of options you need to select first, before the Next button becomes available:
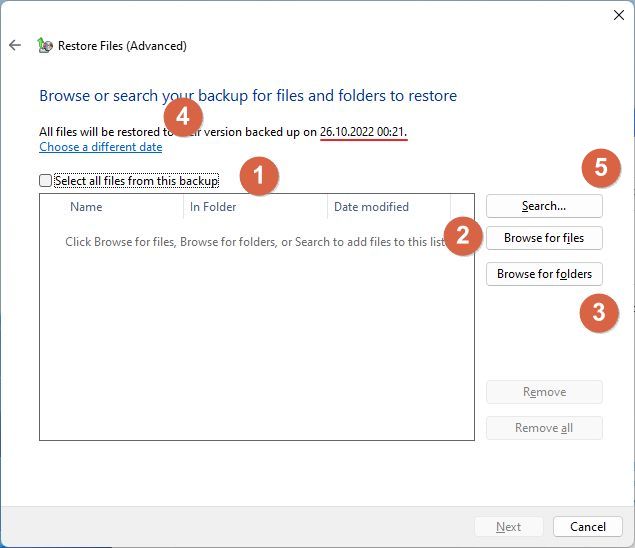
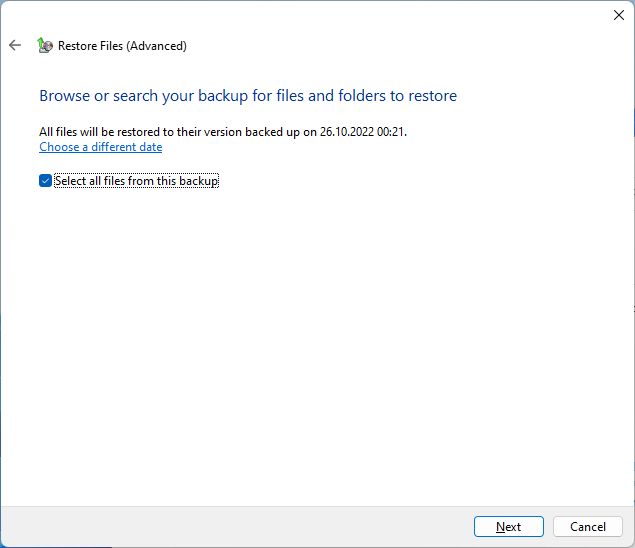
- The option to select all files and folders from the backup (once selected will hide all other options)
- Option to browse for specific files in the backup.
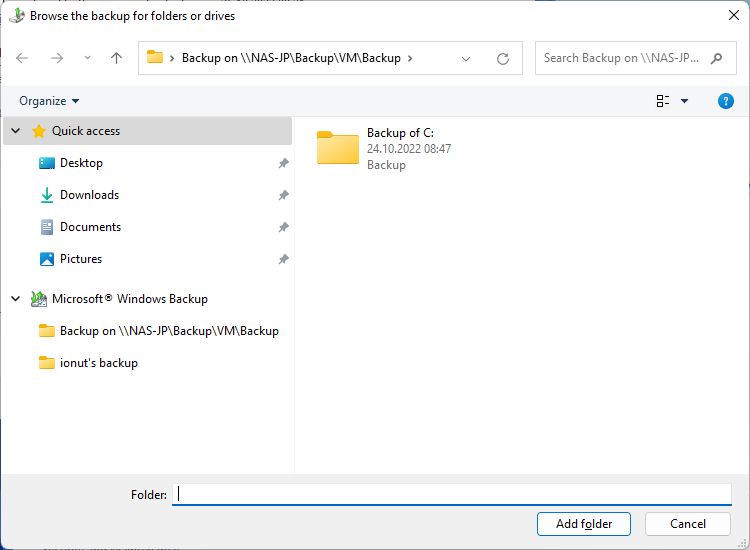
- Option to select specific folders from the backup.
- Option to choose another backup period to restore from.
- Search for files and folders inside the selected backup period.

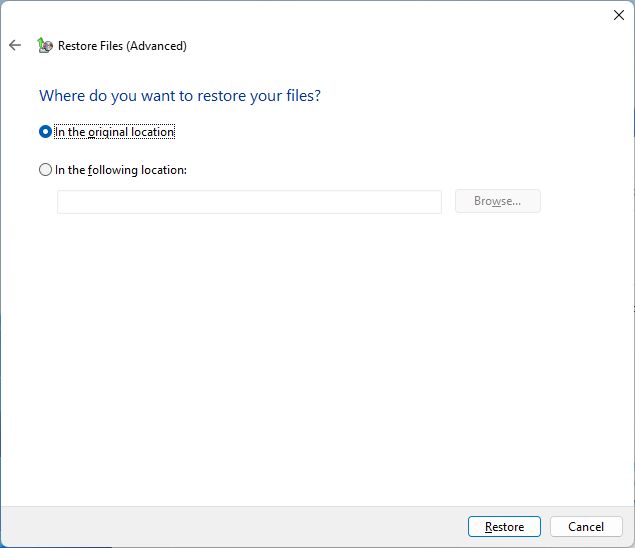
11. Once you made your selection and click on the Next button you’ll be asked where do you want to place the restored documents. The implicit option is the original location, but you can chose another location, so that you can compared files for example, then replace them as needed by yourself. Click on Restore to continue.
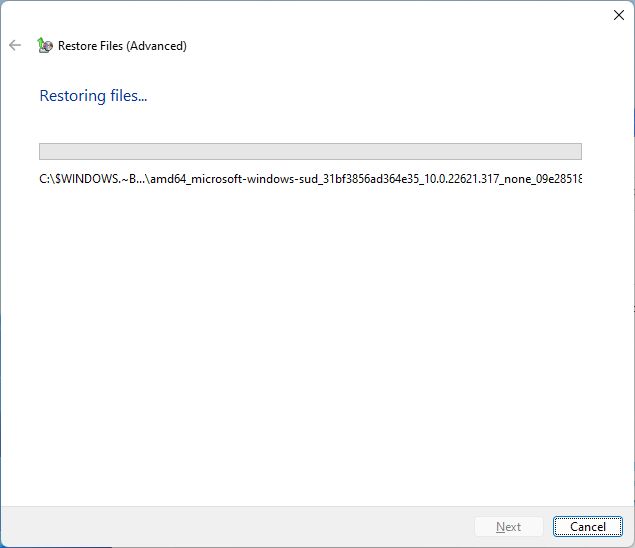
12. Weirdly enough, the restore process happens with Windows running. I was expecting for the system to restart and launch the restore in Recovery Environment, so that locked system files could be replaced easily.
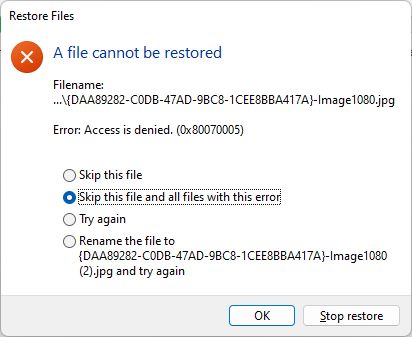
That was not the case, so expect the Backup and Restore utility to prompt you to confirm replacement and notify you when files could not be restored fully. It happened in my case, but you can prevent subsequent prompts by selecting the skip all similar errors or messages for the rest of the restore process.
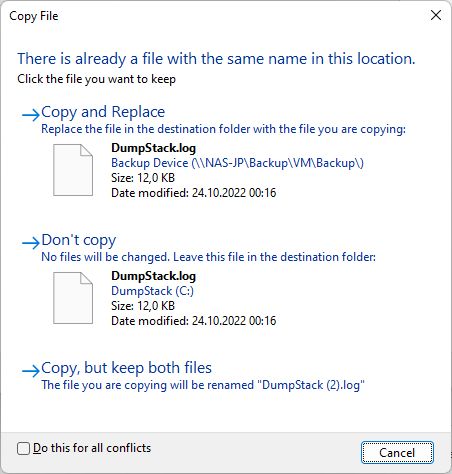
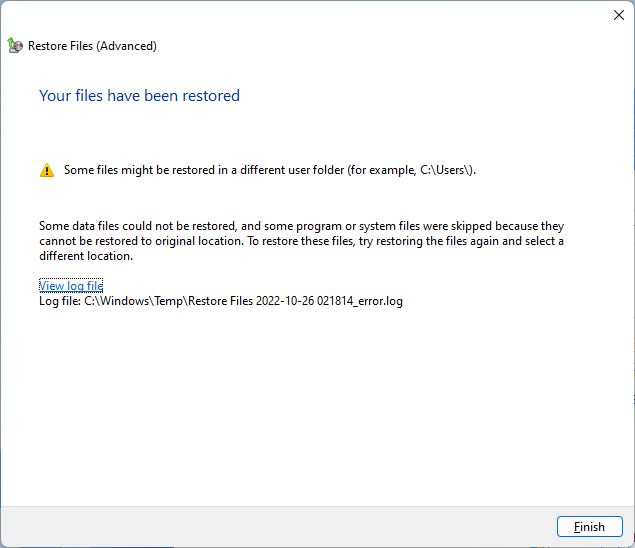
Anyway, in the end, Backup and Restore ended with a warning. Basically, Microsoft suggests you restore files to another location, then copy them over the originals.

It’s not as straightforward as restoring Windows from a System Image, but it works fine in the end, I guess, as I’ve shown you. If you have trouble following these steps let me know and I’ll try to help you sort things out. Just leave a comment below.
Another similar alternative, but which gives you fewer options, is to create a restore point with System Protection (this is how to enable it). There’s also the File History option, which restores specific files to previous versions.
Personally, I use a mix of multiple backup methods, including this versioning system that lets me go back easily to an important revision of a document.