- Turning Off System protection is one option if you need more disk space on your system drive in Windows.
- System Protection is responsible for creating System Restore Points in Windows, snapshots of your system that you can recover to, if the need arises.
- Learn how to disable System Protection, why you shouldn’t, and what you can do instead.

If you don’t know what System Protection is, it means you most likely don’t have it enabled on your computer. System Protection is responsible for creating Restore Points in Windows, simple snapshots of the important parts of your operating system.
You can later use Restore Points to go back to in case something goes wrong and Windows starts to behave weirdly. If it doesn’t start at all, there’s a way to recover to a previous Restore Point directly from the Recovery Environment.
Anyway, one common problem people have when installing windows is that they don’t set a large enough size for the main system partition. In time, as you save user documents, add more programs and update Windows, you’ll start o get low disk space messages.
If you’re not confident enough to use third-party tools to resize the system partition, which is dangerous enough so it can lead to data loss, there’s the option to disable System Protection, if it was enabled by you or by someone else in the first place.
Let’s see briefly how it’s done.
How to Disable System Protection in a Few Easy Steps
1. Open the Settings app. The best way to do it is to press the Win + I keyboard shortcut.
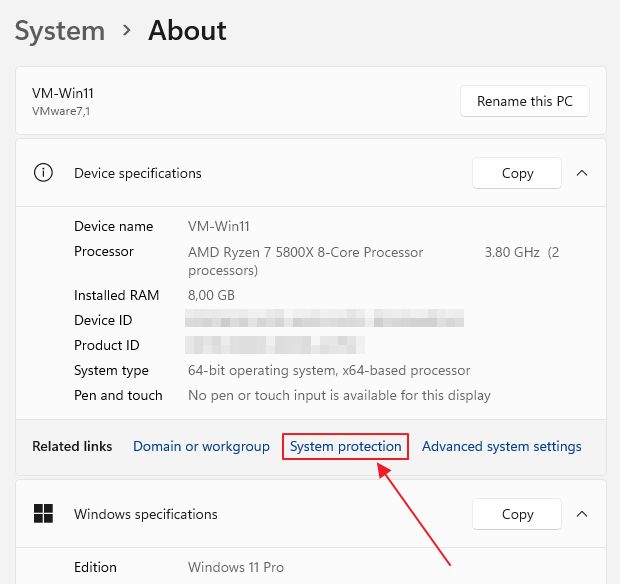
2. Next, navigate to the System > About section.
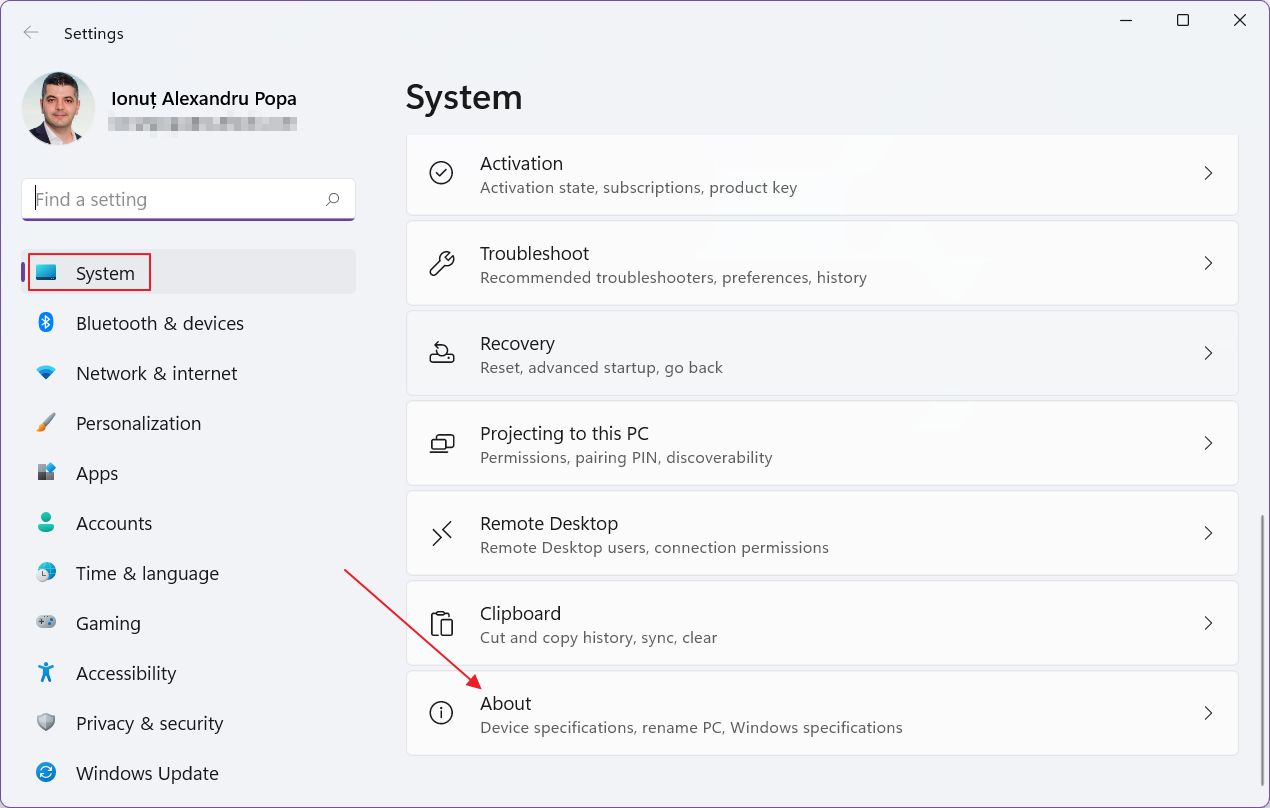
3. Somewhere under Device specifications there’s a list of related links. Click on the System protection link.
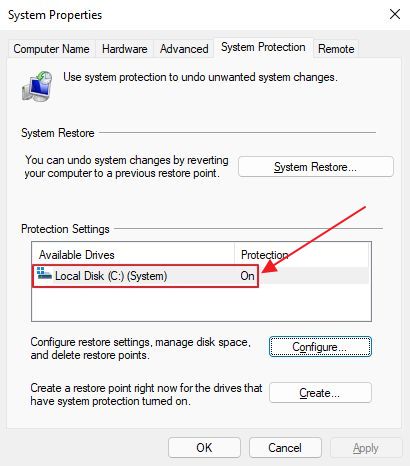
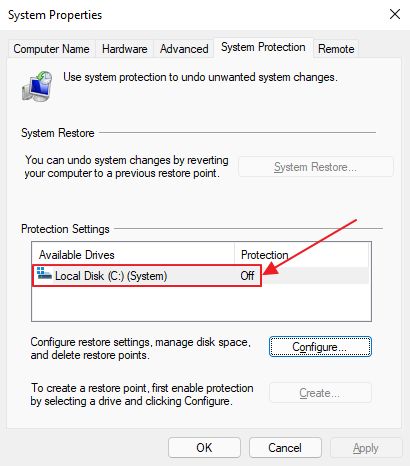
4. The System Protection window will pop up. Here you’ll see a list of all your fixed drives and a Protection column that lists the current status, On or Off.
Select each drive you want to configure System Protection for and click on the Configure… button.
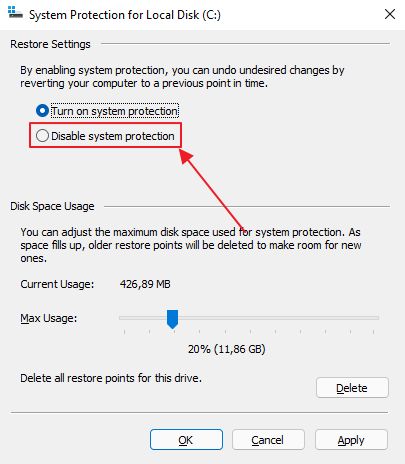
5. In the new window make sure you select the checkbox called Disable system protection, then confirm with OK or Apply.
6. A small warning window will let you know that existing restore points stored on the selected drive will be erased and restoring the system will be impossible in the future. Click on Yes if you still want to do this.
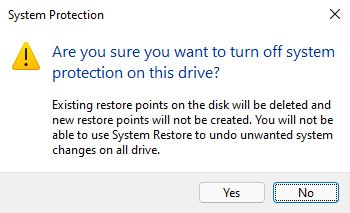
7. The protection column will show now the Off status.
Remember to do this for all the drives in your system, if you want to fully disable System Protection.
Why You Shouldn’t Turn Off System Protection
I understand that sometimes you just need more space on your system drive. I know this because on my last Windows machines I’ve reserved at least 100 GB for the system partition, even upwards of 150 GB so I don’t see the low disk space message ever again. A decade ago 50 – 60 GB was enough.
While there’s really no reason to turn on System Protection for the other drives, if you don’t plan on installing programs on them, you should at least keep this important backup feature enabled on your system drive.
While there are other options to recover a failing Windows installation Restore Points are probably among the easiest options at your disposal. If you still decide to disable System Protection at least make sure you have a System Image ready in case of emergencies, stored somewhere else. It wouldn’t hurt to have Backup and Restore set to save important files and folders to a remote location.
Or…
There’s a Better Option
What I suggest you do instead is lower the maximum available disk space for System Restore. This way you’ll let Windows save at least one or two Restore Points until it starts to delete the older ones. You can still manually delete all Restore Points if you wish.
How to Use System Restore to Revert Windows to a Previous Restore Point
To do so go back to configuring System Protection or the system partition. On the configuration window, near the bottom, you’ll see a Max Usage slider. Adjust the percentage of maximum allowed space to a smaller value.

Windows will let you know how much space any percentage you select represents in gigabytes in real-time. Aim for a least a few gigabytes of allowed space. Windows will handle the rest automatically for you.