- A Windows System Image can save you a ton of time if at some point your Windows machine fails to boot and you need to restore your PC quickly, without reinstalling everything.
- Creating a System Image in Windows can quickly be done from the Backup and Restore utility.
- Learn what a system image is, how to create one and how to add more partitions/drives to your backup.

Windows is stable. I didn’t encounter any severe failures since I don’t even remember when. Probably it was before the Windows 7 era. Anyway, that doesn’t mean you have to ignore backups.
At least, you should back up a system image so you can restore your Windows system partition if disaster strikes. I’ve shown you how to do that with a scheduled Backup and Restore to a LAN location, so in this article, I’ll show you how to create a System Image for your Windows computer.
Ideally, you should repeat the procedure below from time to time, in order to keep the image updated. If you don’t do that, in case you need to restore the disk image you will get your system restored to the exact state of an older backup, which means programs and apps you did install plus files created in the meantime will not be restored.
CONTENTS
What is a Windows System Image?
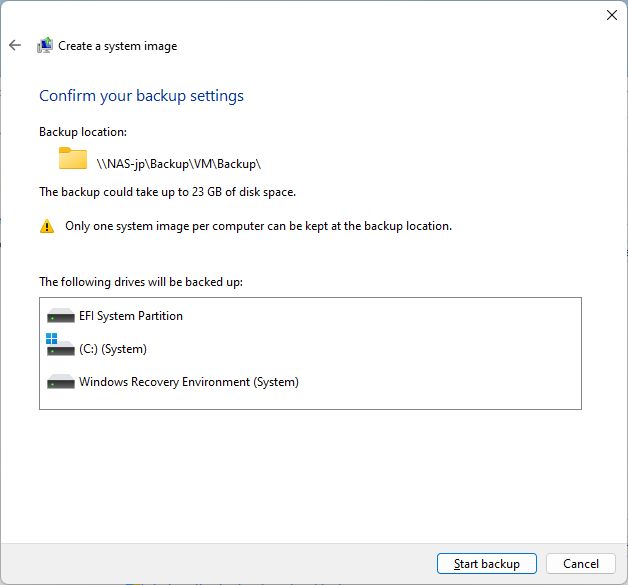
A System Image for a Windows machine is a backup of the system partition (C:\) together with the UEFI boot partition and the Recovery Environment partition.
These three items can be used at any point to restore a Windows system to a previous working state by using either the Recovery Environment stored on the current system disk or the Recovery Environment included within a Recovery drive.
How to Create a System Image in Windows with the Backup and Restore Utility
Let’s open the Backup and Restore utility first:
1. Open the Start menu and type for Control Panel, then click on the first result.
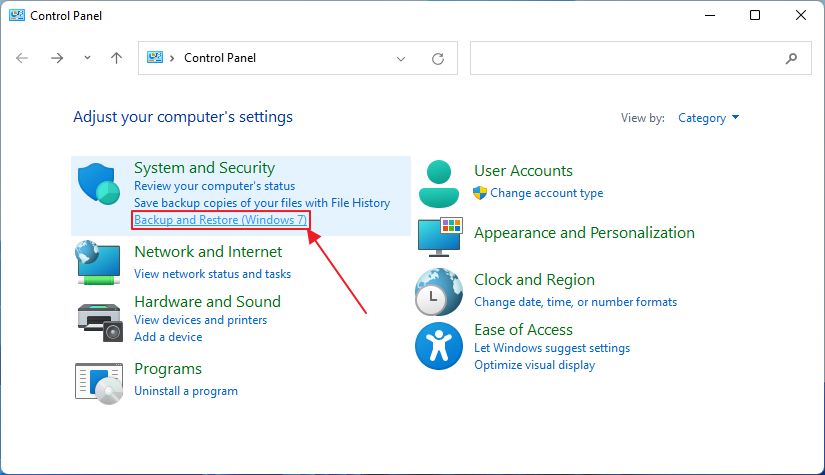
2. Look for the Backup and Restore (Windows 7) link in the System and Security section.
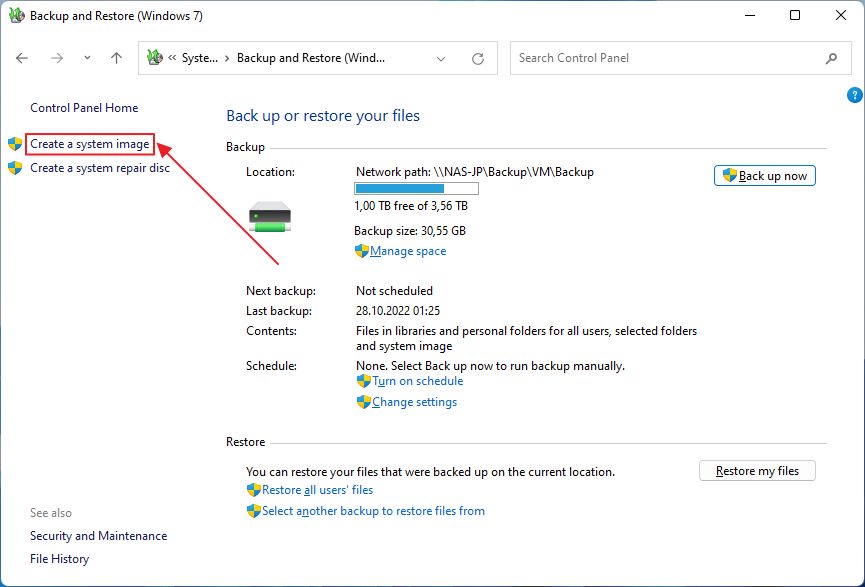
3. On the left side of the Backup and Restore utility there’s a link called Create a system image.
4. In the next popup you need to select the location where the backup will be stored. You have three options:
- on a local disk or external attached HDD.
- on one or more DVDs.
- on a LAN location.
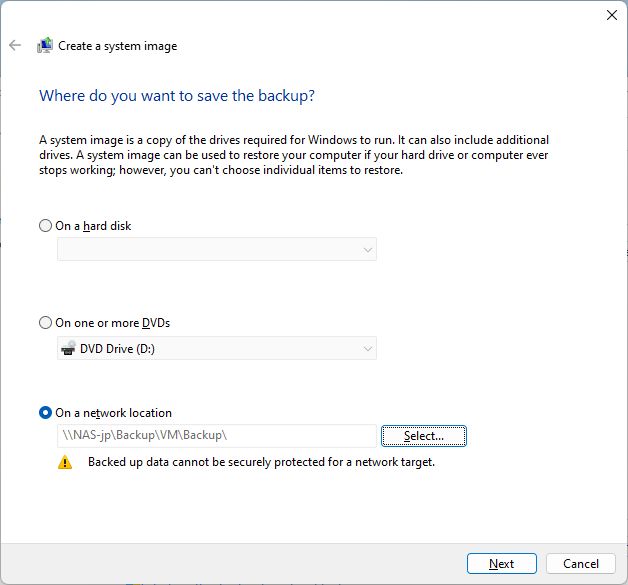
We’re going to select this option for our guide. If your computer crashes because of a hard drive failure you will lose the backup image, so it’s not really a backup, right?
5. The next popup will allow you to select the network location. Either input by hand the full network folder path or do as I did and click on Browse…
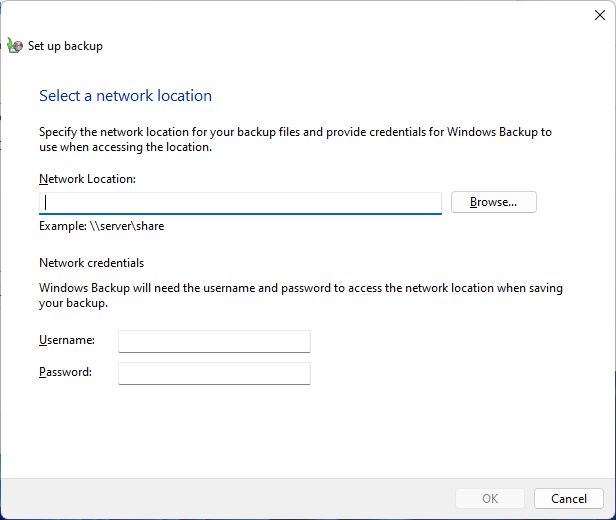
6. Wait a few seconds for the Network service to detect and list all devices you can save to. It doesn’t necessarily have to be a NAS, as you can also save the image to another Windows PC with a shared folder.
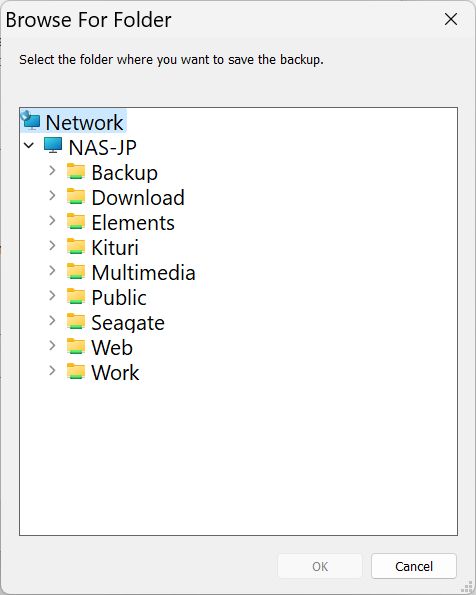
For the OK button to become active you need to select a valid folder from the browse tree.
7. The previous window will now display the Network Location field with the full folder path.
All you have to do now is add the credentials. You need to fill them out correctly, or access to the password-protected share will be denied and you will not be able to create the system image.
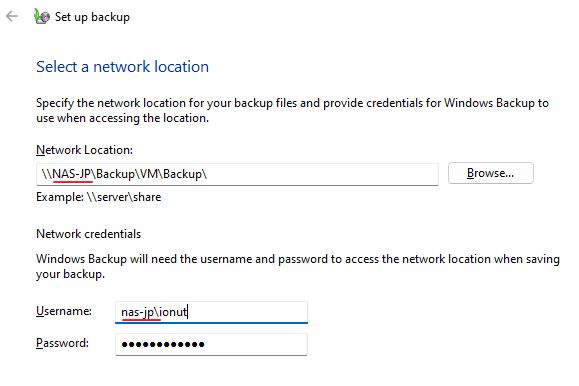
Important: If you see the error 0x80070544 message below and don’t know what it means don’t worry. It tells you in a cryptic way that you forgot to add the network drive device name in front of the username, followed by a backslash. I learned the hard way.
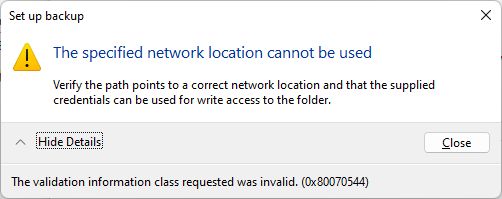
8. If the selected network location checks out you’re good and the wizard will go one step forward.
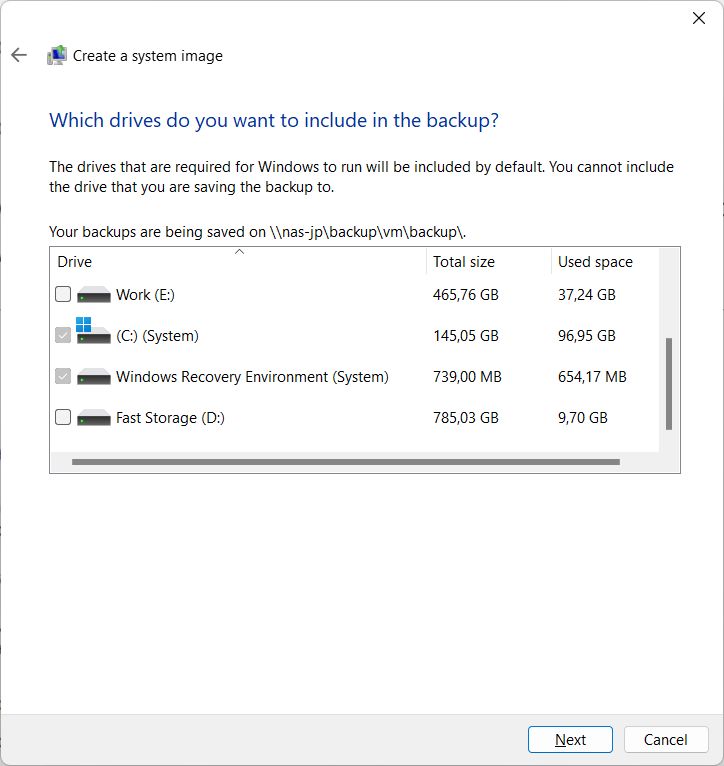
If more than one drives or partitions are present on your machine you have the option to select which drives will be included in the backup. By default, the system partition, the hidden boot, and the RE partitions will be preselected and cannot be unchecked.
9. A summary of your choices will now be displayed. You can safely press the Start backup button.
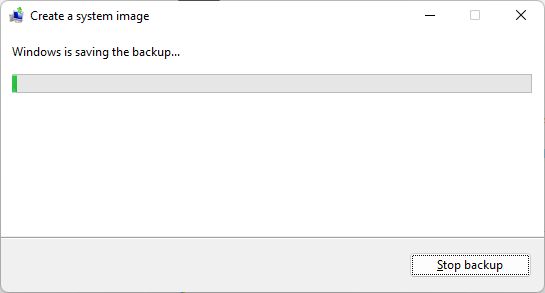
10. The backup will now begin.
Right before the 100% mark, a popup will ask you if you wish to create a repair disc. This is different from a recovery drive, which is the option I actually recommend.
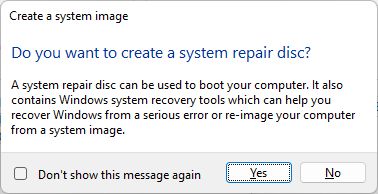
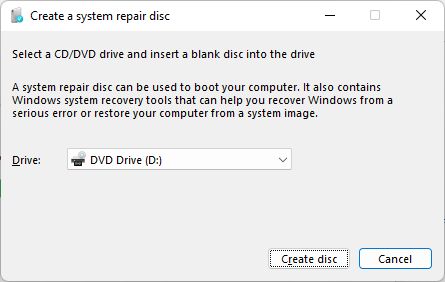
Most modern computers don’t even have a DVD drive. Not only that but refreshing the system image requires another set of discs, which is a complete waste in my opinion.
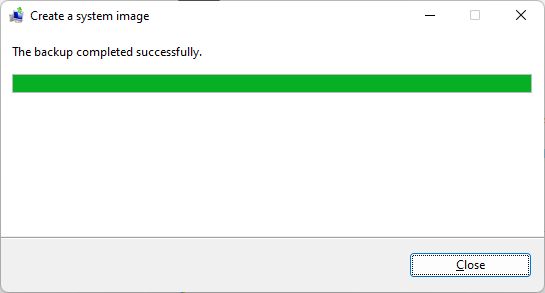
11. The backup completely successfully message will now show up, letting you know the Windows system image was saved successfully to the previously selected destination.
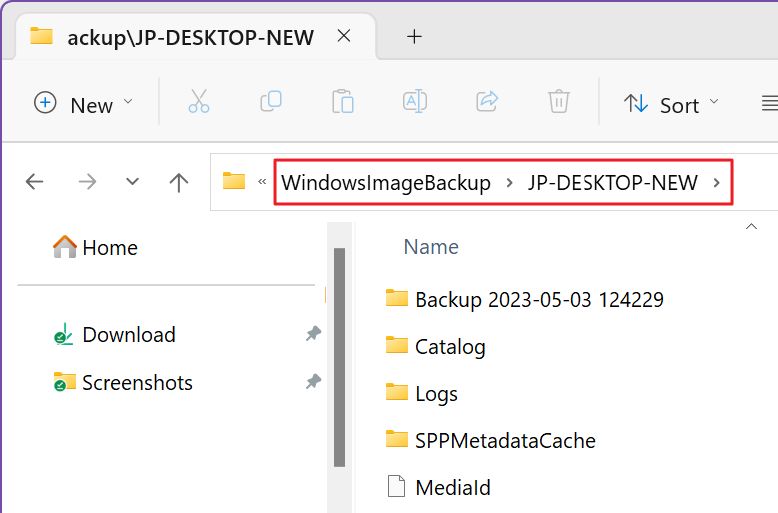
If you browse the location where you saved the system image you’ll find a folder named after your computer name which contains about 15 files, one of which is a .vhdx disk image of the main partition.
You can now breathe a little easier knowing your computer is backed up and ready to be restored if anything goes wrong.

How to Restore Files and Folders from an Existing Windows Backup
If you want something easier and faster you could consider creating a manual restore point. And, if you need something more sophisticated and more robust I recommend you check out AOMEI Backupper.
FAQ
You can create a Windows system image on a local hard drive, on an external HDD, on one or more DVDs, or save it directly to a local network location.
You can only save one system image with Backup and Restore to the same backup location. Creating a system image in the same location will update the old image. If you need to save more images you will need to do so in different backup locations.


