- You can use a Restore Point from the Recovery Environment to fix your computer when Windows doesn’t start anymore.
- Restore Points depend on System Protection, which needs to be active on the main system drive.
- You can also create Restore Points manually so you can use them later.

It’s sad to see so many people complaining on forums about their Windows computers being unable to work properly, or machines crashing completely, with tons of data lost.
Why do I say that? Because there are so many options baked into Windows that can help you fully, partially, or selectively restore your precious data in record time.
There’s only one important catch. You need to prepare your backup strategy in advance. This way you won’t be taken by surprise when disaster strikes. It may not be this year or next year, but at some point, something goes wrong. It’s the nature of hardware and software.
But enough with the introduction. This article assumes you read my article about System Protection, and you maybe even created a manual Restore Point. Then, at some point, Windows doesn’t start anymore and you’re only left with a few options.
Today we’ll talk about how to go back to a restore point from the Recovery Environment (the one from the hidden recovery partition or the version from a Recovery Drive).
If Windows still boots just fine, you can try to recover to a Restore Point from within Windows directly.
How to Revert to a Restore Point From the Recovery Environment with System Restore
This guide assumes you’re already in the Recovery Environment. It should start automatically if Windows detects an issue. If the system is so messed up that not even RE starts, place your USB Recovery Drive into a free port, press F8 when the PC boots, and select it from the boot manager menu. This should start RE directly from this drive.
If you don’t have a Recovery Drive you can create one on another computer.
1. Select again Troubleshoot > Advanced options if RE started from the hidden partition.
If you started RE from the Recovery Drive just select the Troubleshoot menu.
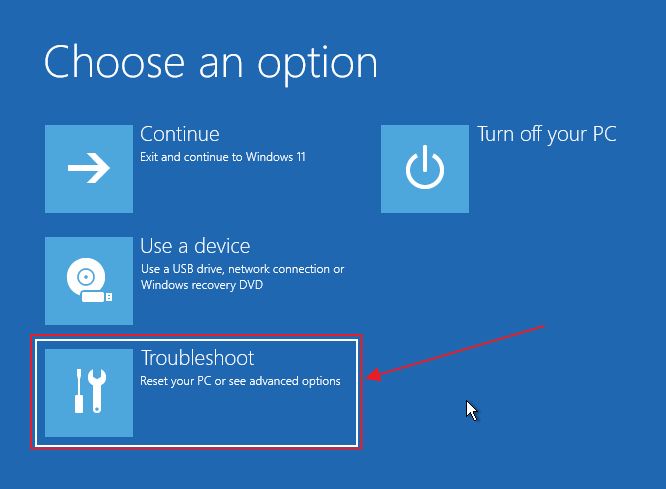
2. Here you should see the option we’re interested in today: System Restore.
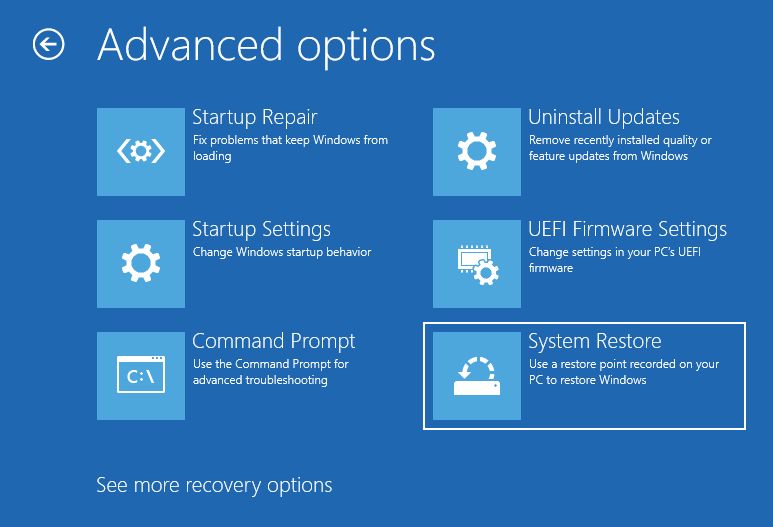
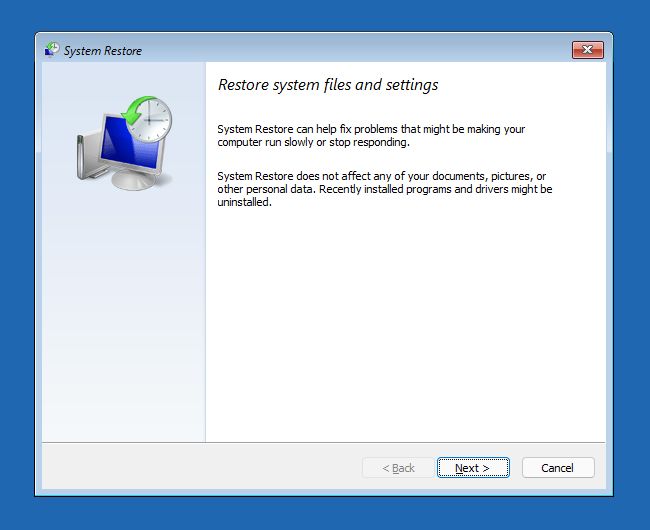
3. The System Restore app will show up. The first screen you’ll see doesn’t do anything other than explain what System Restore does. You need to click Next to continue.
4. A list of all restore points saved on your computer will now be displayed. My advice is to select the latest restore point. If restoration fails you can go back one more step to an older restore point.
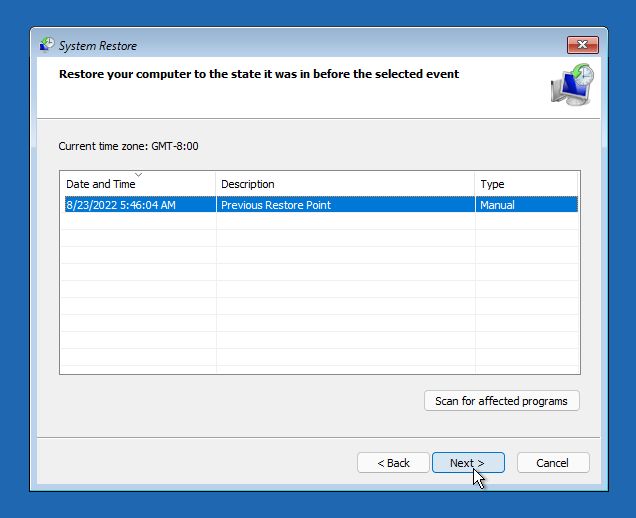
You can click on the Scan for affected programs button if you want to see what has changed between now and the time the selected restore point was created.
For some weird reason, sometimes the Scan for affected programs doesn’t show anything in the list of programs and drivers when launched from the Recovery Environment, while in Windows the list of changes is pretty comprehensive.
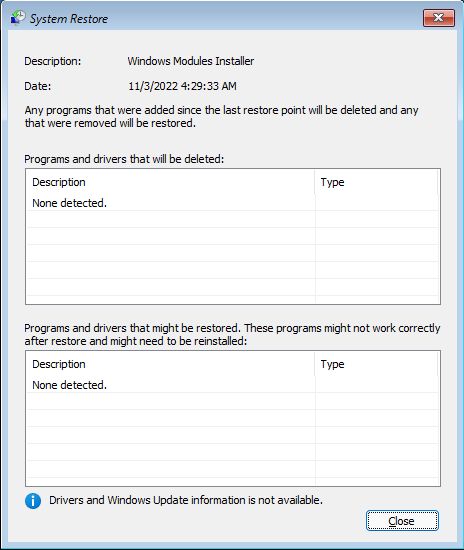

I’d say this is just another Windows bug.
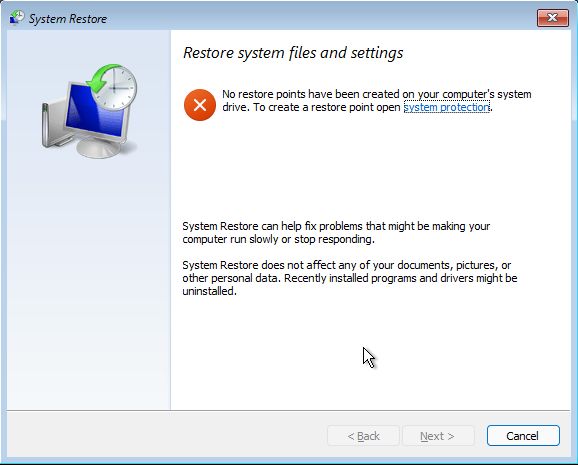
If no restore points are detected you will see this message. This means you need to explore other recovery options.
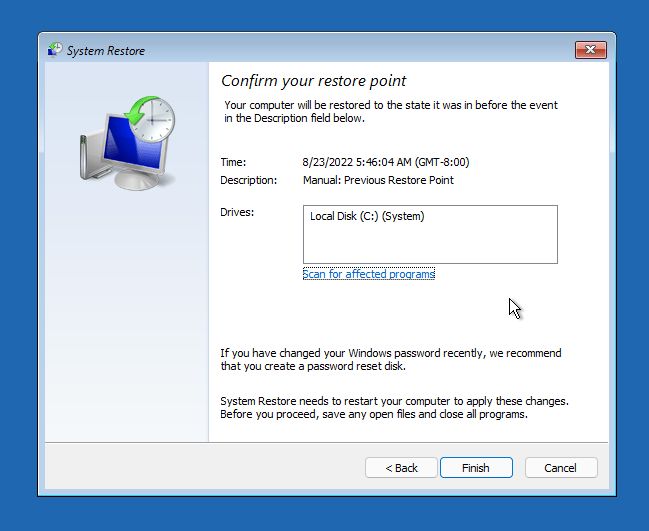
5. The next screen is a simple confirmation of what’s going to happen. Note the time and description of the selected Restore Point to recover data from. You can scan again for affected programs from this screen.
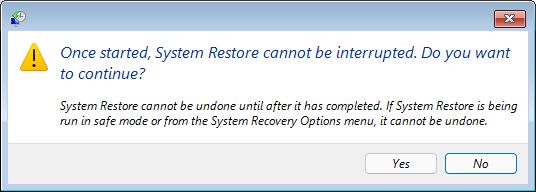
6. Another warning will inform you that once you start a System Restore, the operation can’t be interrupted. Confirm with Yes.
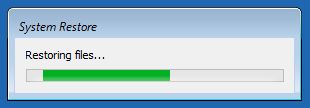
7. Now the recovery process will actually start. After a few minutes, the system will restart and hopefully, you’ll be greeted with the familiar login screen instead of the blue Recovery Environment interface.
Note: If between now and the time of the restore point was created you changed the Windows account password, you will need to use the old password after the restore is completed. This is true only for local account. Forgot the password? Not a problem, if you have created a password reset disk beforehand.

How to Enable System Protection for Drives in Windows
And this is how you recover Windows from a Restore Point by using the Recovery Environment. This is a pretty good option to fix problems caused by corrupted files or by a new driver or new program which you’ve installed.
