- Windows Narrator is a screen reader / text-to-speech assistive tool that can read what’s happening on your screen.
- The Narrator utility is fairly easy to set up and can help visually impaired people, but it’s not limited to them.
- Learn how to turn on Narrator and how to use this screen reader utility to read web pages, text documents and file contents aloud.
Microsoft has a long history of including accessibility features in Windows. These have a lot of usage scenarios and can be used not just by people with disabilities, contrary to popular belief.
Windows Narrator is one such option.

How to Use Color Filters in Windows and How do They Look
What is Windows Narrator and What Does It Do?
Windows Narrator is a free Windows utility, a screen reader, basically a text-to-speech function that will read contents of the screen and the actions you perform.
Windows Narrator works with every app installed on your system. Narrator will also read to you the Start menu, what you do in the Settings app, the navigation actions you take in File Explorer, and integrates pretty well with Microsoft Teams, if you care about that.
Microsoft also has a dedicated screen reading mode in Edge browser, namely the Immersive Reader. It doesn’t work outside Edge. For reference, Narrator works in Edge too.
1. Open the Settings app (the quick way is to use Win + I shortcut).
2. Select Accessibility in the left side menu.
3. Scroll the Vision panel on the right until you find Narrator. Click to expand.
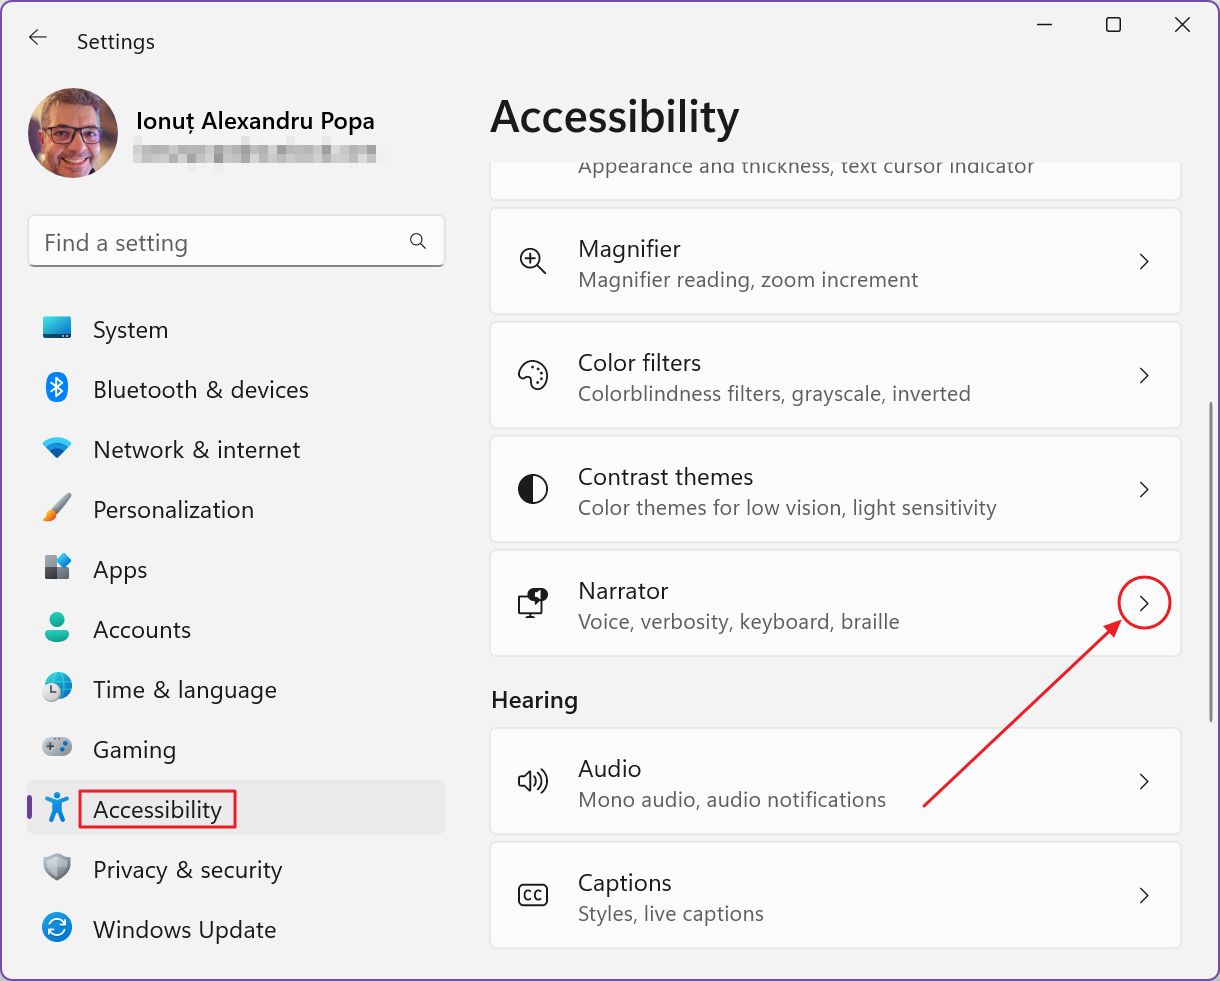
4. At the top of the new Settings page, you’ll find the toggle to enable Windows Narrator.
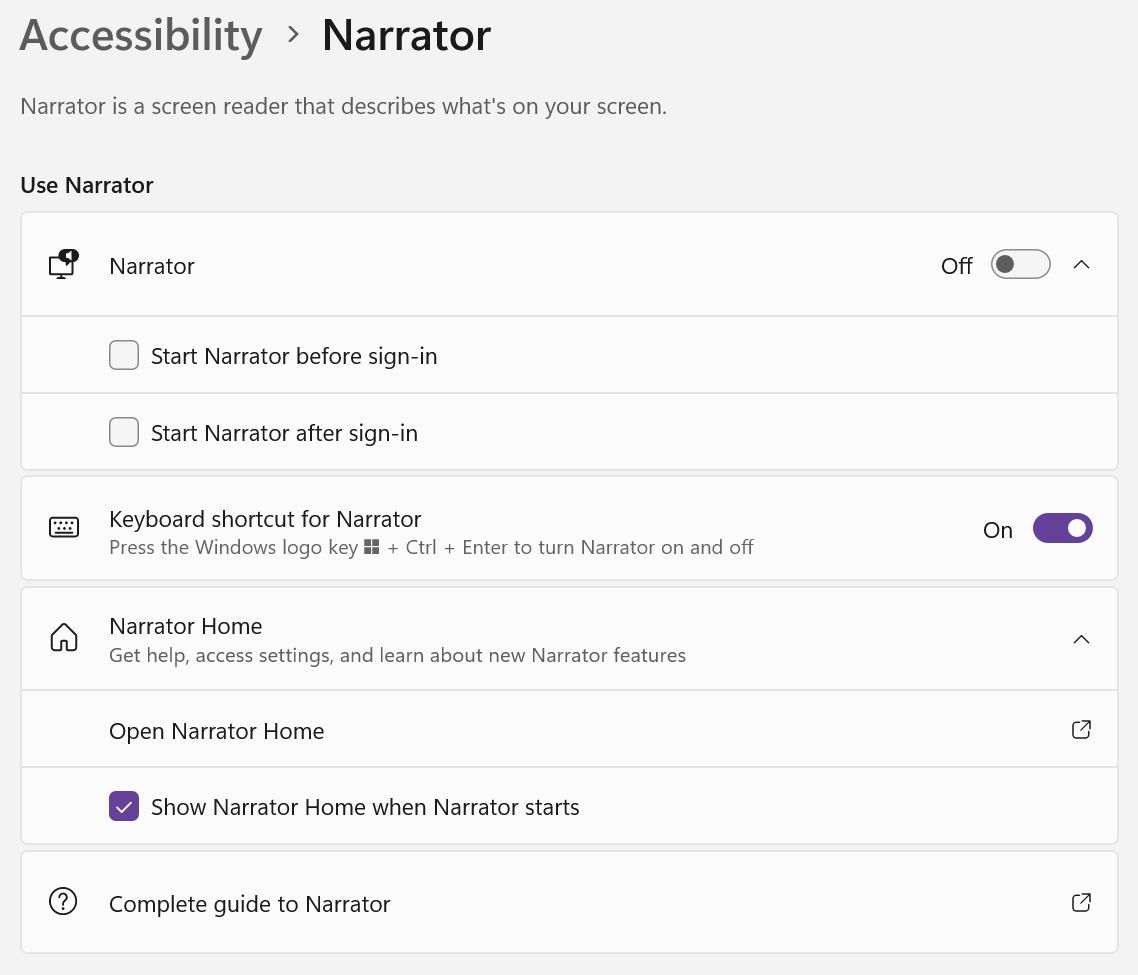
While you’re here you can set Narrator to start together with Windows. If you’re setting a computer for someone with a vision disability, you’ll want to keep this setting on at all times.
I would also keep the launch keyboard shortcut on. There’s no point in disabling it.
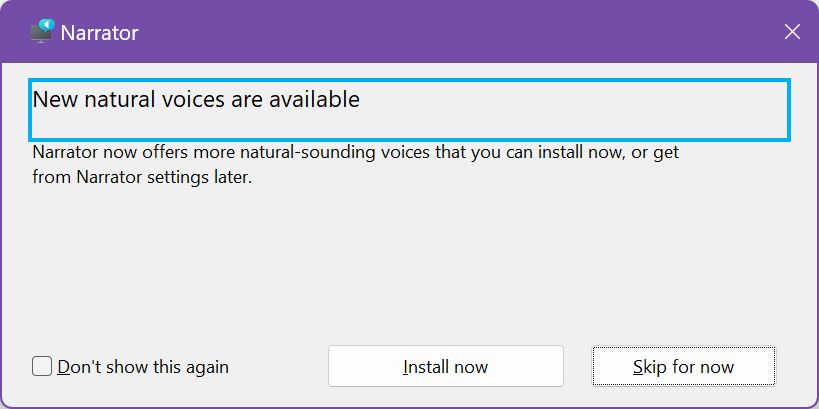
The first time you open Narrator you may see a prompt to install the new natural languages. I did it and I recommend you do the same. The quality of the Narrator voice is almost indistinguishable from a natural person speaking. Almost.
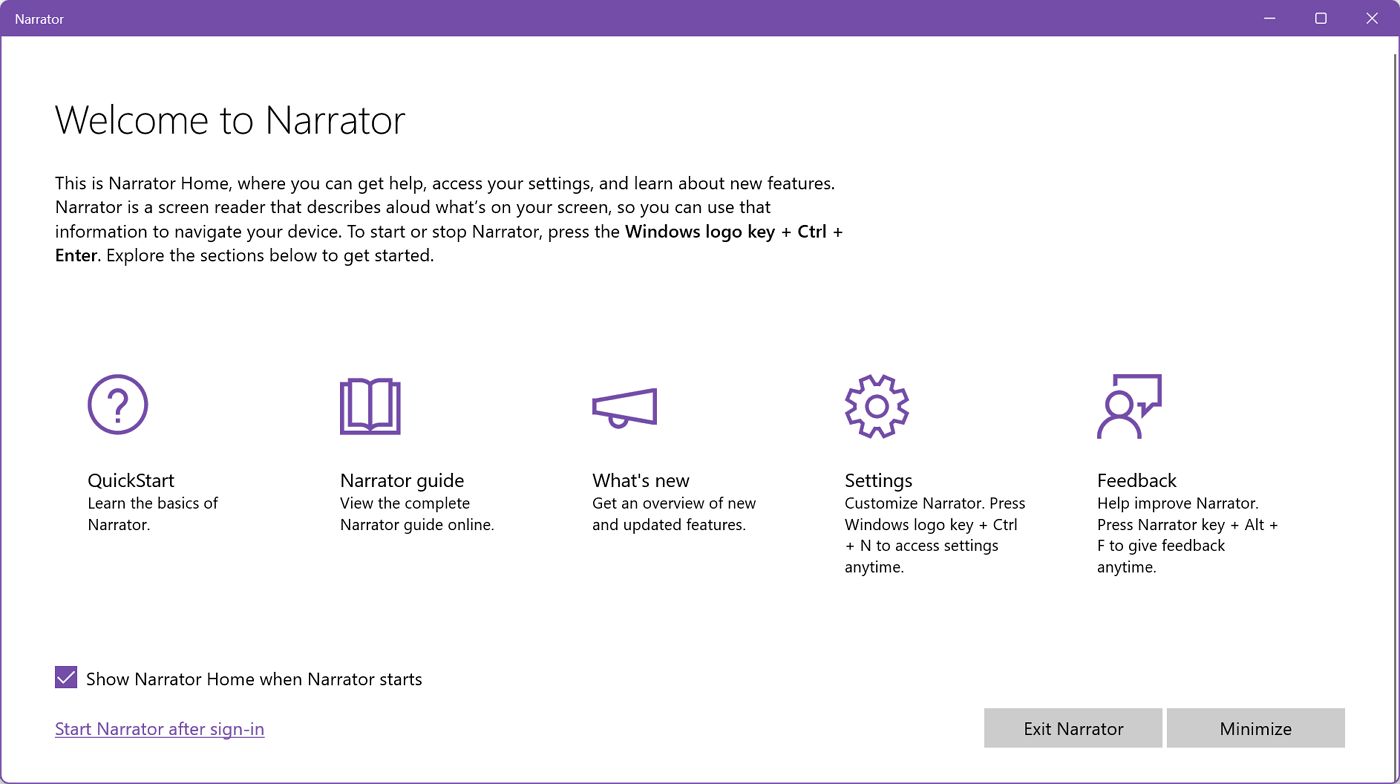
This is the Welcome to Narrator window. You can choose to see it every time you enable Narrator. It just outlines what Narrator can do for you. It will be useful for some users.
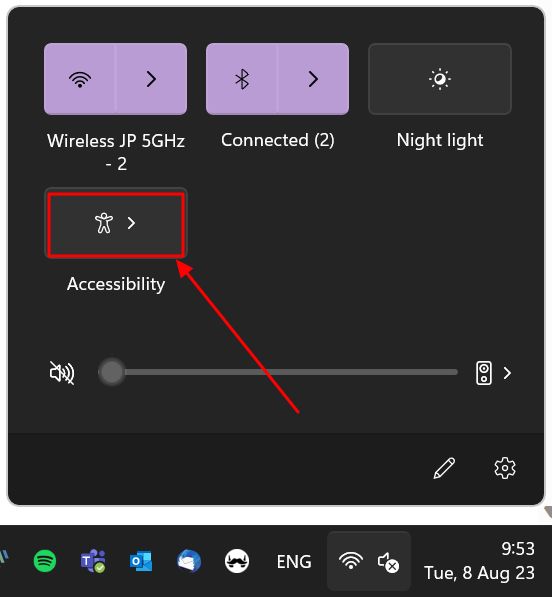
Turn On Narrator from the System Tray Accessibility Toggles
There’s a slightly shorter path to enabling Narrator, and that’s by using the Quick toggles found in the System tray.
1. Open the Quick toggles menu by clicking on the volume/network icons (or press Win + A).
2. Find and click on the Accessibility icon. You may have to add it first, by using the pencil icon.
3. Enable the checkbox next to the Narrator option.
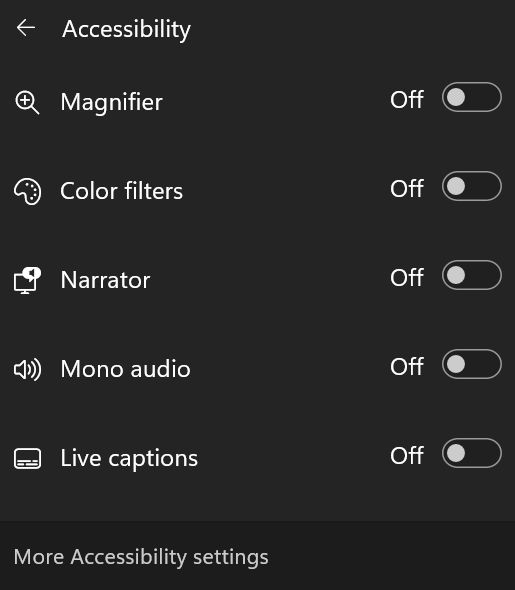
This will enable the Narrator with the current settings. If you need to change the app settings you will have to go back to the Settings app, as shown in the previous chapter.
Keyboard Shortcut to Launch Windows Narrator
As with most assistive technologies in Windows, it’s possible to turn ON and OFF the Windows narrator with a single shortcut key. It’s easier that going through the Settings app or the Quick toggles.
Ctrl + Win + Enter is the keyboard shortcut to turn Windows Narrator ON and OFF
Useful Narrator Keyboard Shortcuts
I’ve tried to compile a list of the most useful keyboard shortcuts. I’ve split the list in two: the first one includes the really useful links.
- Win + Ctrl + N: open Narrator settings.
- Narrator + V: change the level of details about text and controls.
- Narrator + Plus sign (+): Increase Narrator voice speed by 5%.
- Narrator + Minus sign (-): Decrease Narrator voice speed by 5%.
- Narrator + Ctrl + Plus sign (+): Increase Narrator voice volume by 5%.
- Narrator + Ctrl + Minus sign (-): Decrease Narrator voice volume by 5%.
- Narrator + S: reads a summary of the current webpage.
- Narrator + S + S (twice): displays a summary of the current webpage with popular links popup.
- Narrator + Ctrl + D: get the page title of a linked URL.
The second list includes shortcuts you may want to use, but probably aren’t worth your time to learn. These can be selected in the Narrator settings when needed anyway.
- Narrator + Alt + Left Bracket ([): Move to the previous punctuation reading mode.
- Narrator + Alt + Right Bracket (]): Move to the next punctuation reading mode.
- Narrator + Alt + Minus sign (-): Move to the previous installed Narrator voice.
- Narrator + Alt + Plus sign (+): Move to the next installed Narrator voice.
What is the Narrator Key?
You may have seen there’s this narrator key mentioned in the list of shortcuts. I was wondering too what it meant.
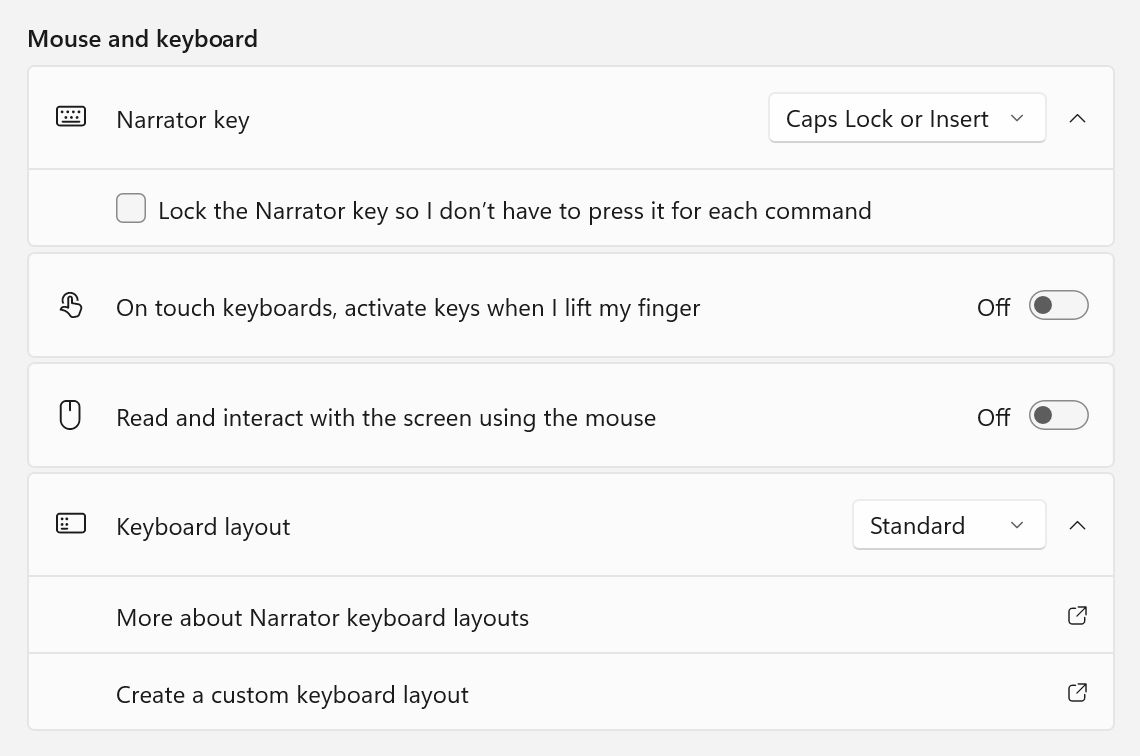
Basically, the Narrator settings allows you to select one key that will be used for these shortcuts while Narrator is active. You can choose either Caps Lock, Insert, or both (either one, not at the same time).
The Narrator key setting is found in the Mouse and keyboard section, at the top.
Personalize the Windows Narrator Voice: Natural vs Default Voice
The bulk of the Narrator settings are dedicated to the voice options, as you can image.
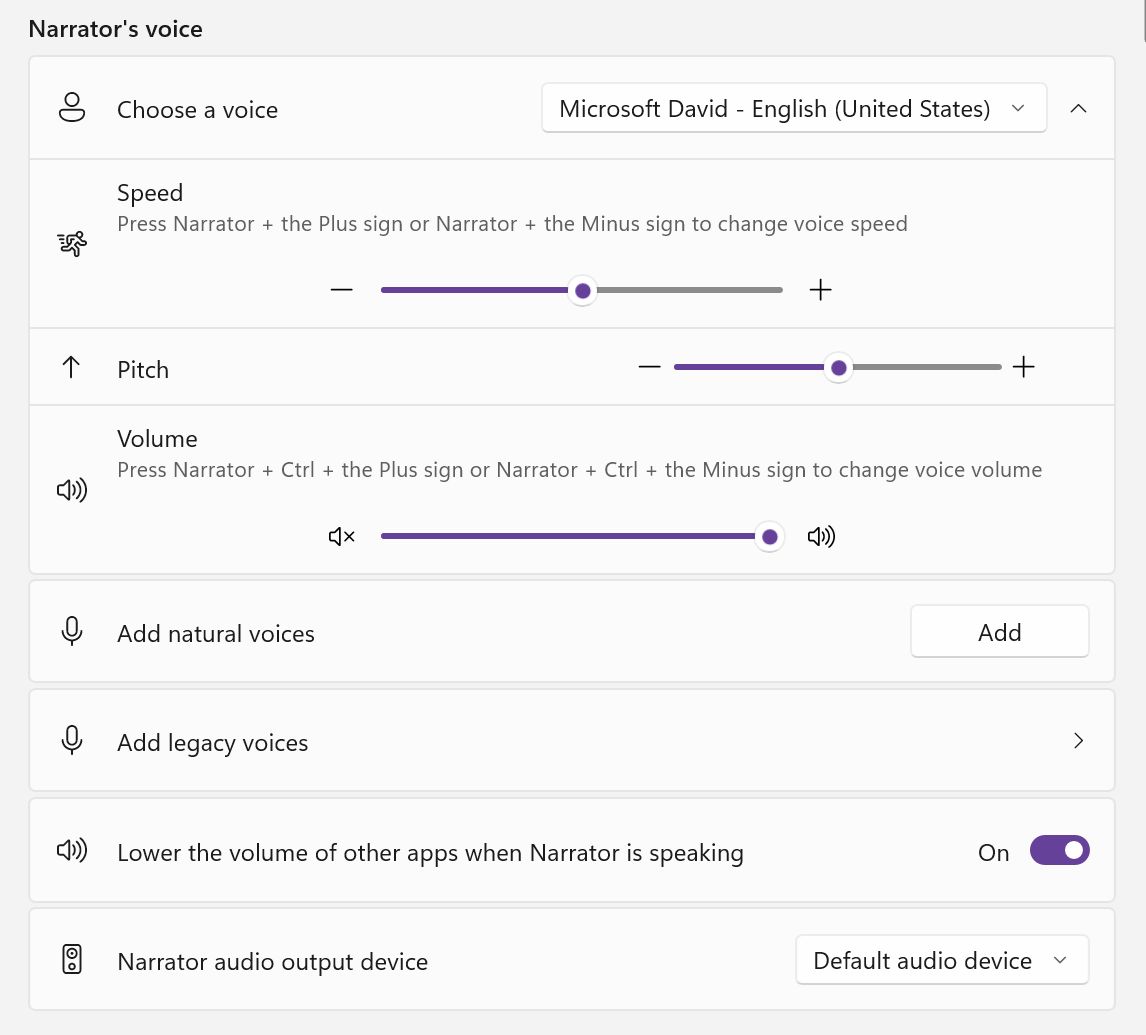
One of the most important options is to pick the voice you want to hear. There are a few options to choose from. The list will change based on the languages you have installed in Windows. Popular languages have more options than other languages, as expected.
Below you’ll find three sliders, for narration speed, voice pitch, and volume.
One useful option is to lower other app volumes while Narrator is speaking. I would leave this on, then install a natural voice. You can install them from here, or from the popup you see when you open the Narrator utility for the first time.
I can’t stress this enough: make sure to install any of the natural voice options. It makes a huge difference if your language supports natural sounding voices.
Here’s a short clip showing the difference between the default and natural voice options.
I took the short video below while installing one of the natural voices. It should give you an idea of how Narrator works in general.
For some reason, there doesn’t seem to be a way to uninstall or manage voices in any way. It’s not really a big deal, as each voice takes up under 150 MB of space.
What is Verbosity? Select What’s Being Read to You
What’s this verbosity thing, you ask?
Various degrees of verbosity will let you choose what’s being read and what actions are being ignored.
By default, the narrator will read words, punctuation, special keys you press and other details from the app windows you focus while the Narrator is on.
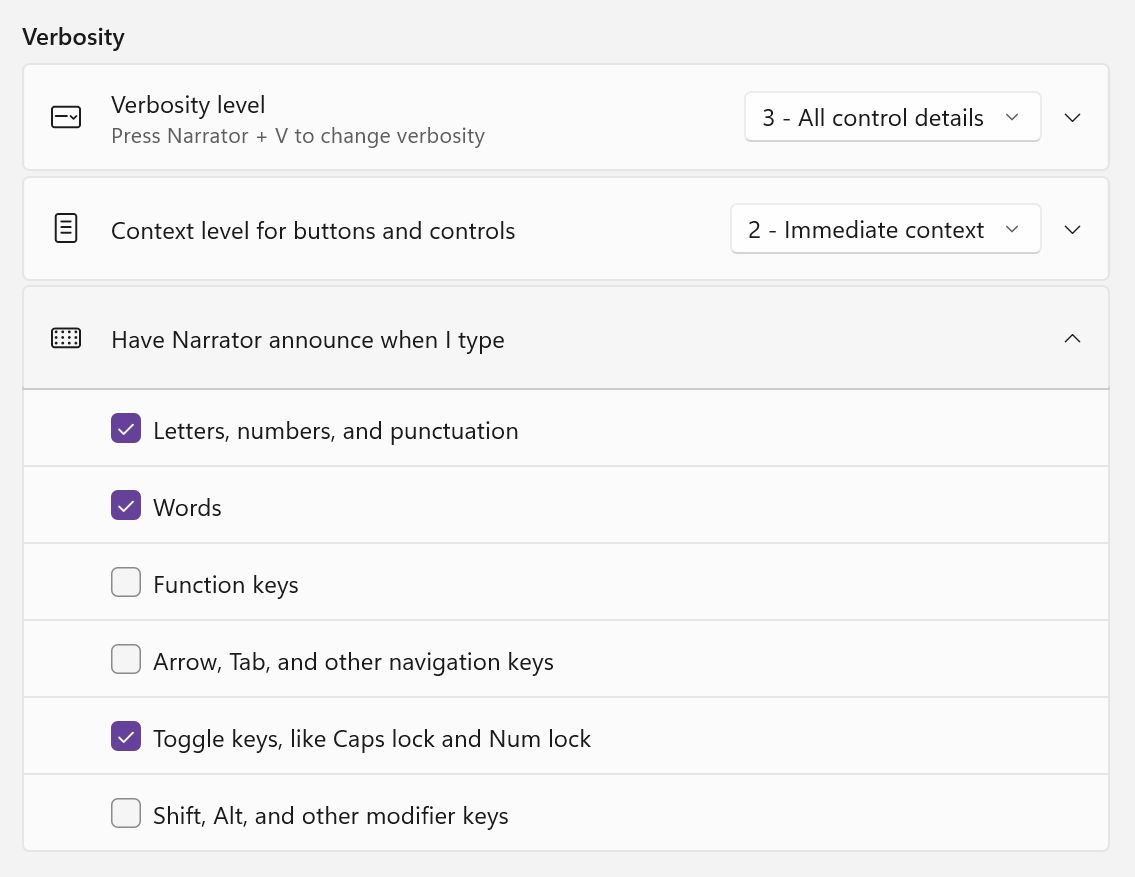
I can’t tell you what level is appropriate for you. You should try both Verbosity and Context Level to reduce or increase the amount of information Narrator reads from the screen.
Narrator Cursor Settings
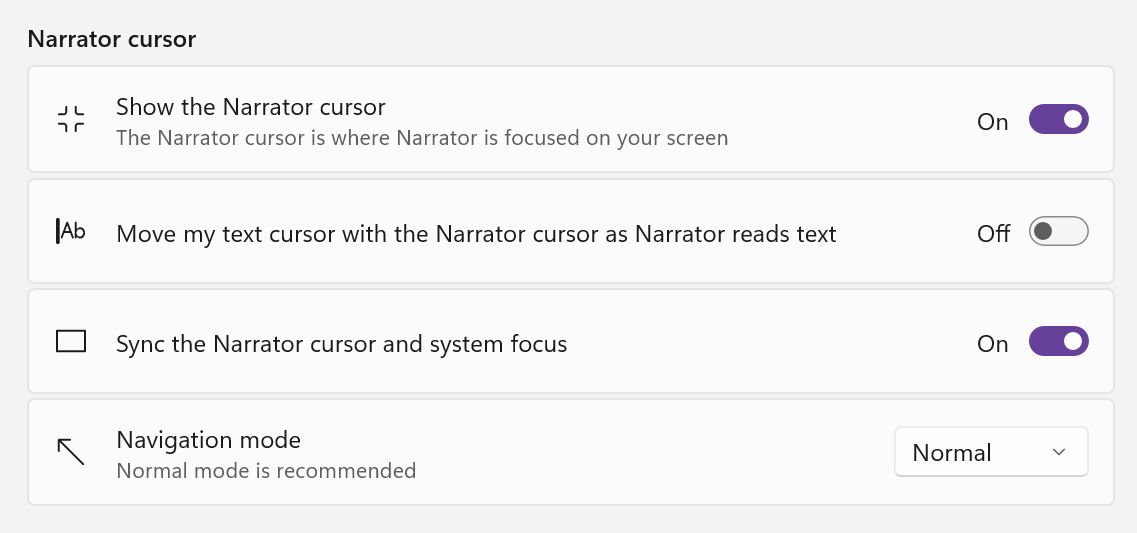
Narrator will display a blue rectangle outline when it’s active, letting you know what element is being read to you. I would leave the Show the Narrator cursor setting on and the Sync the Narrator cursor and system focus. This way switching focus will also refocus the Narrator.
If you’re editing text, it may be a good idea to keep the text cursor separate from the Narrator cursor.
Narrator even works with braille displays, but that’s not something I can test.
Privacy Settings: Manage Data and Services for Narrator
There are a bunch of privacy focused options at the bottom of the Narrator settings page. There’s even a Privacy Statement from Microsoft, letting you know how the data read by the Narrator is used.
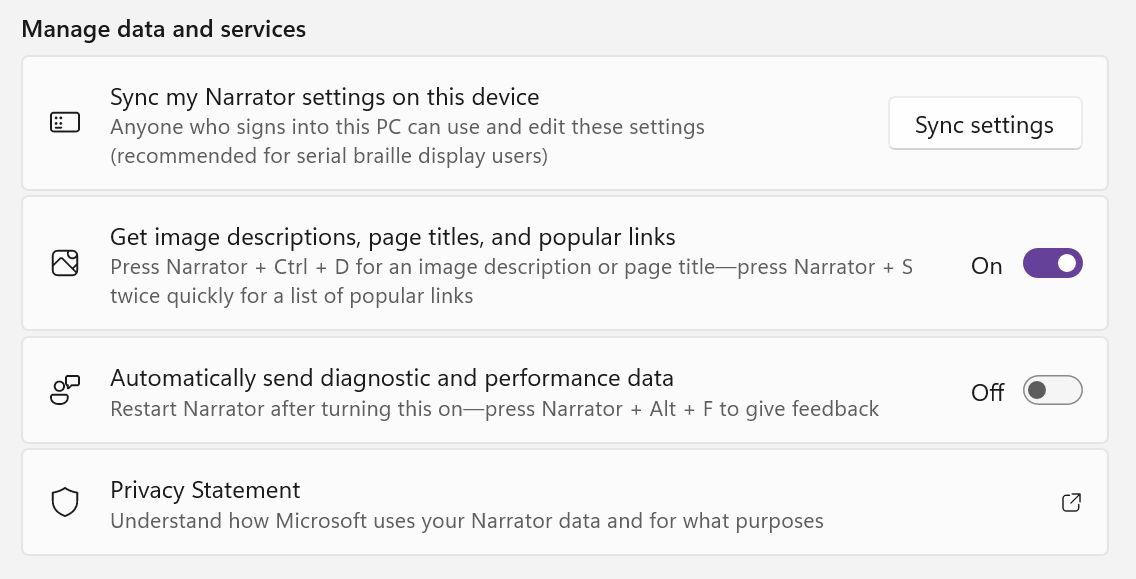
So, it’s pretty clear that having Narrator enabled will result in your personal data show on screen being sent to Microsoft’s servers for analysis. How much data? Who knows. Proceed with caution, as always.