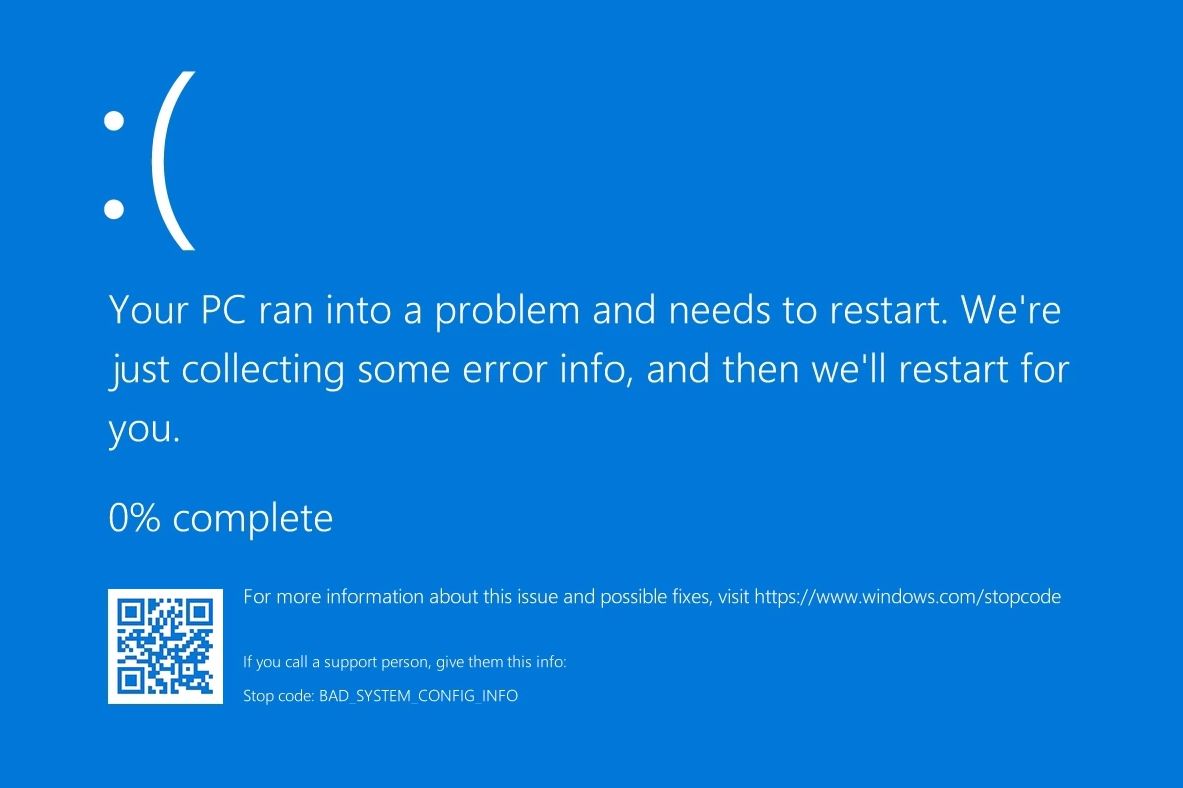
- Does your computer show the dreaded Blue Screen with the Bad System Config Info Error 0x00000074 cryptic message?
- This error lets you know there’s something wrong with the Windows registry, boot configuration, system files, or a similar similar issue that’s preventing the computer from starting correctly.
- Learn what the error means, what causes it, how to fix, and prevent it from happening again.
Even if blue screens are not common anymore in recent versions of Windows, these fatal errors may still occur occasionally. Most of the time, a BSOD (Blue Screen of Death) includes some sort of indication about what has happened.
Sometimes the Stop Code, as it’s called can help you diagnose the problem precisely. That’s not always the case, unfortunately, so in this article, we’re going to discuss the BAD_SYSTEM_CONFIG_INFO error message.
If you’re getting this error there are a few fixes you can try.
What is Bad System Config Info BSOD?
Known also as Error 0x00000074, Bad System Config Info will cause a BSOD (Blue Screen of Death) in Windows 7, Windows 10, and Windows 11 and is linked, most likely, according to Microsoft, to the registry system.
Why not call it Bad Registry Config Info then? Because it is not always linked to the Registry, the system where Windows stores all the important settings.
What Causes Bad System Config Info in the First Place?
There are multiple causes for the Bad System Config Info error. The most “popular” are linked to:
- Errors in Windows Registry settings
- Corrupted or missing system files
- Corrupted system boot configuration
- Outdated, corrupted, or missing device drivers
- Faulty RAM memory
- Faulty hard drive sectors
Tips on How to Fix Blue Screen Bad_System_Config_Info Error 0x00000074
It’s hard to tell which of the above areas causes this issue, so I’ve included a few fixes you can try, hopefully addressing all possible angles. Let’s get started:
Easy Fix: Restart Your PC
This is the easiest option: just restart your computer. A lot of the time this is what’s required to fix the Error 0x00000074.
If you don’t have a restart button on your PC case or if you’re using a laptop it’s enough to press the power button for a couple of seconds. This will force the shutdown of your computer. Another press of the power button will start it up again.
If this doesn’t fix the problem here’s what you can do next.
Run Startup Repair From the Recovery Environment
If you force shut down the computer two times during boot the Recovery Environment should automatically start. RE will also start if Windows does detect it can’t start properly. That’s a big if.
So, alternatively, you can use a Recovery Drive to boot into RE. You can create one on another computer, if didn’t create one in the past.
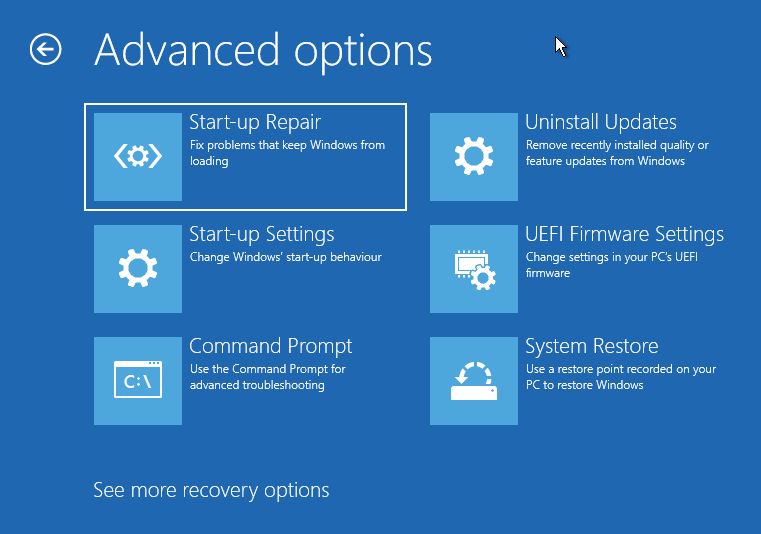
Once you’re in Recovery Environment you have the option to try Startup Repair. The option is found in a different place, depending on how you start RE:
- RE starts automatically: Troubleshoot > Advanced Options > Startup repair
- RE starts from Recovery Drive: Troubleshoot > Startup repair
Windows will restart and will try diagnosing your PC. If this doesn’t fix the problem let’s run a few command prompt commands.
Even if your PC now boots properly, I’d recommend you run SFC, DISM, CHKDSK, and Bootrec commands from Windows, just to check if everything is OK.
From the Recovery Environment, there are two ways to get to CMD, depending on, you’ve guessed, where started RE from:
- RE starts automatically: Troubleshoot > Advanced Options > Command prompt
- RE starts from Recovery Drive: Troubleshoot > Command prompt
Run Deployment Imaging Service and Management (DISM) Command
Once you’re in Command Prompt you have to run this command. This will hopefully fix everything, or at least prepare your install for the other repair commands.
DISM /Online /Cleanup-Image /RestoreHealth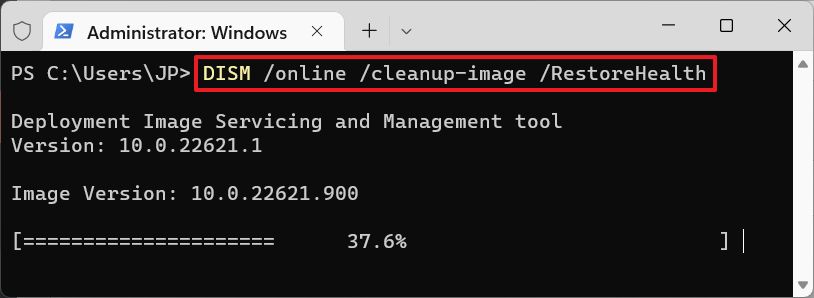
DISM will take a few minutes. Then you’ll be presented with a report:
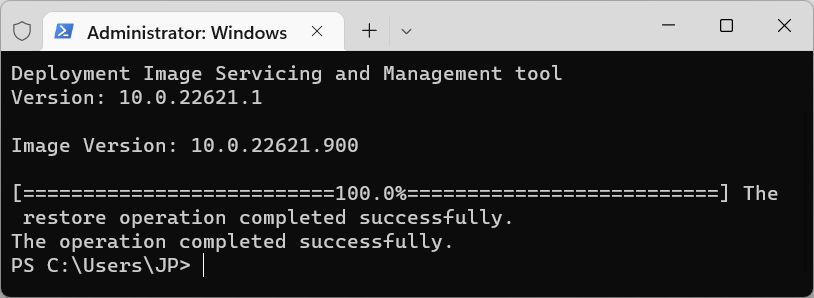
After DISM you can run the next three commands:
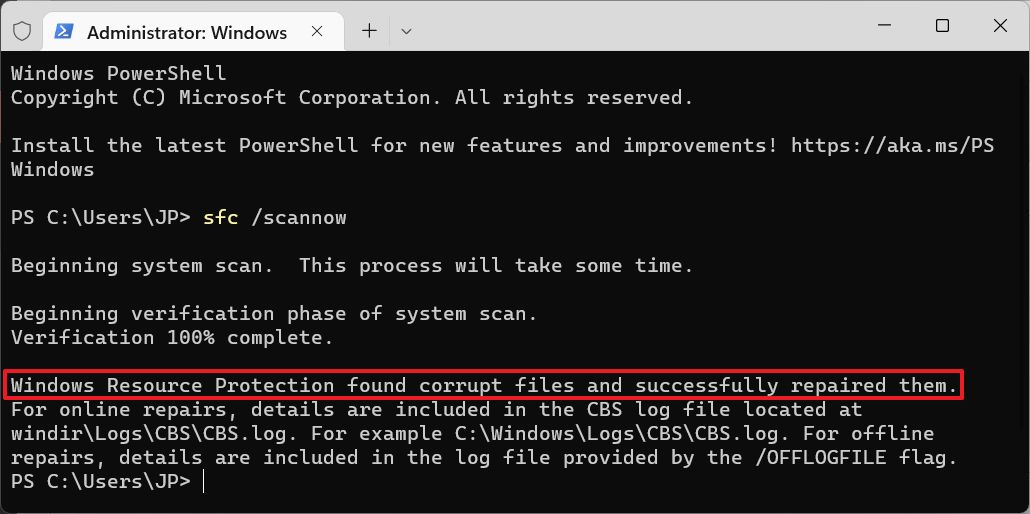
Run Windows System File Check (SFC) Command
Let’s try a system file integrity check next.
sfc /scannow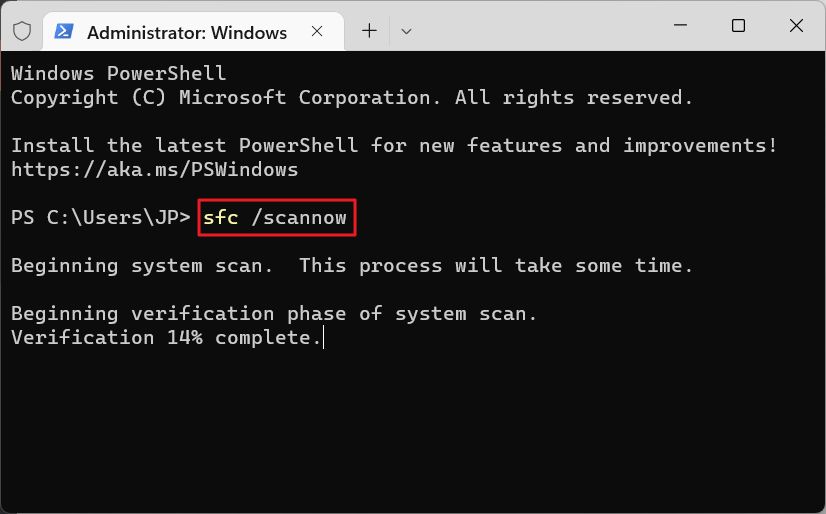
The system scan will begin immediately. If problems are found, SFC will try and correct all errors. In my case, it worked just fine without requiring my intervention. And yes, there were problems found.
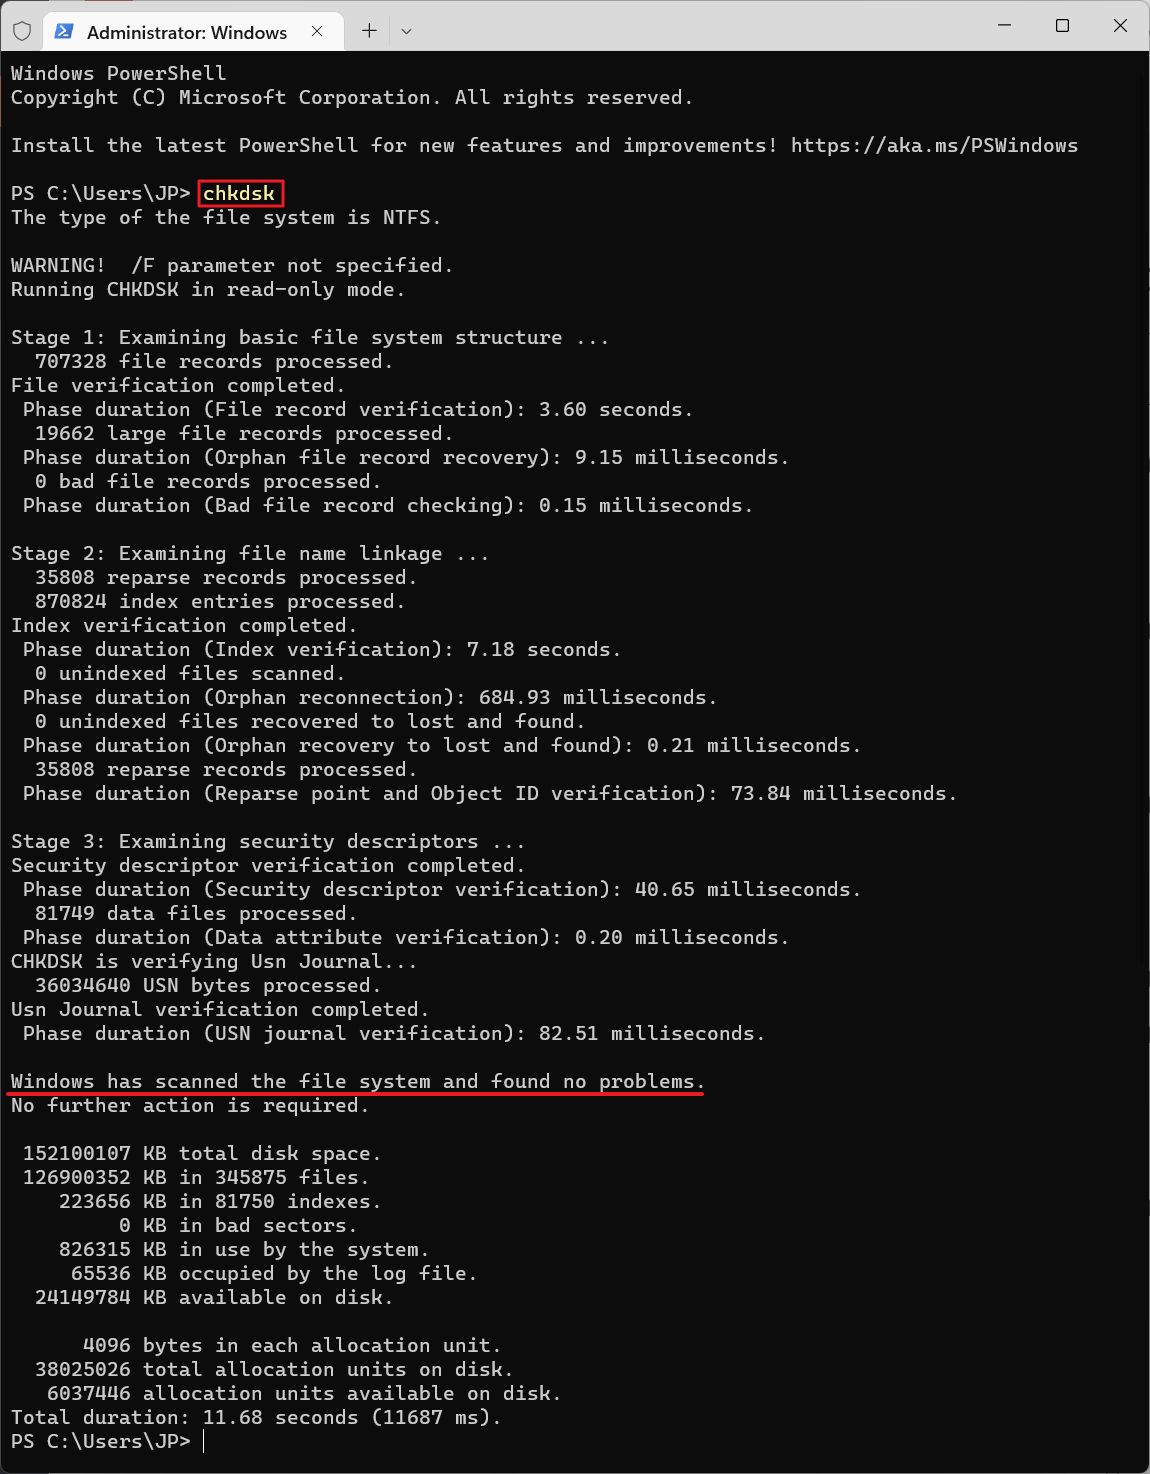
Run CHKDSK Disk Scan
If you run the next command, your entire hard drive will be checked for errors, not just the system partition.
chkdsk /rThe /r flag will attempt to repair problems too. Running the command without this flag will just inform you of the problems that were found.
You can’t run CHKDSK with the repair flag while you’re booted into Windows. From RE it works just fine, as the system partition can be locked by the CHKDSK process.
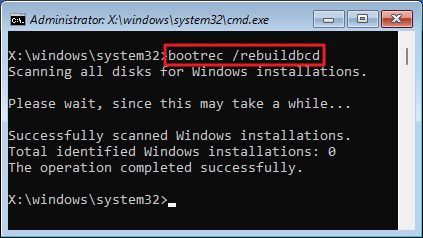
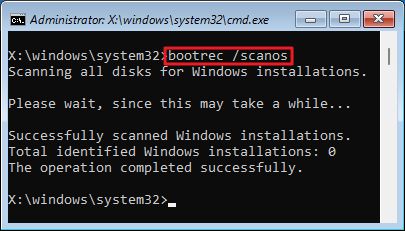
Run Bootrec Command to Fix Boot Configuration Data (BCD)
Bootrec is a command that will fix the boot configuration, in case it gets corrupted. Run the next four commands, one at a time, of course:
bootrec /rebuildbcd
bootrec /repairbcd
bootrec /scanos
bootrec /repairmbr
Be aware that Repairbcd and Repairmbr might not work on the newer versions of Windows.
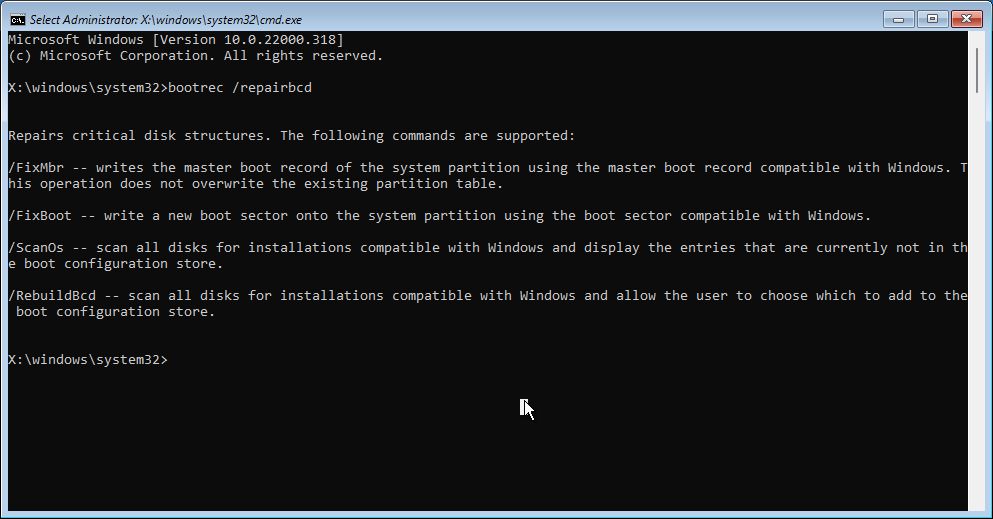
The other commands, if successful, should fix the Boot Configuration Data (BCD).
Update Device Drivers to the Latest Version
There are two general ideas when it comes to updating drivers: (1) if it works don’t fix it, and, the cred I go by (2) always keep your device updated to the latest version of drivers and software.
Even if you’re in the first camp, you should try and see if updating really old drives will help with Bad System Config Info errors.
I’ll prepare an in-depth article about updating drivers in Windows. For now, I’ll tell you the three sources of drivers you should be using:
- Device Manager
- Windows Update
- The device manufacturer’s website
Run a Windows Memory Diagnostic to Check for Faulty RAM
If your PC boots into Windows you can start looking at RAM as the last culprit, especially if the problem seems to happen more often than before.
If you’re overclocking your RAM I would first try and dial back the overclock a few steps. RAM stability during overclocking is a nightmare and, fortunately, doesn’t mean your RAM is broken.
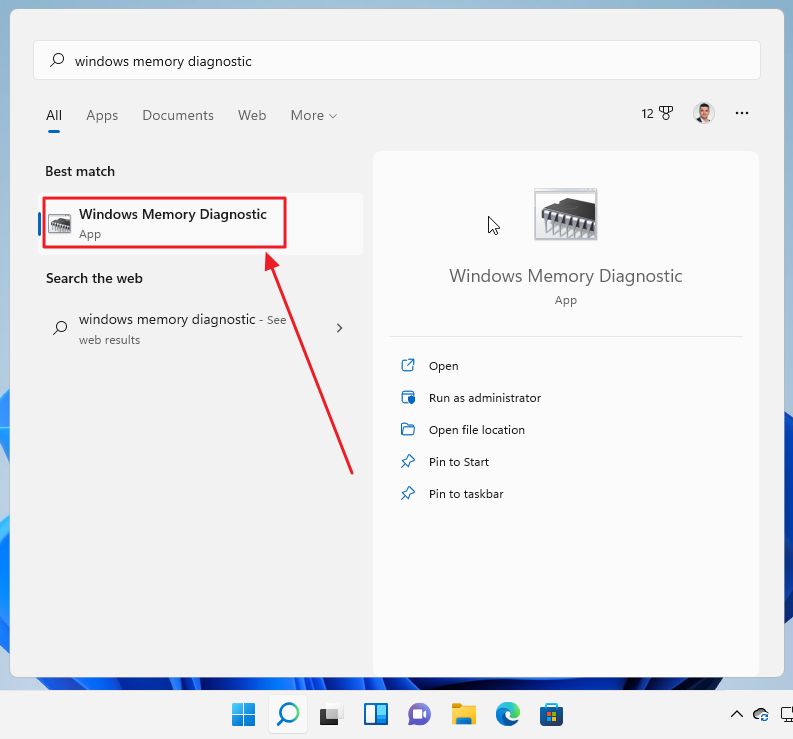
For this test, we’re going to use another useful utility built into Windows: the Windows Memory Diagnostic tool.
1. Open the Start menu and type Windows Memory Diagnostic. Select the first result.
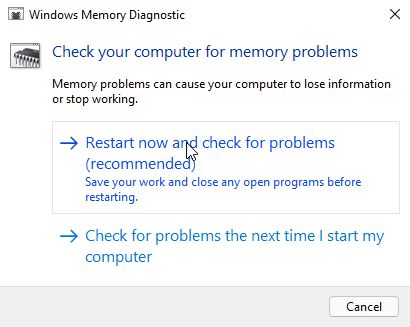
2. There are two options: (1) restart now and run the check, or (2) check the system during the next restart. We’ll go for the first option, of course:
3. Upon restart instead of Windows you will see this old DOS interface:
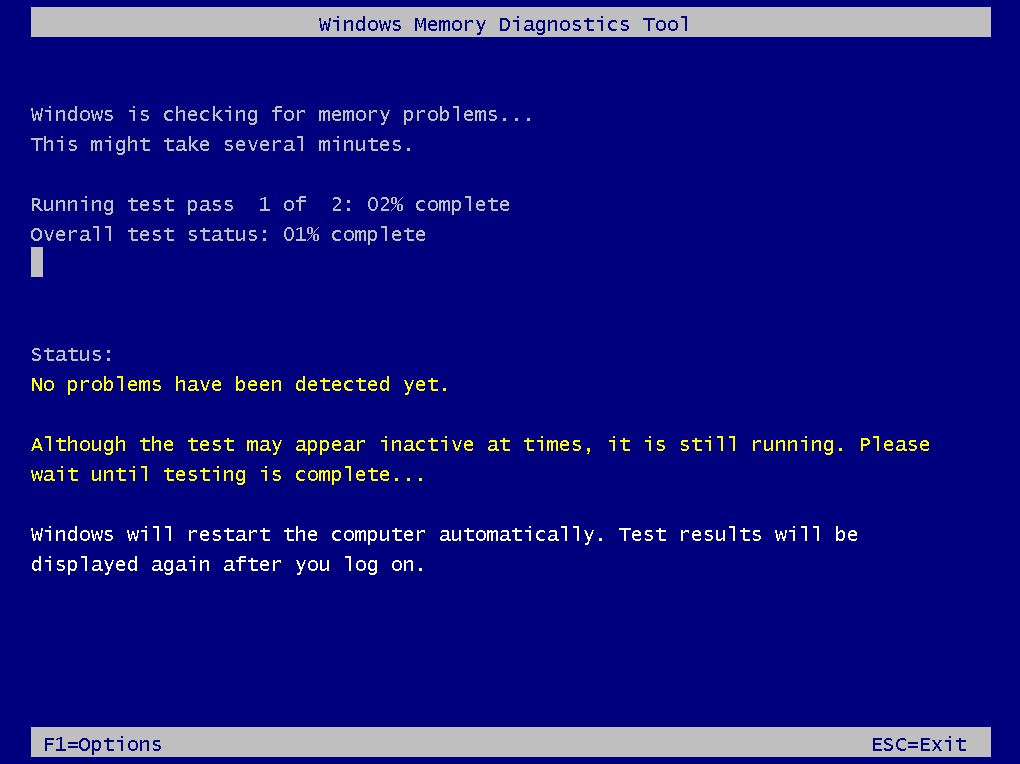
Eat a few cookies, or drink a coffee, because this check will take 10-15 minutes, at least, depending on how much RAM you have installed in your computer.
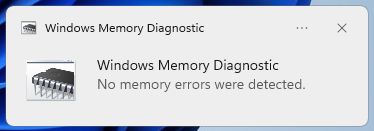
4. PC will restart automatically, and after login, a simple notification will let you know if it found any problems. I was lucky this time.
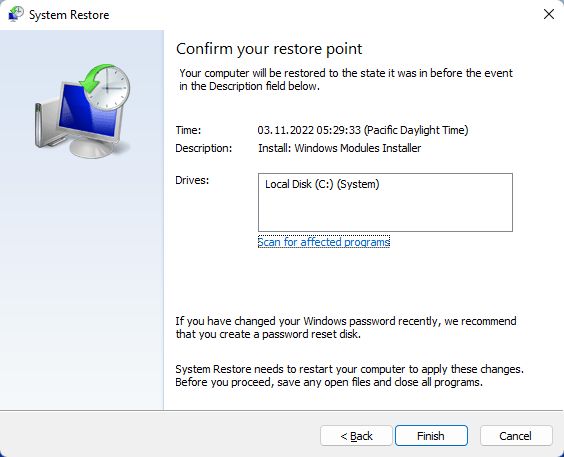
Use System Restore to Get Back to a Restore Point
We’ll now get into recovery options, that will turn your PC back to a working state. You won’t know what the problem was, but you may be able to fix the problem this way.
The first option is available if you’ve turned on System Protection/System Restore. If that’s a yes you have the option to revert to a Restore Point from Windows, or directly from the Recovery Environment, if Windows doesn’t start normally.
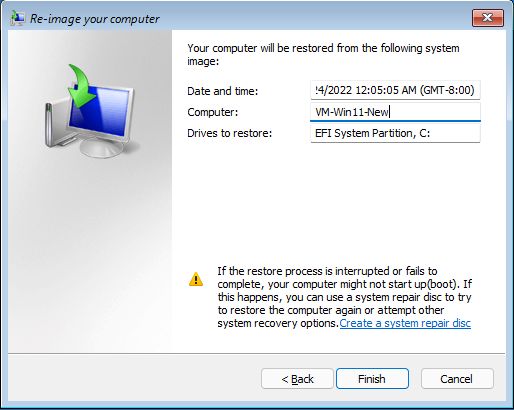
Fully Restore Windows From System Image
The second option is to do a full system restore by using a System Image saved previously with Windows Backup. This is the guide that explains how to do it in a few easy steps.
If Nothing Works Reset This PC
The last resort, if you don’t have any kind of Windows Backup set in place, and none of the solutions we’ve shown didn’t work is to reset your Windows installation. Use this guide to basically reinstall Windows.
During the process, you’ll be offered the option to keep your user files, but you’ll lose all your Windows programs and their settings. You’ll have to redo them from scratch.
The advantage of this method is that it will fix any Bad System Config Info errors since you’re getting a fresh Windows installation. If you’re like me, and you keep multiple disks and partitions, you will only lose what’s stored on the system partition, C:\, so it’s not that bad if you think of it.
I do hope this guide helped you fix the Bad System Config Info problems you experience. If none of them work, and you got another solution working please leave a comment with what worked for you below.
Also, if you see the blue Recovery Environment when the PC starts up, I’ve added an article with all the recovery options included in RE that can help get your system up and running again.